Week 1-2
Self Study 1 - Tourist Attraction
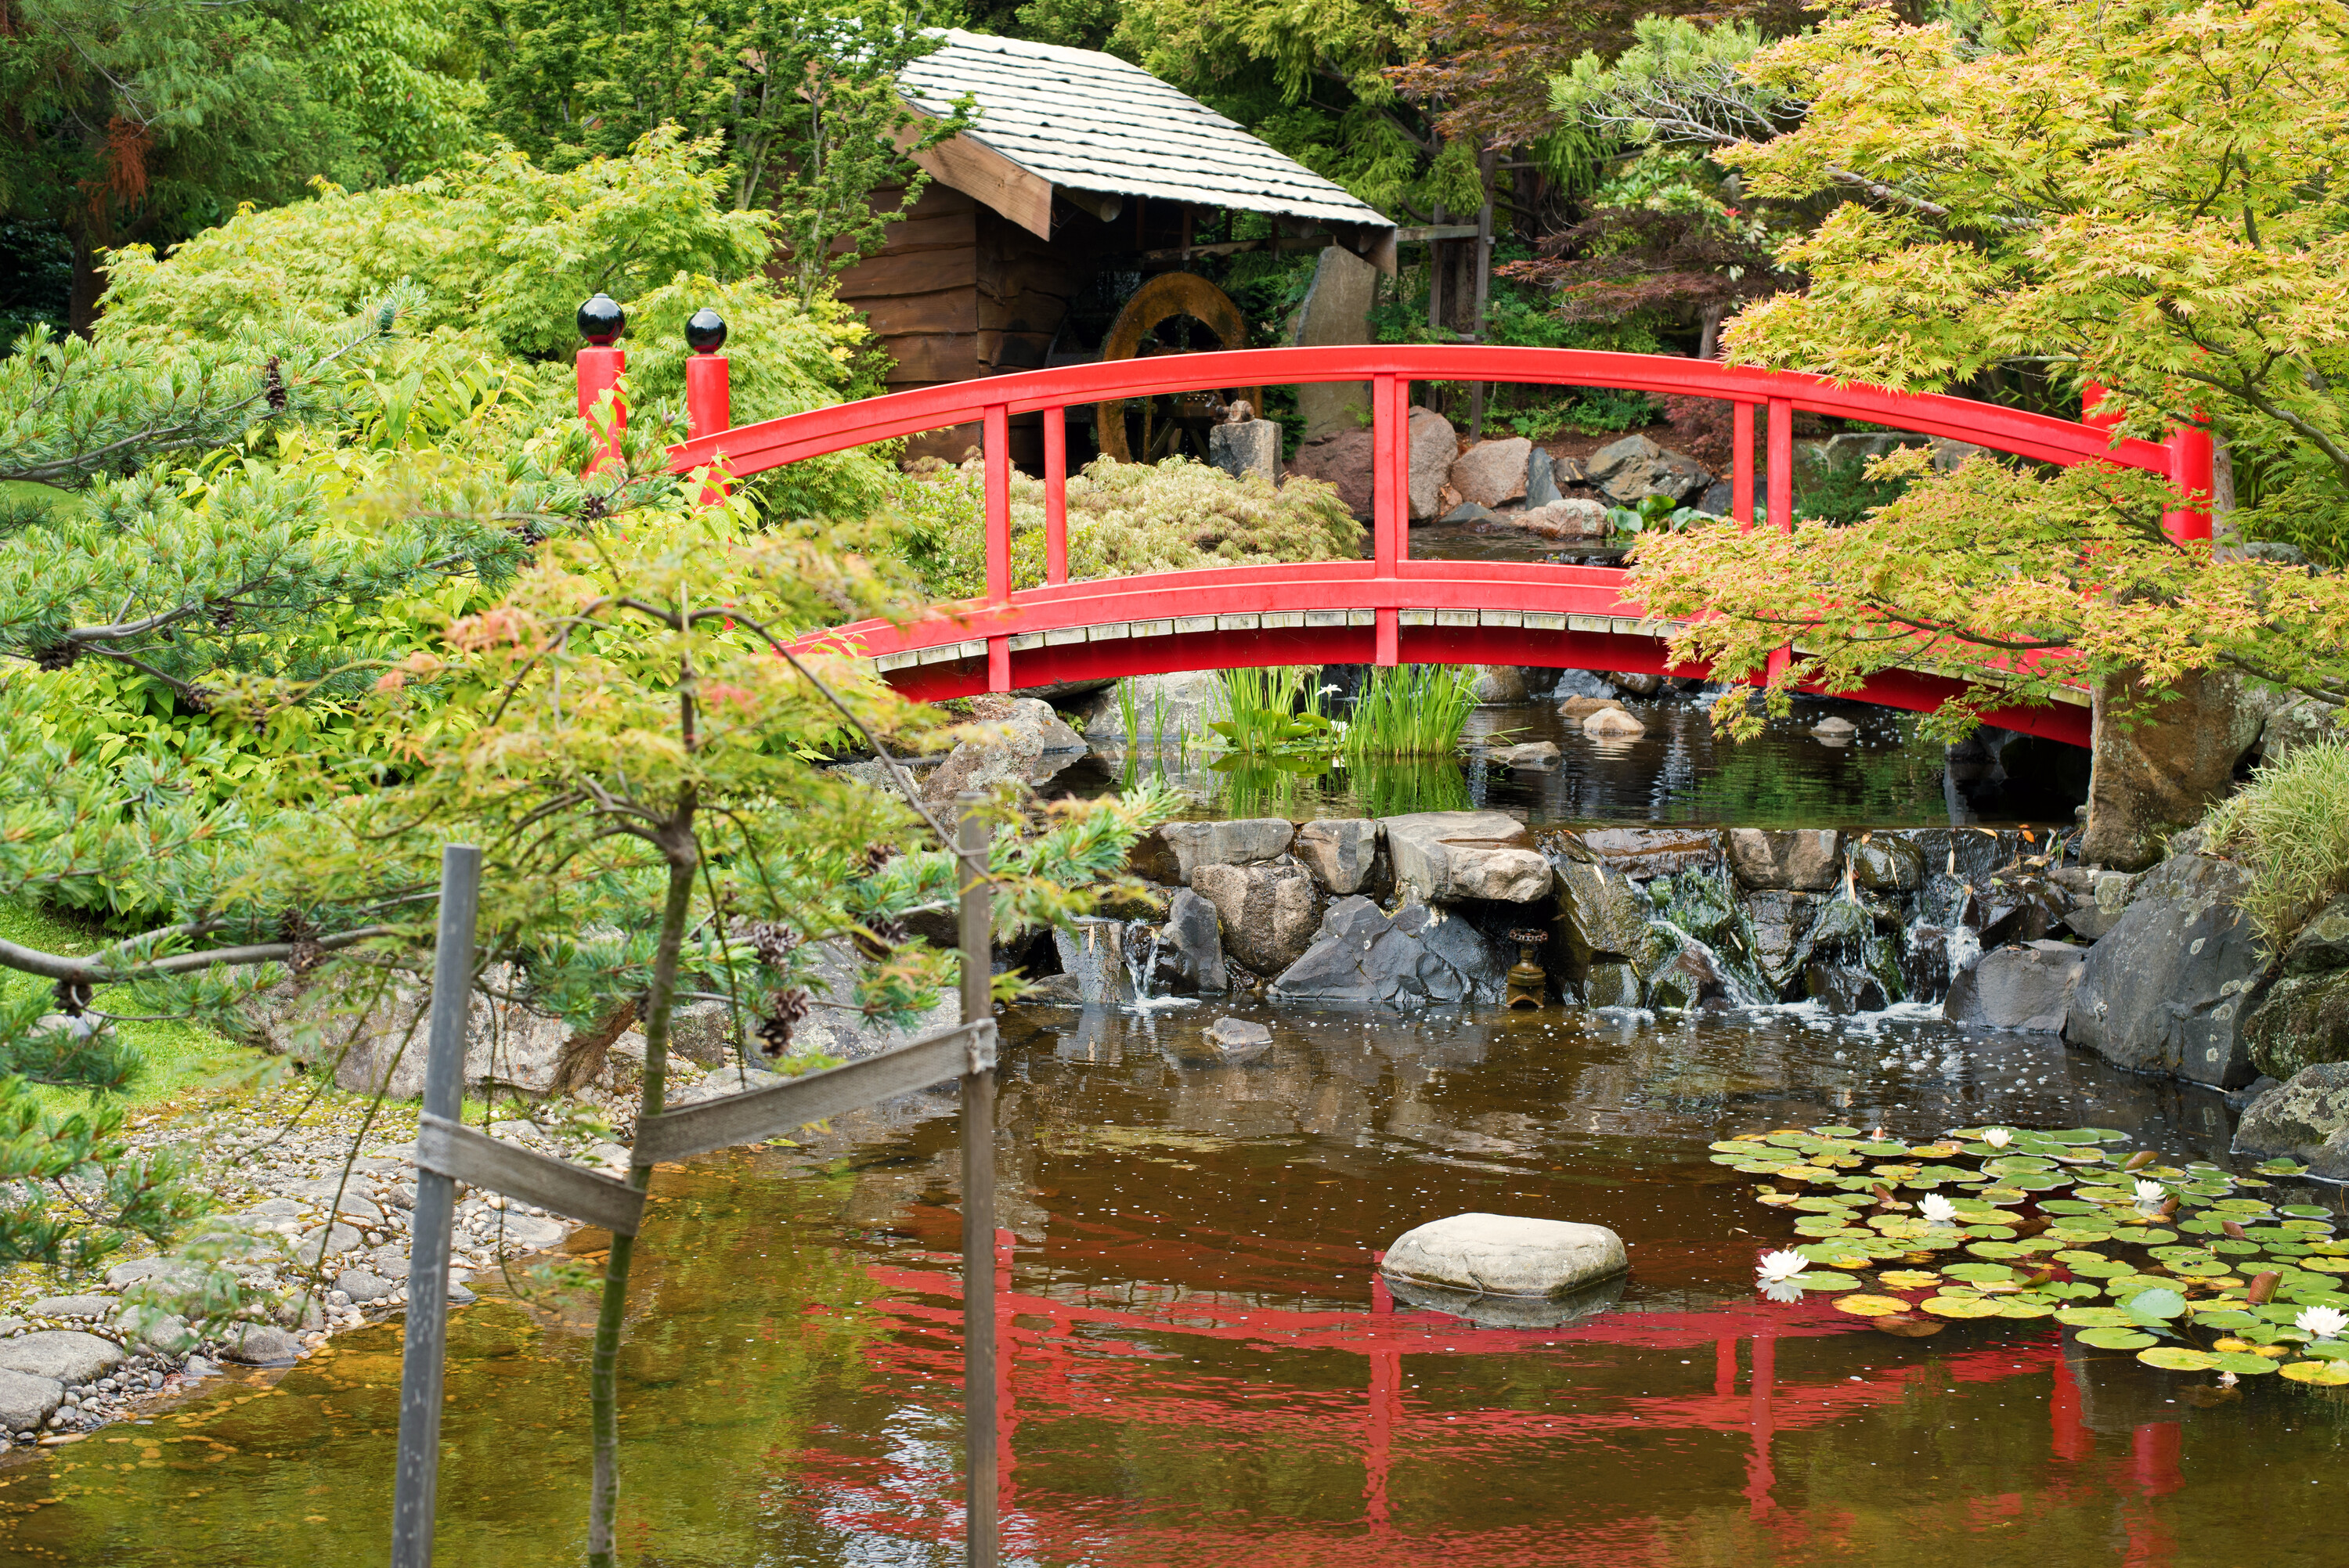
While I have done some simple modelling and animation in Cinema 4D (a looong time ago), this is my first experience using Blender; so for a first project, I wanted to choose something that was somewhat detailed, but that could be modelled largely out of primitive shapes (cubes, spheres etc.), while I learned the fundamentals. I decided to try modelling the Japanese red arch bridge at the Royal Botanical Gardens, as it's a tourist attraction that also works well as a general model.
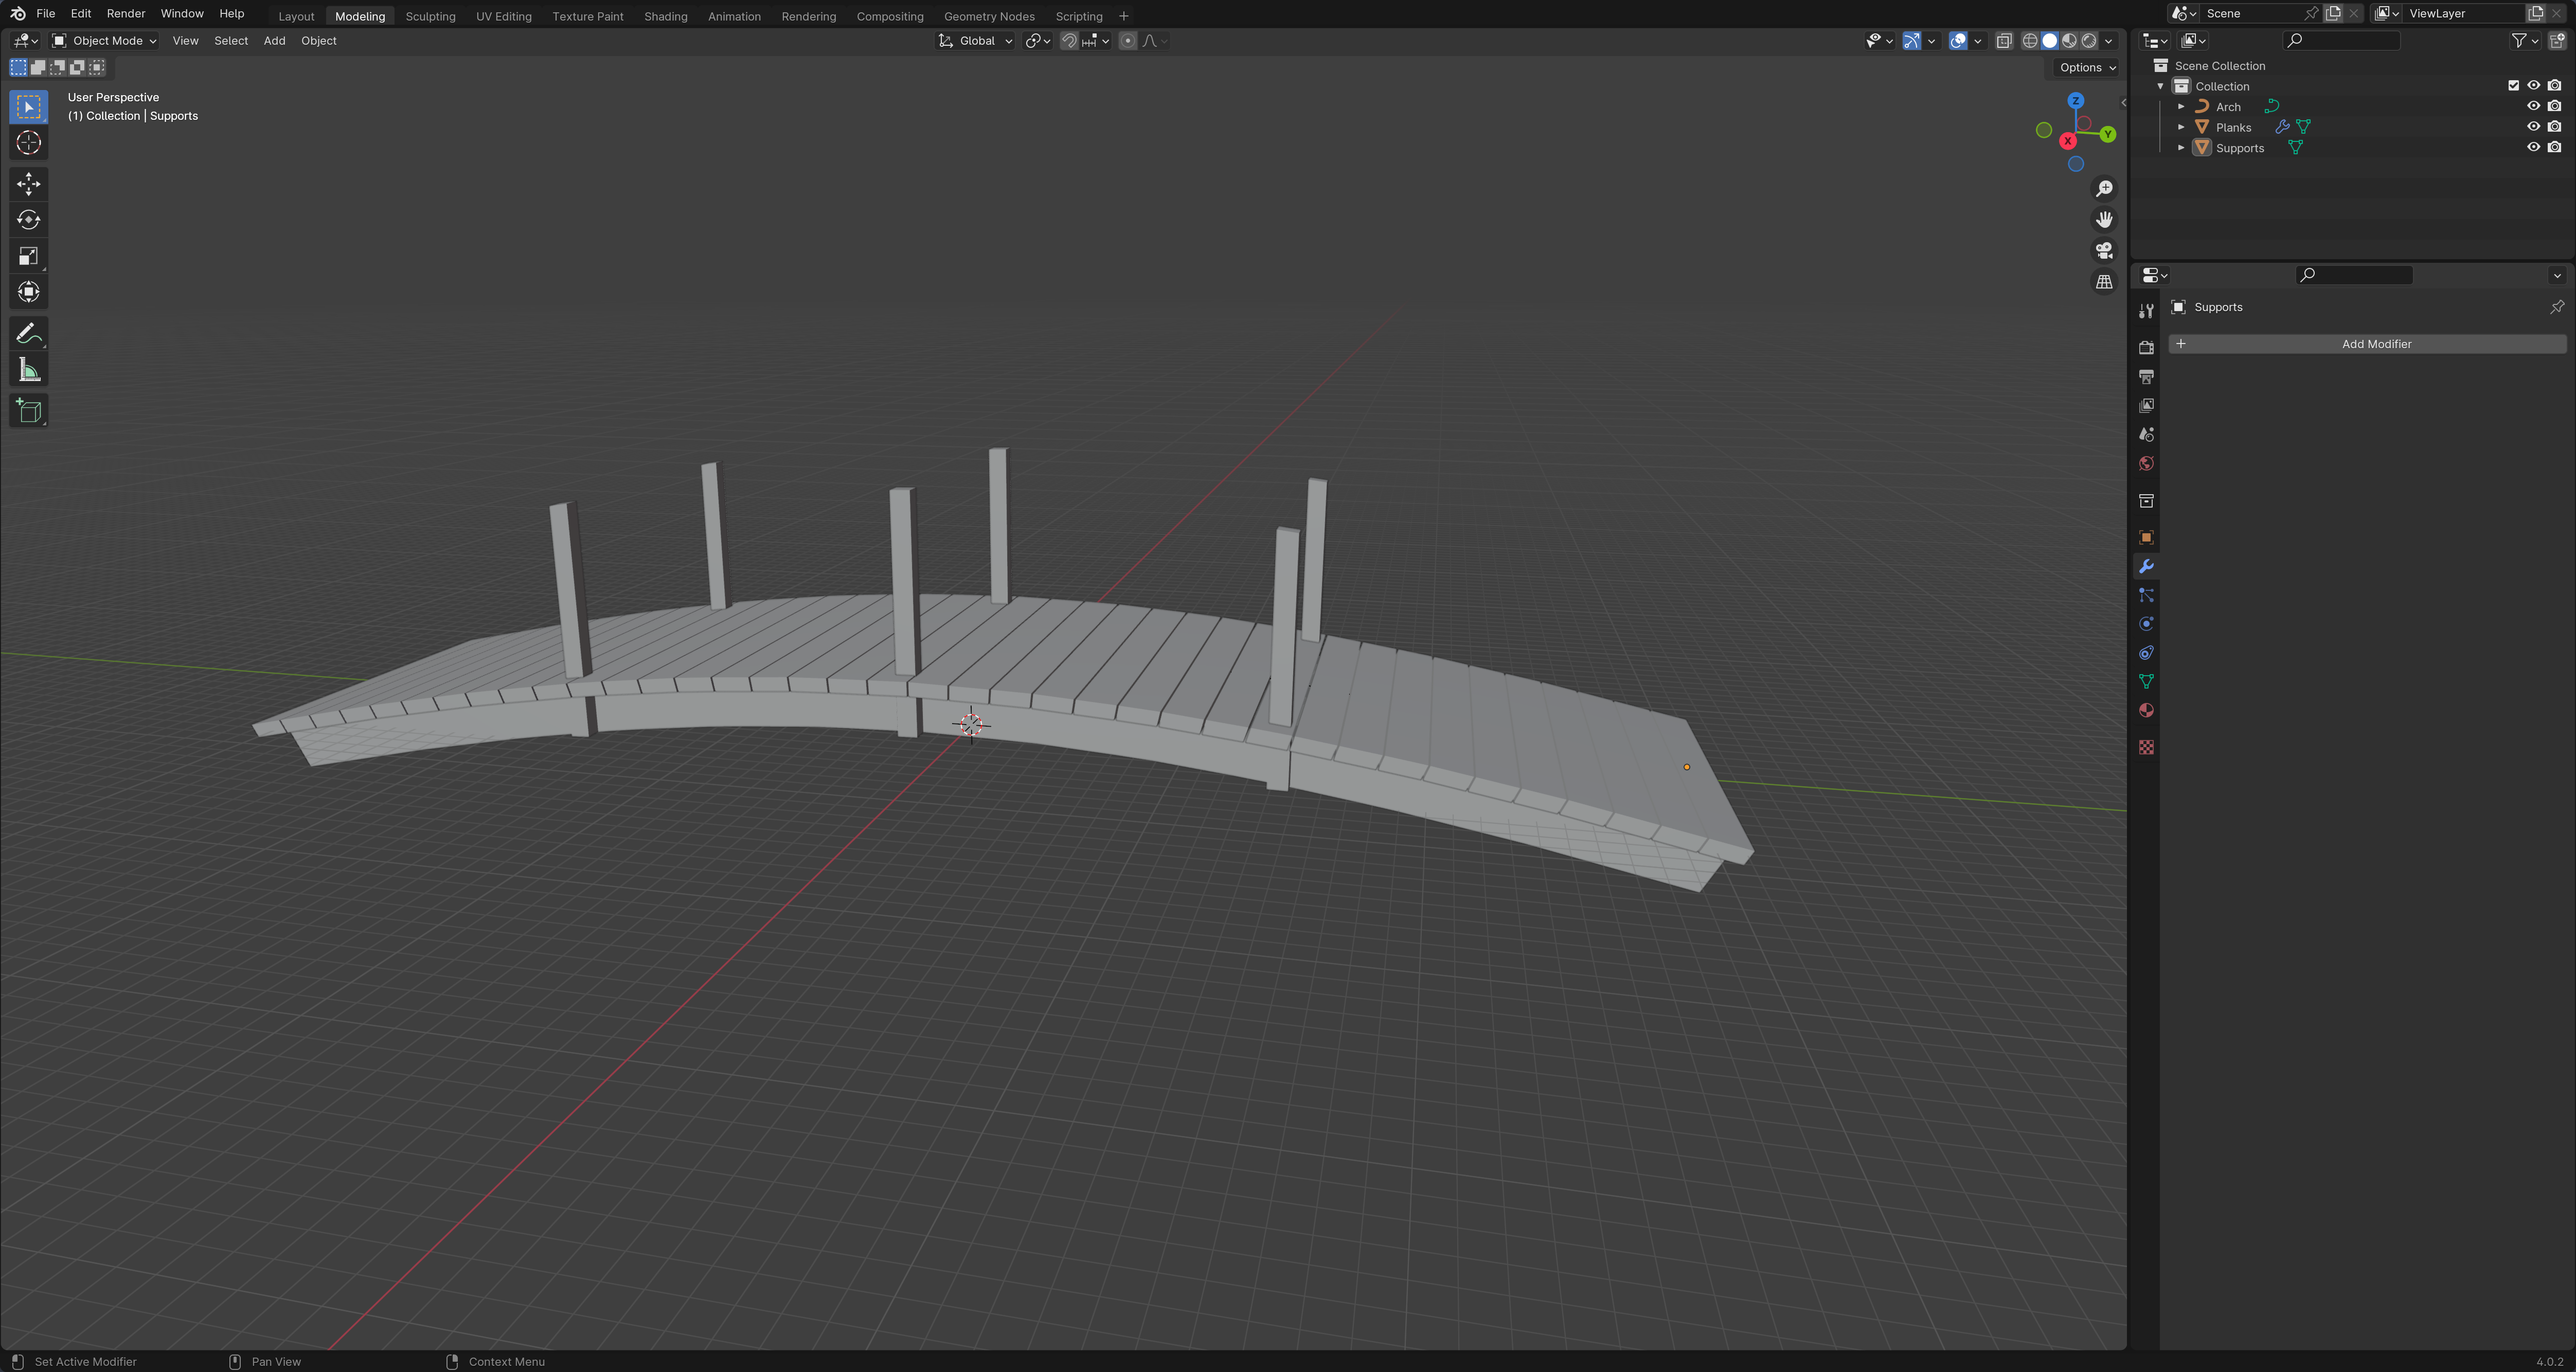
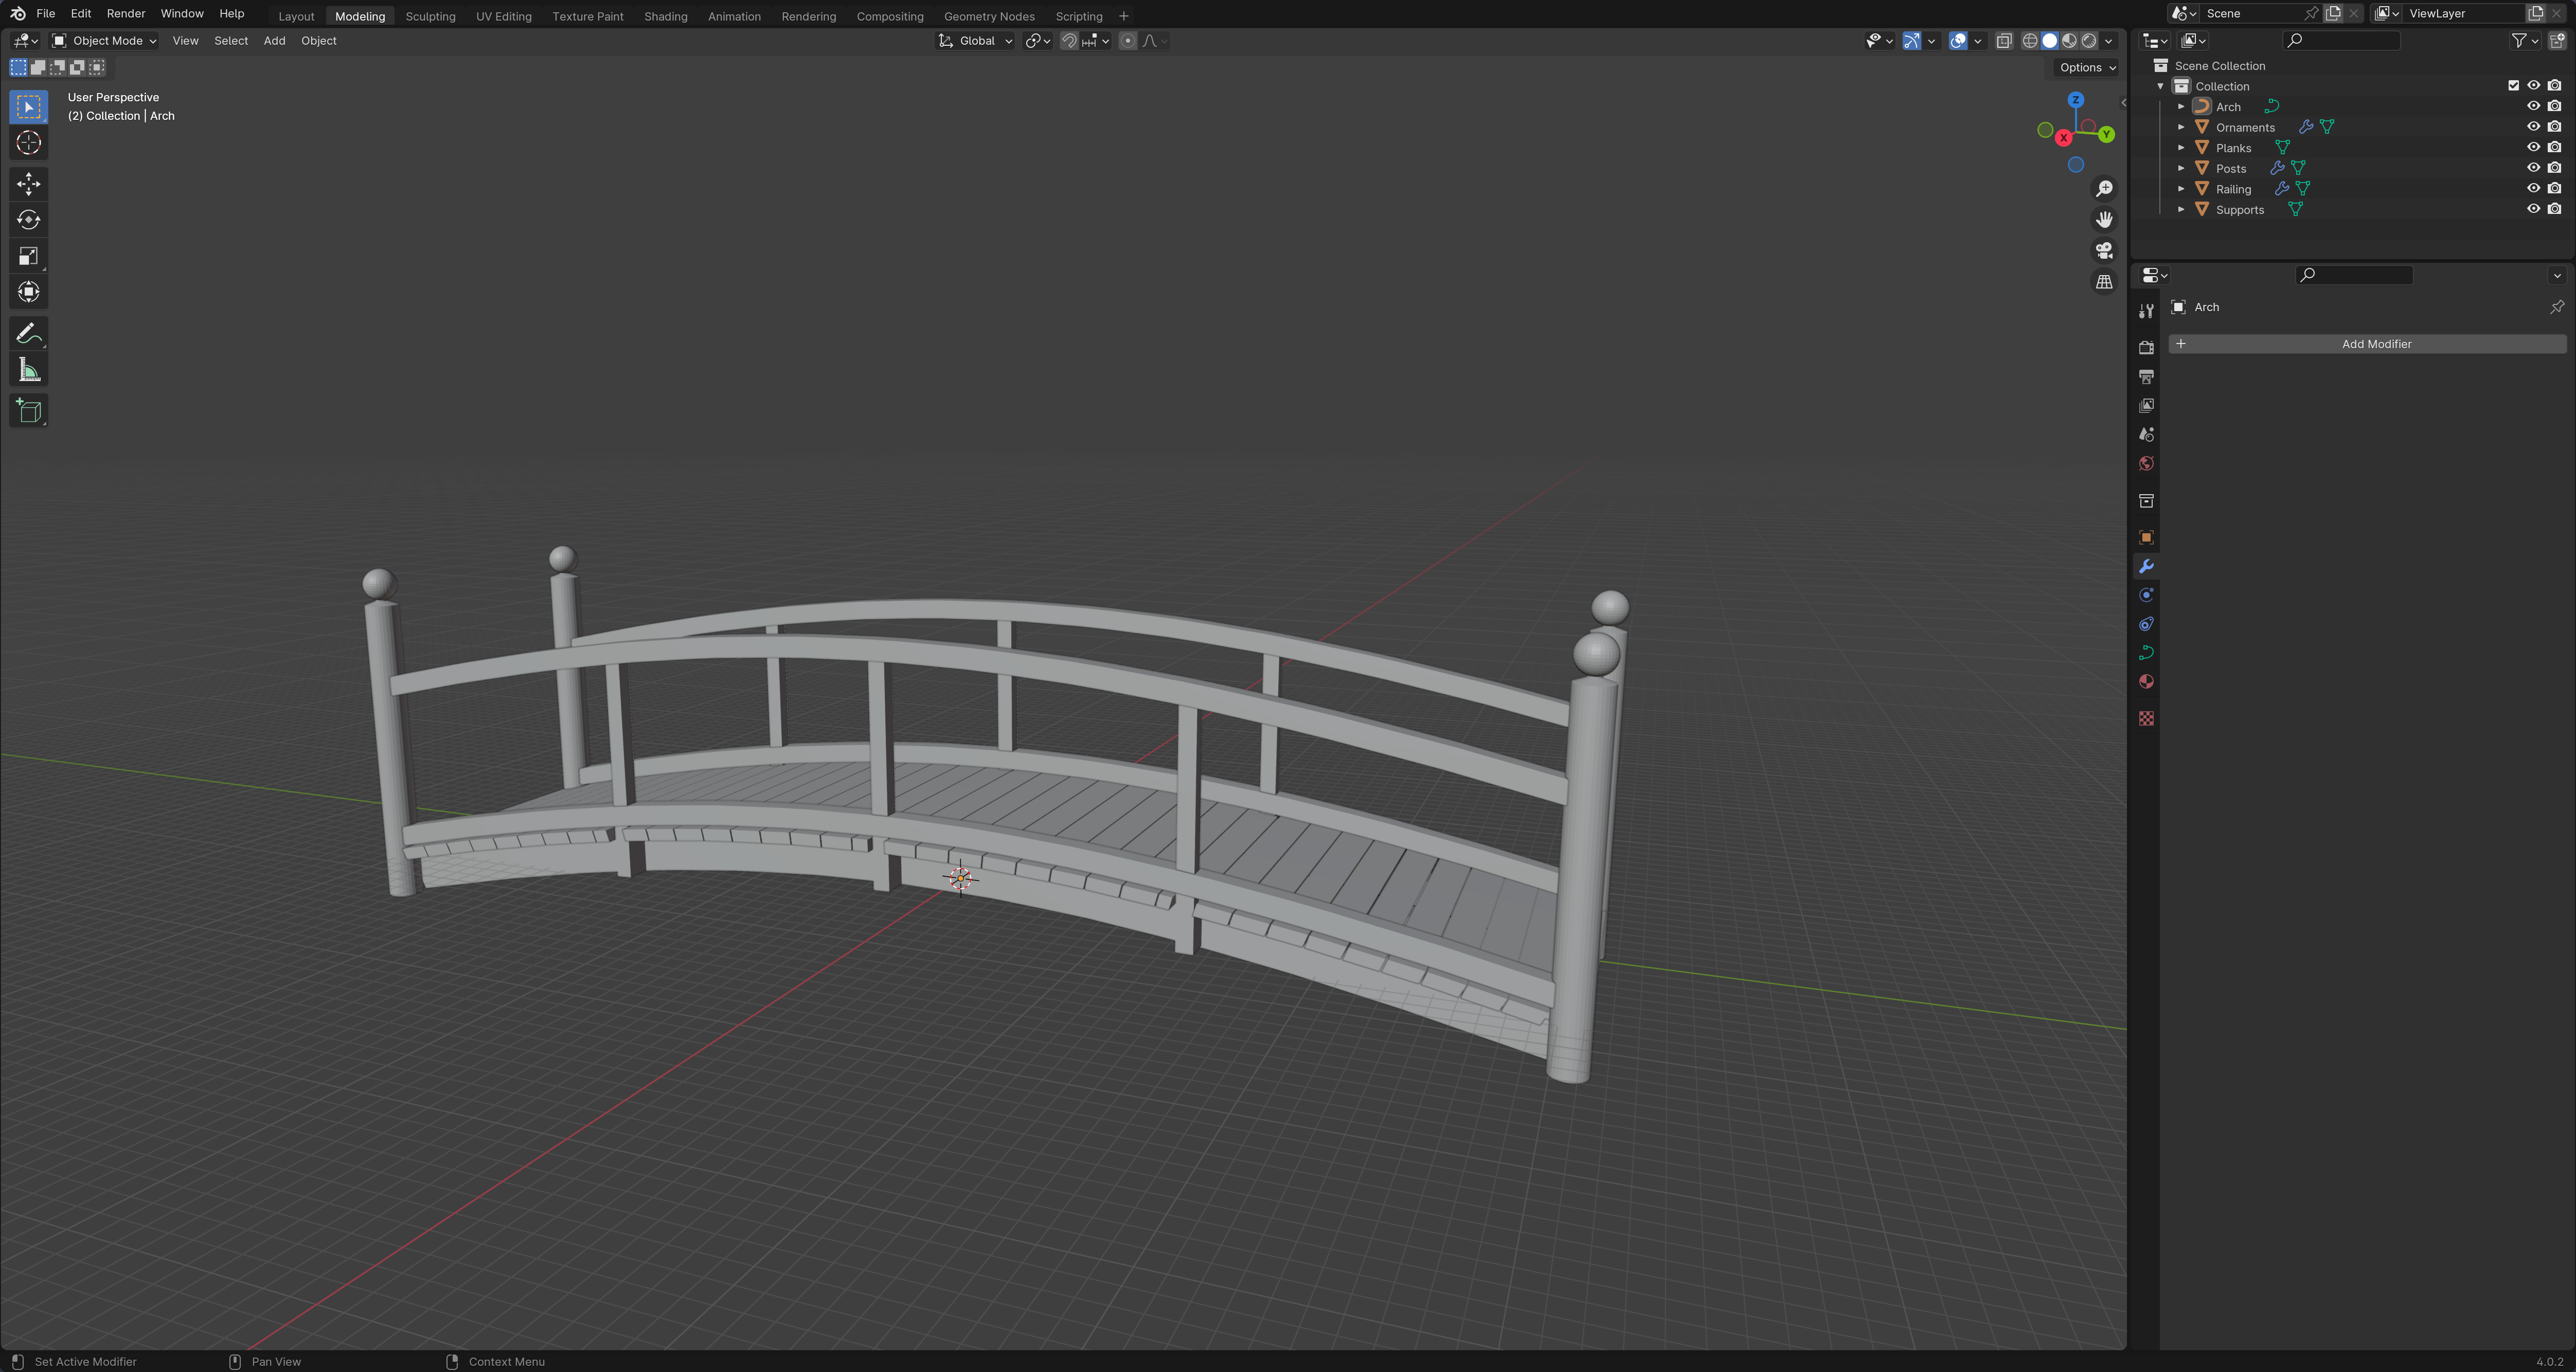
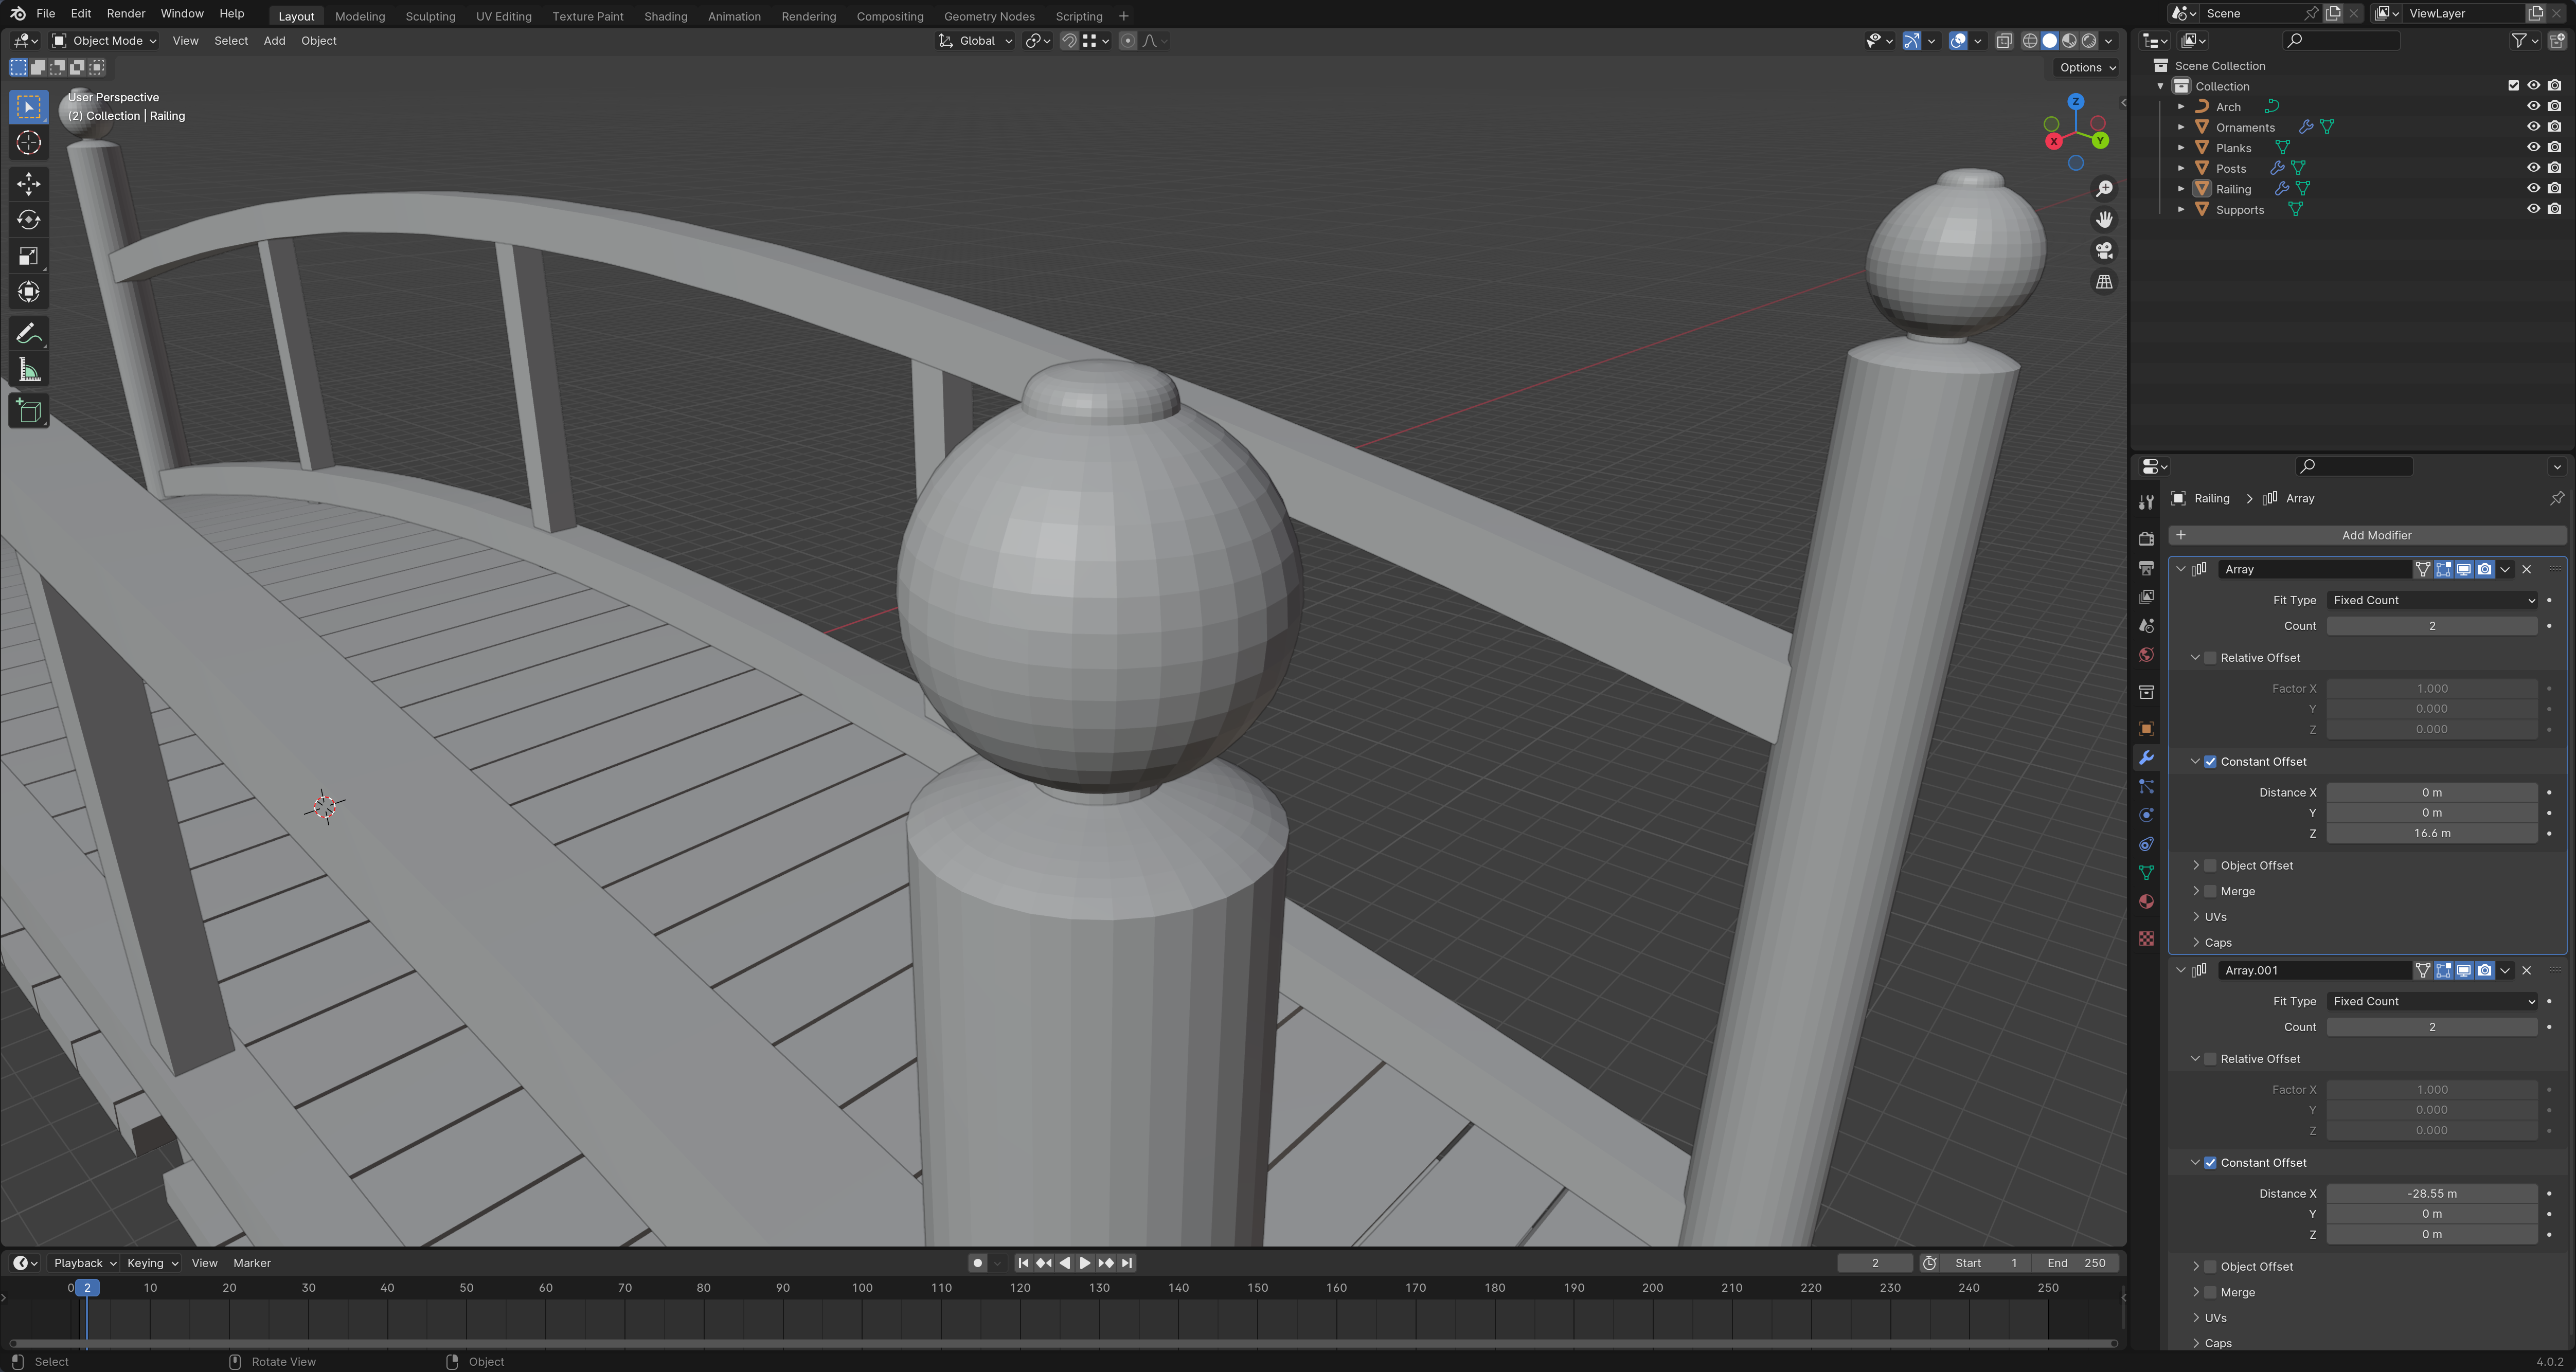
I started by shaping the plank walkway, using several reference images of different angles to approximate the size, and then duplicating the planks using an array modifier. This formed a base that I could use to build the rest of the model around, and the scale turned out to be surprisingly accurate. I had the array follow a curve that closely matched the reference images - which would also be used to curve the under-frame and handrails as well.
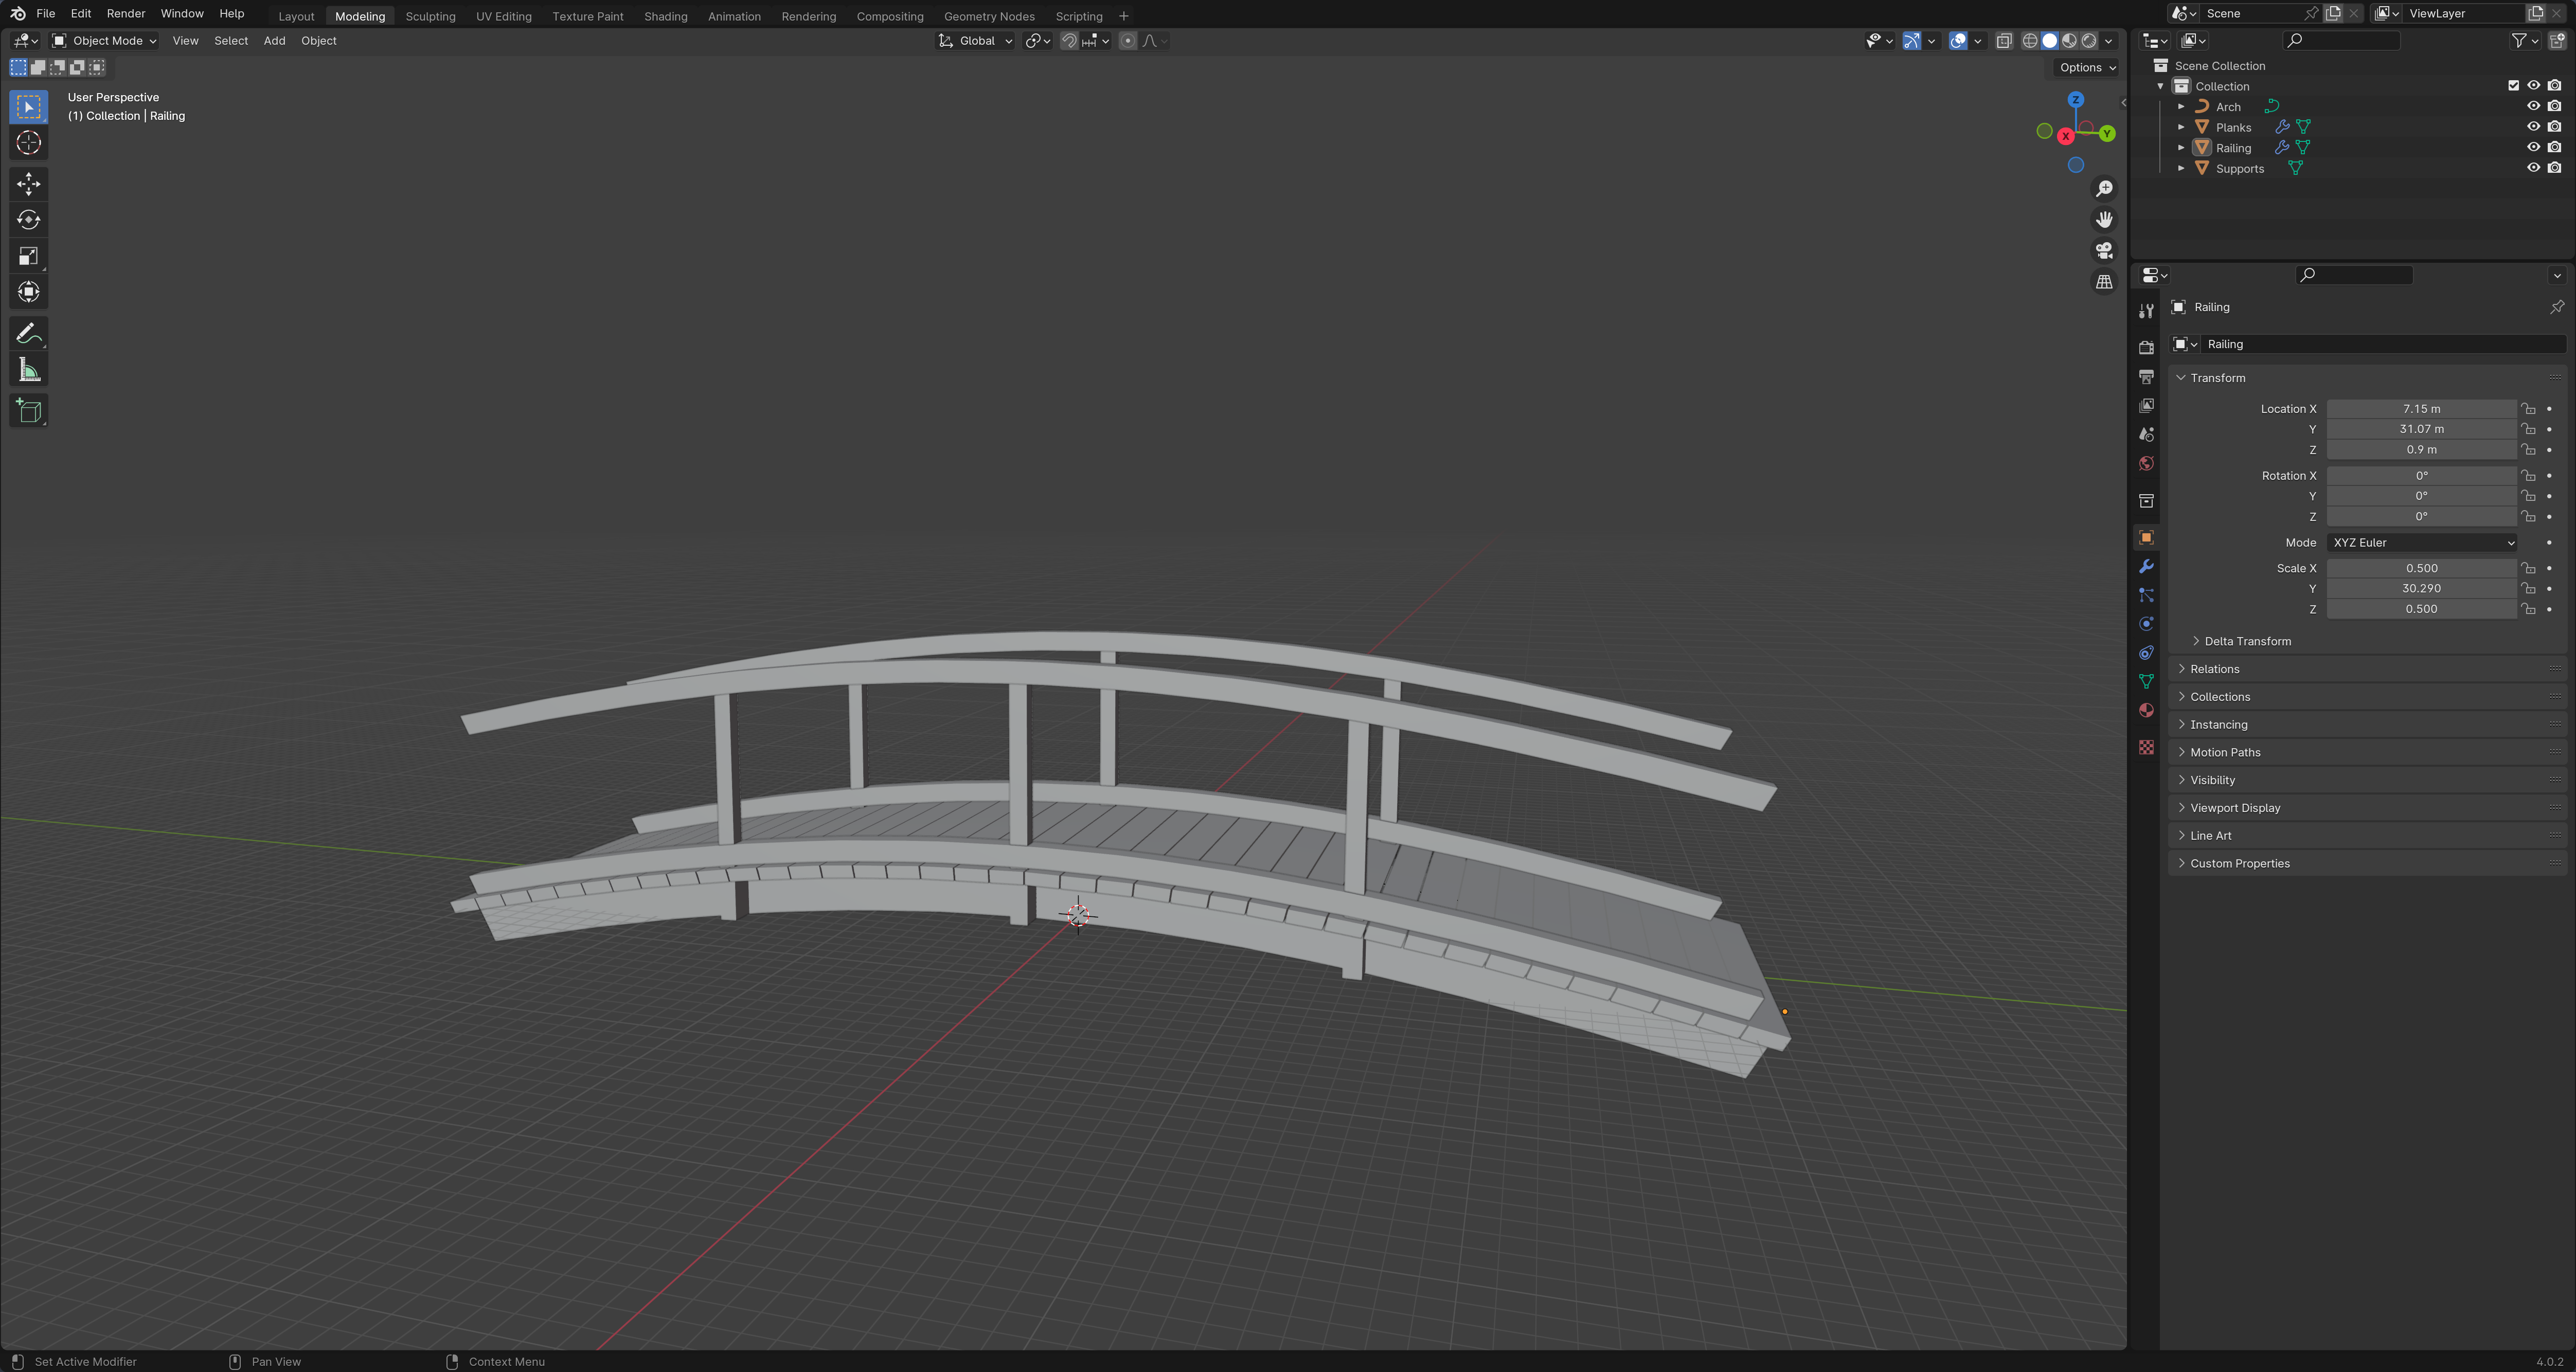
I then added the posts at the end of the bridge, again using the array modifier to save myself repeating work multiple times. I was initially just going to add spheres on top for the decorations on the posts, but I ended up shaping the tops to match the original bridge. I did this using the modelling tools, but it would probably have been easier to sculpt the shape instead. Afterwards I cleaned up the intersections between parts of the mesh using a boolean modifier, and made some small adjustments to the alignment and gaps to round out the model.
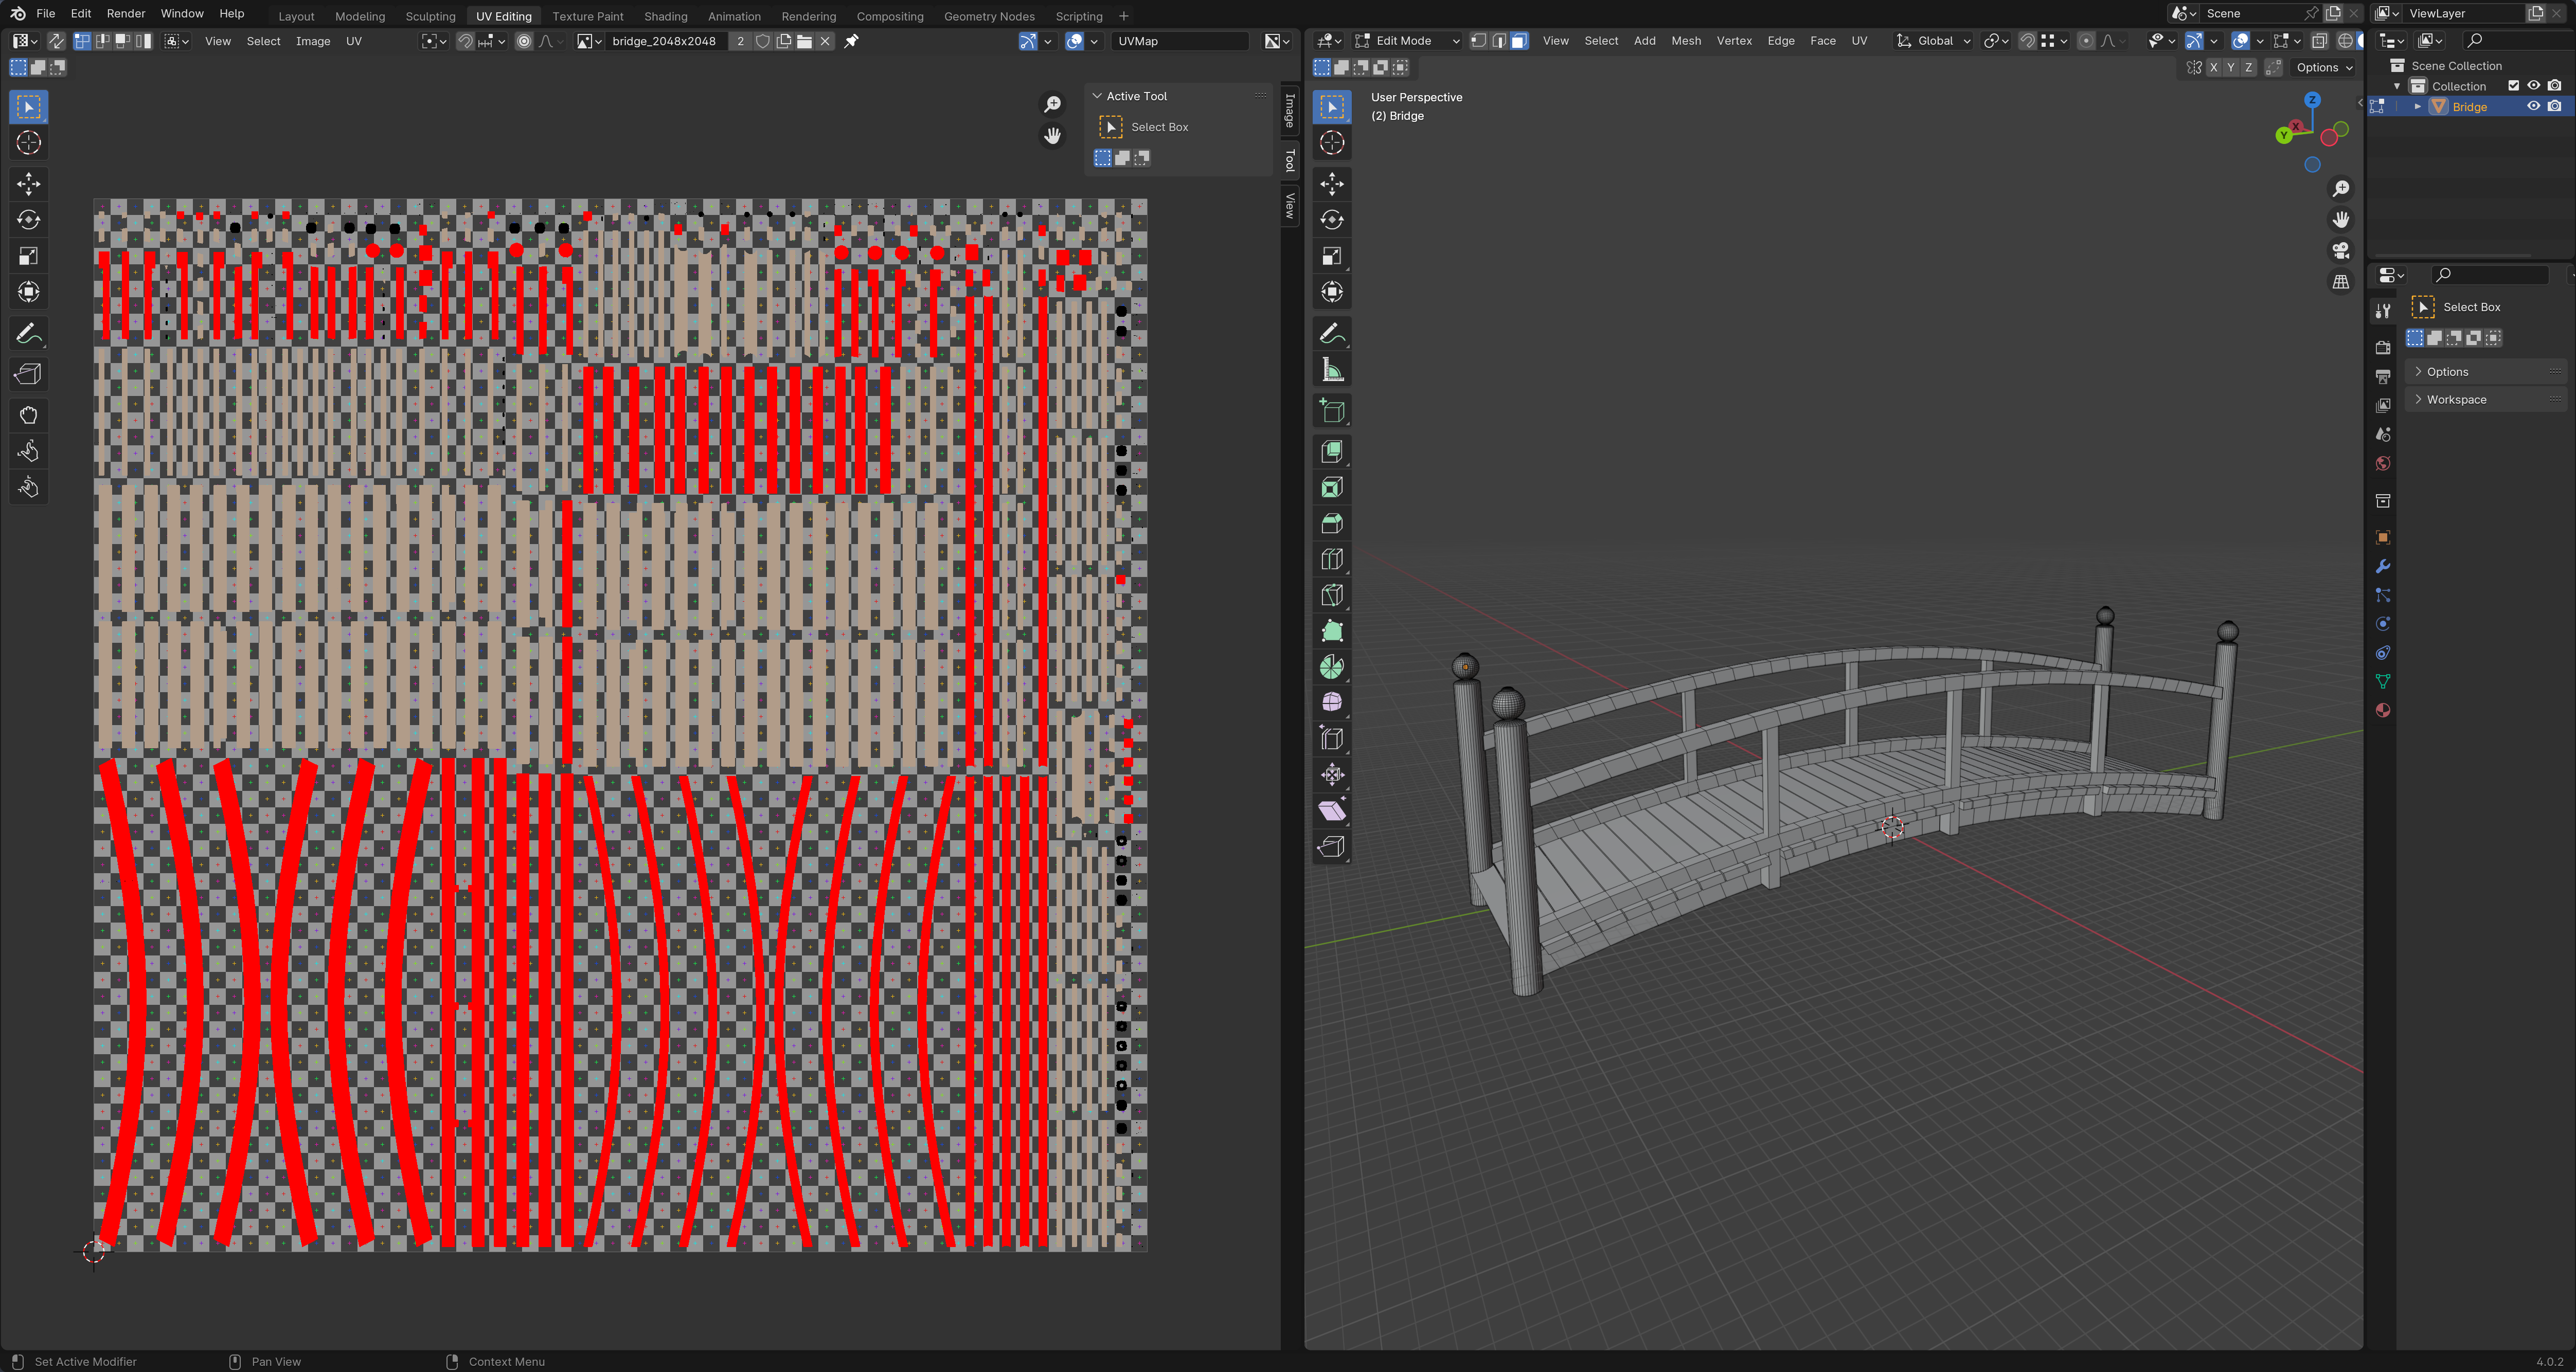
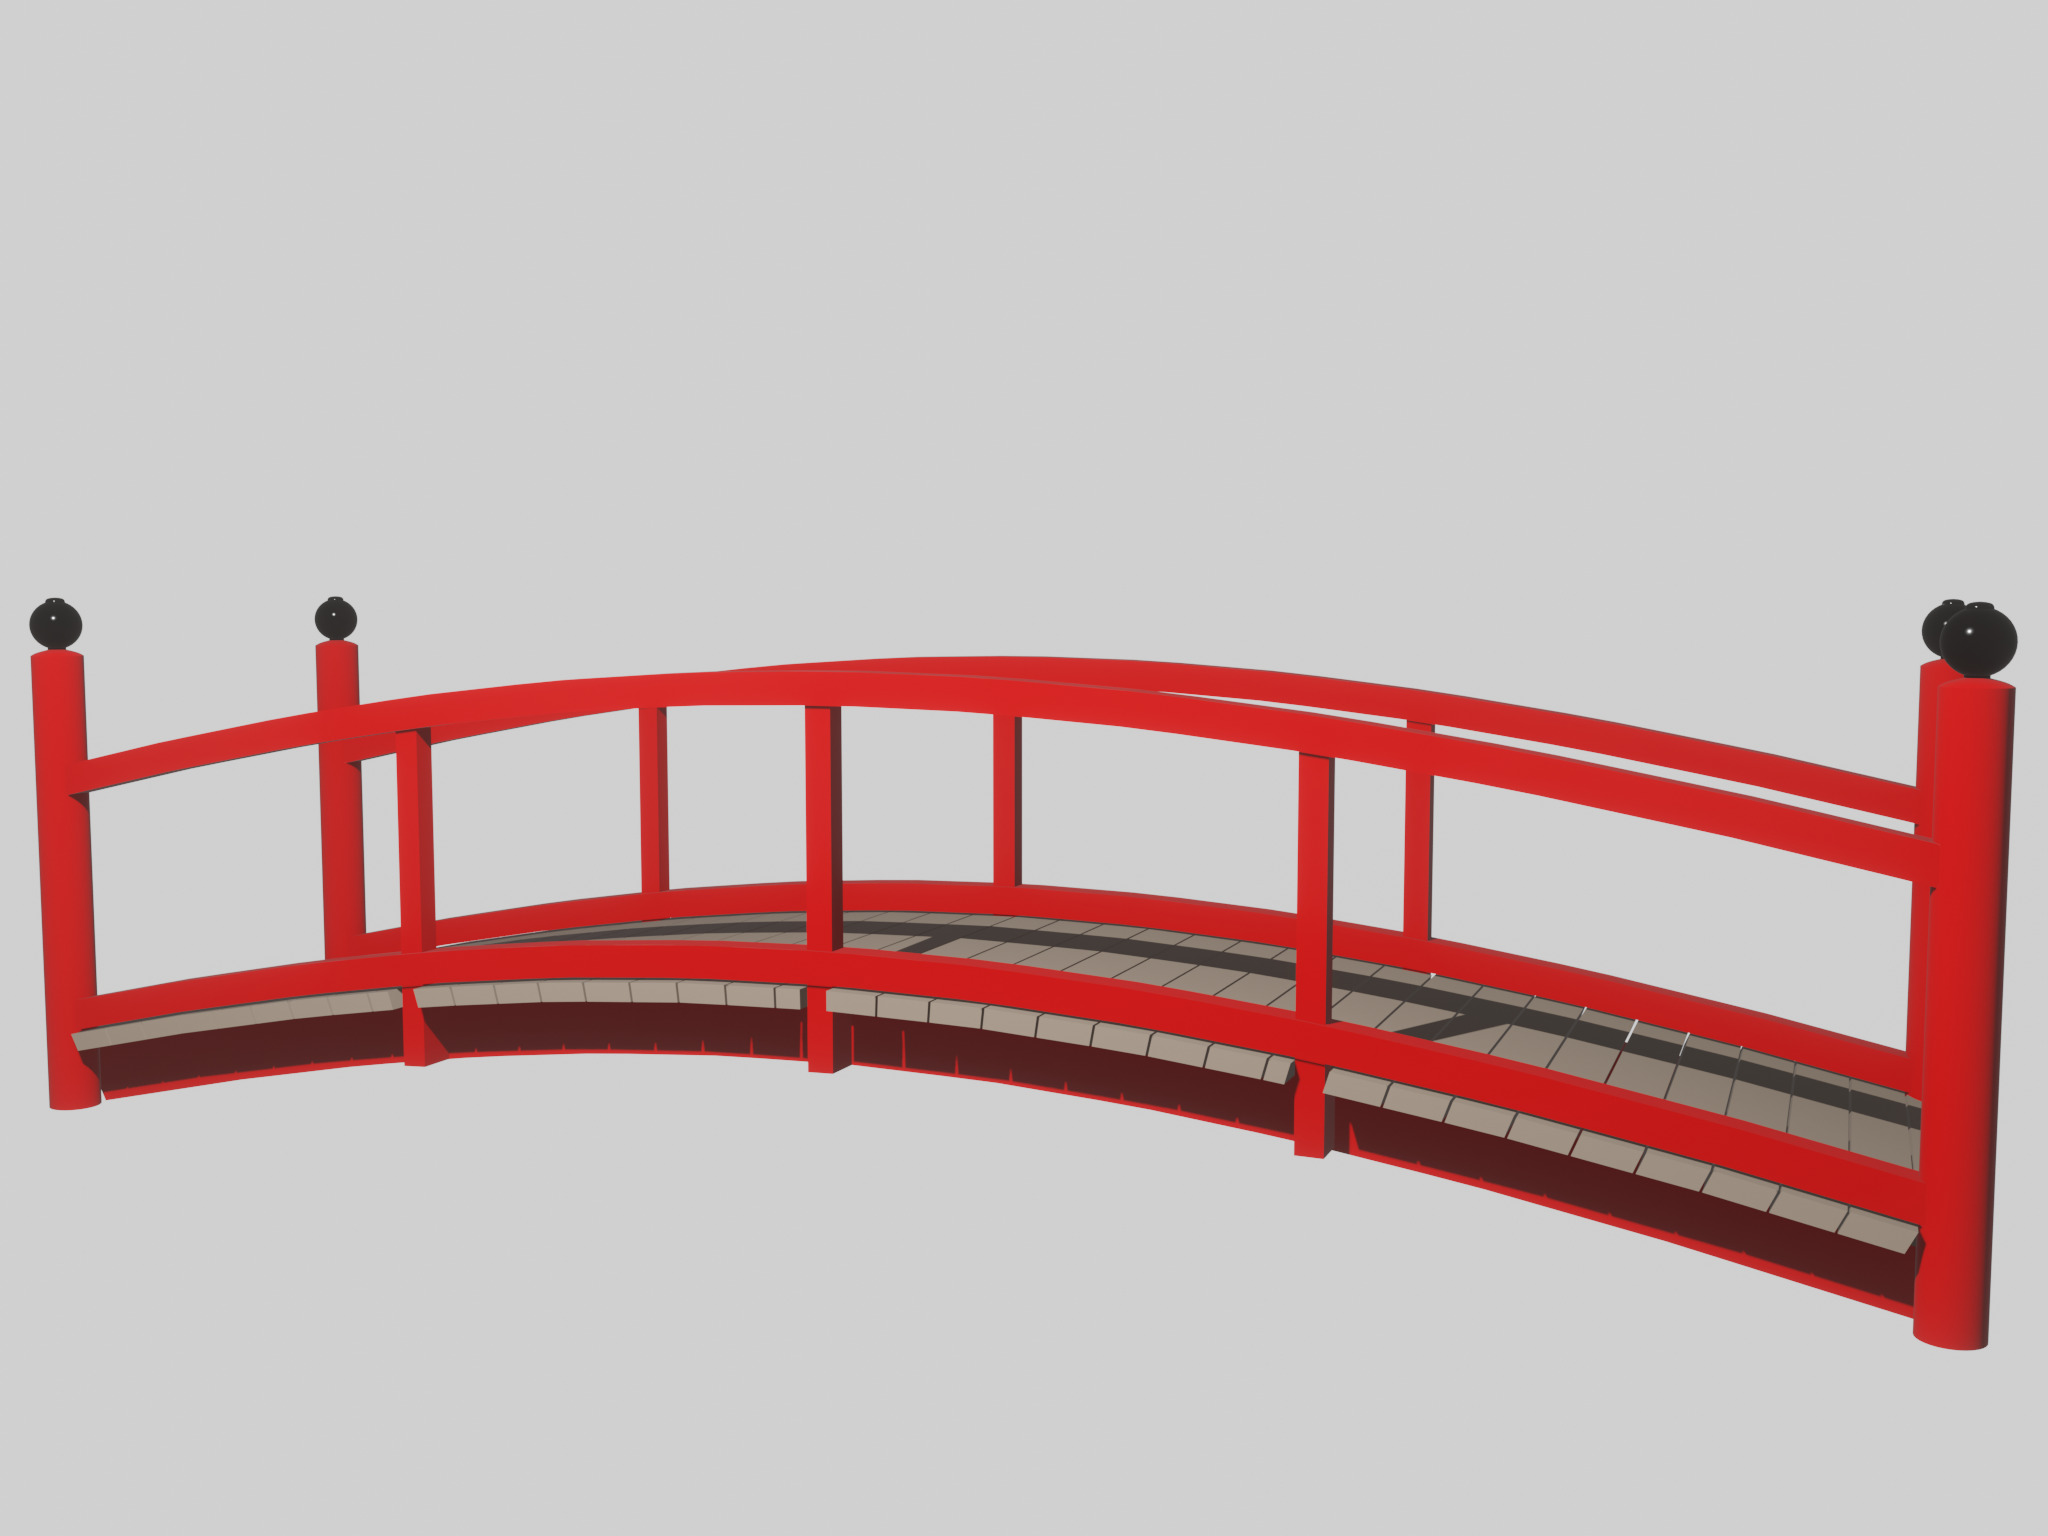
Last was UV mapping and texturing, which was quite honestly painful until I watched some tutorials on how to correctly mark seams; although I still ended up settling for a pretty mediocre UV map and a very messy texture. Blender does have a 'smart UV project' feature, but it would consistently over-seam the mesh, so I opted to mark seams by using select sharp edges (which I'm pretty sure is what smart UV project is doing anyway) and then manually removing the unnecessary marks before unwrapping. I also had to paint the texture by hand, because despite being fully sectioned off, the fill tool refused to paint without having blank spots and overshoot.
After all that though, I am very pleased with the end result - it definitely exceeded my expectations :)
Tutorial 1 - Barrels!
Before I set out to model the bridge, I started with something simpler... a crate!
Well okay, while I did end up making some crates, I of course started with the barrel. I had a specific style in mind for how I wanted it to look however, and I ended up loosely following a different tutorial than what was recommended:
Instead of having the planks be painted on as a texture, I thought it would look better if they were actually modelled in. Although if this was a game asset, using a texture with a bump map may be the preferred approach, depending on the polygon budget. I added the planks using a bevel modifier, as per the tutorial, but if I was to repeat it I may use a similar approach to the bridge walkway, with an array of individual planks curved around a torus 🍩. I also tweaked the model to look how I wanted, adding an extra set of rings around the outside, and staggering the planks on the top and bottom to give it a less uniform look. Being a very simple model, UV mapping and texturing were fairly straightforward. I had initially wanted to add wood grain and steel textures to the model, but I opted to start out with just some plain colours, and honestly I kind of like the understated look.
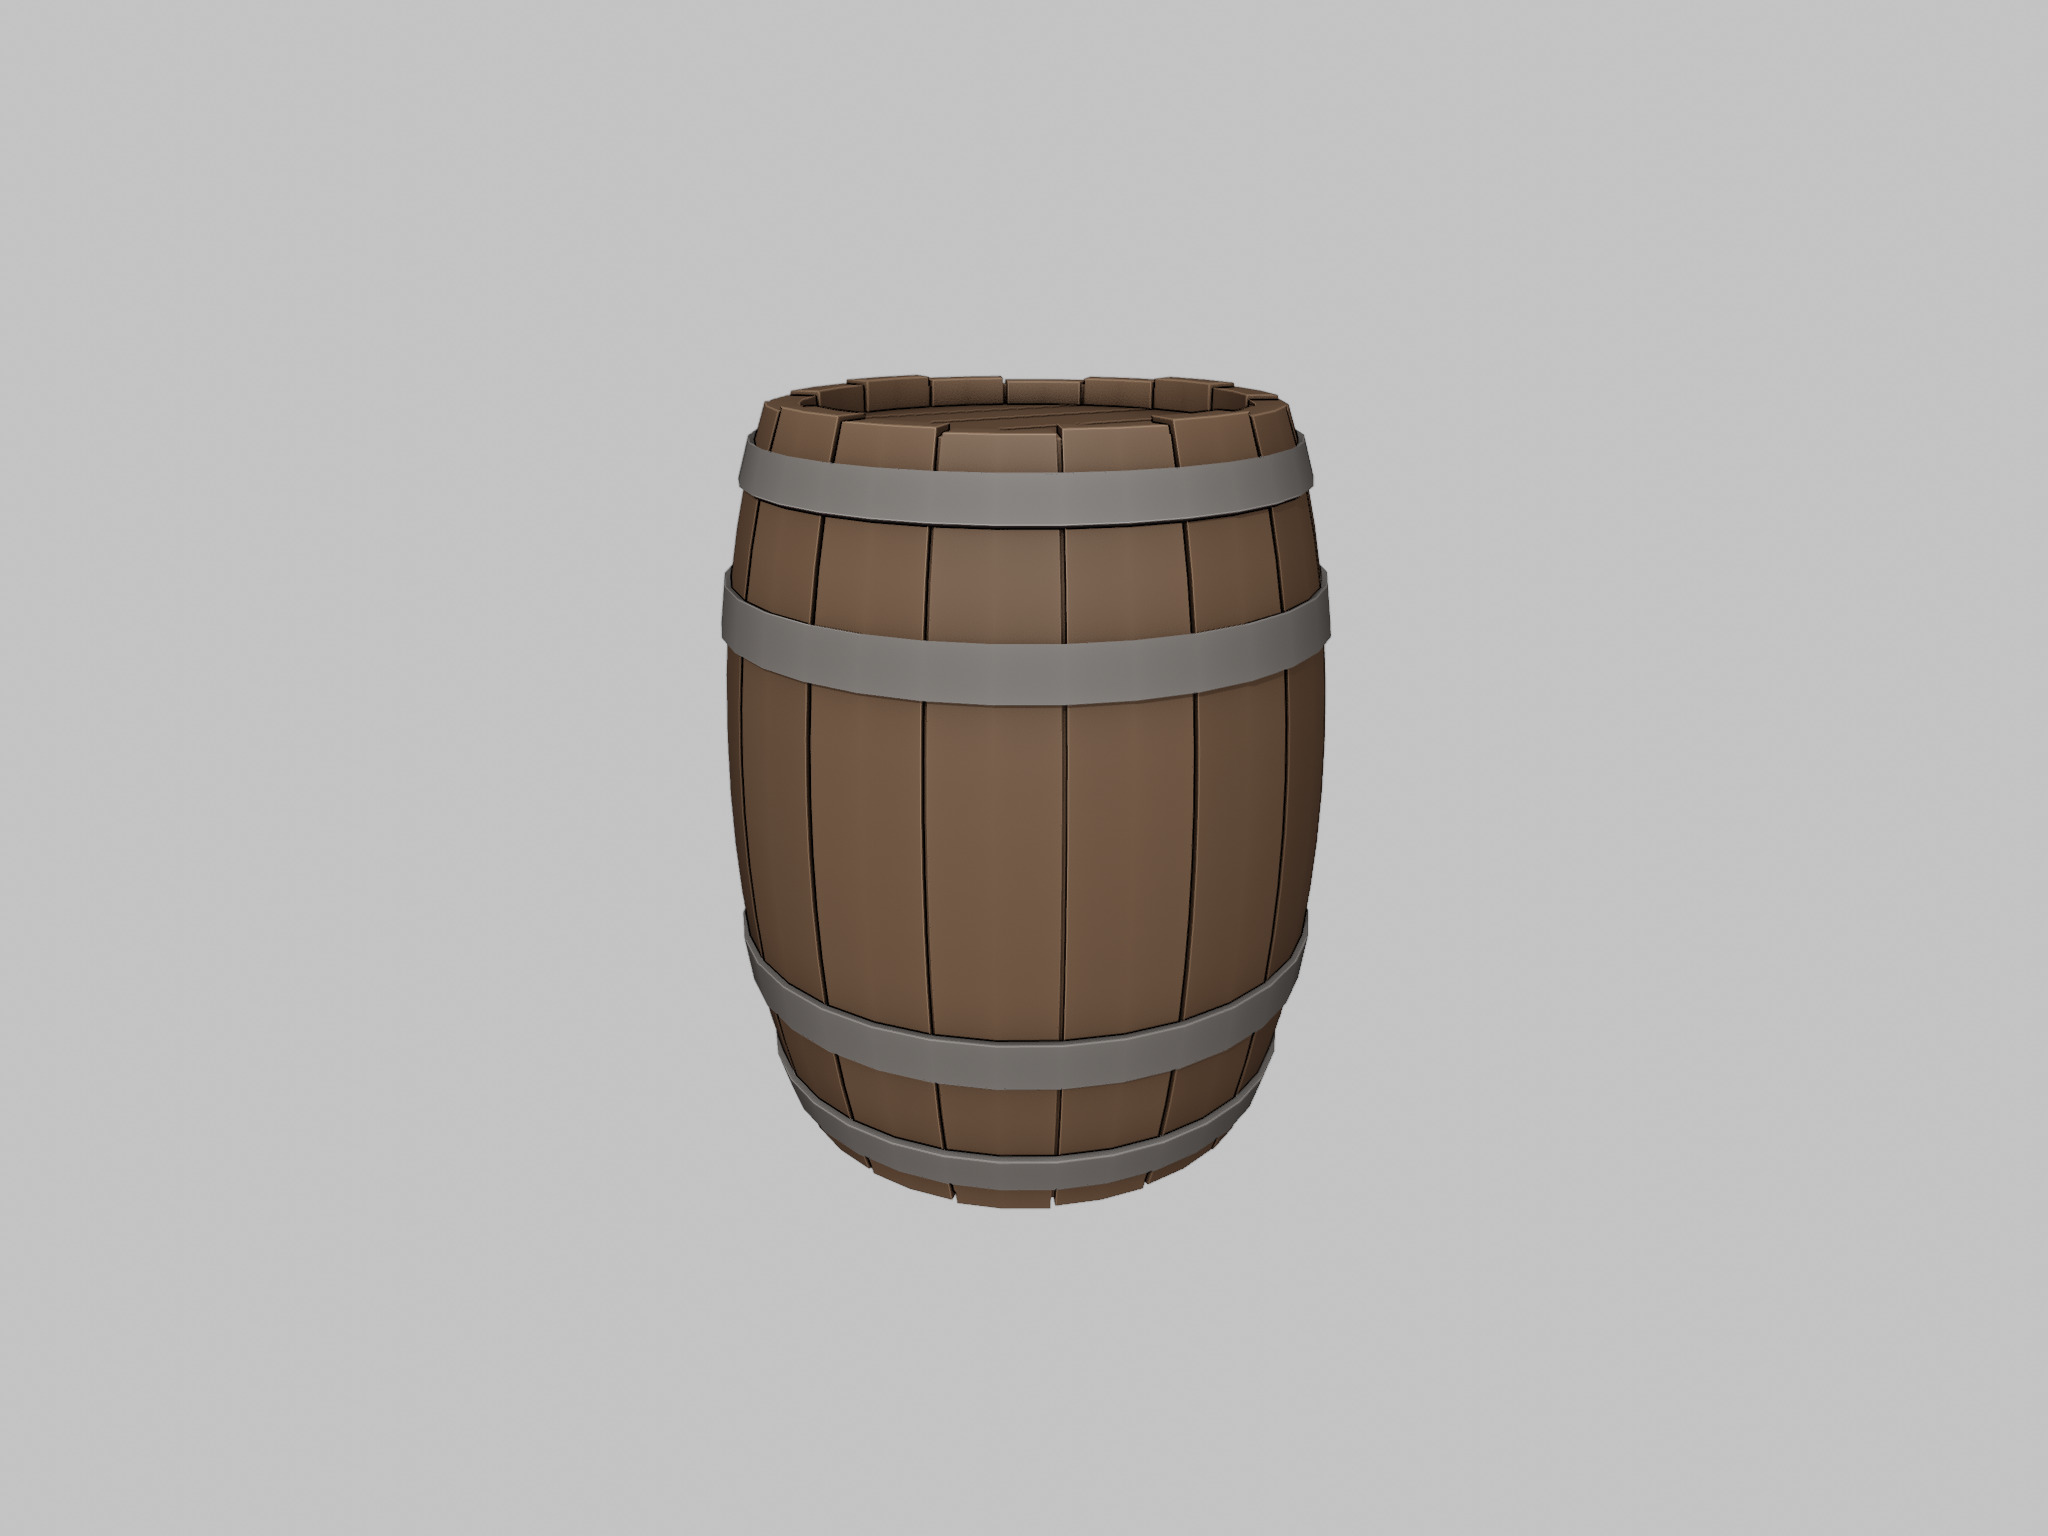
I also wanted to do some sculpting on the outside, to adds some splits and notches in the wood - unfortunately I did not have time to go back and add this after working on the bridge, but I still think it would really tie it together nicely.
Before the first tutorial I decided to make some simple crate models - the other universal video game asset - to go along with my barrel. These did not turn out quite as good in my opinion. I simply could not get the faces of the cube to subdivide so I could add the recessed planks like on the barrel. I think there might be some weird geometry going on that Blender doesn't like. So, without spending too much time on it, I settled for simply adding some cross beams (x and /) instead.
Now, it was time to export all the models and import them into Unity for the tutorial and...

1. Incorrect scaling
2. Context menu doesn't work
3. Window doesn't redraw when changing focus
* sigh *
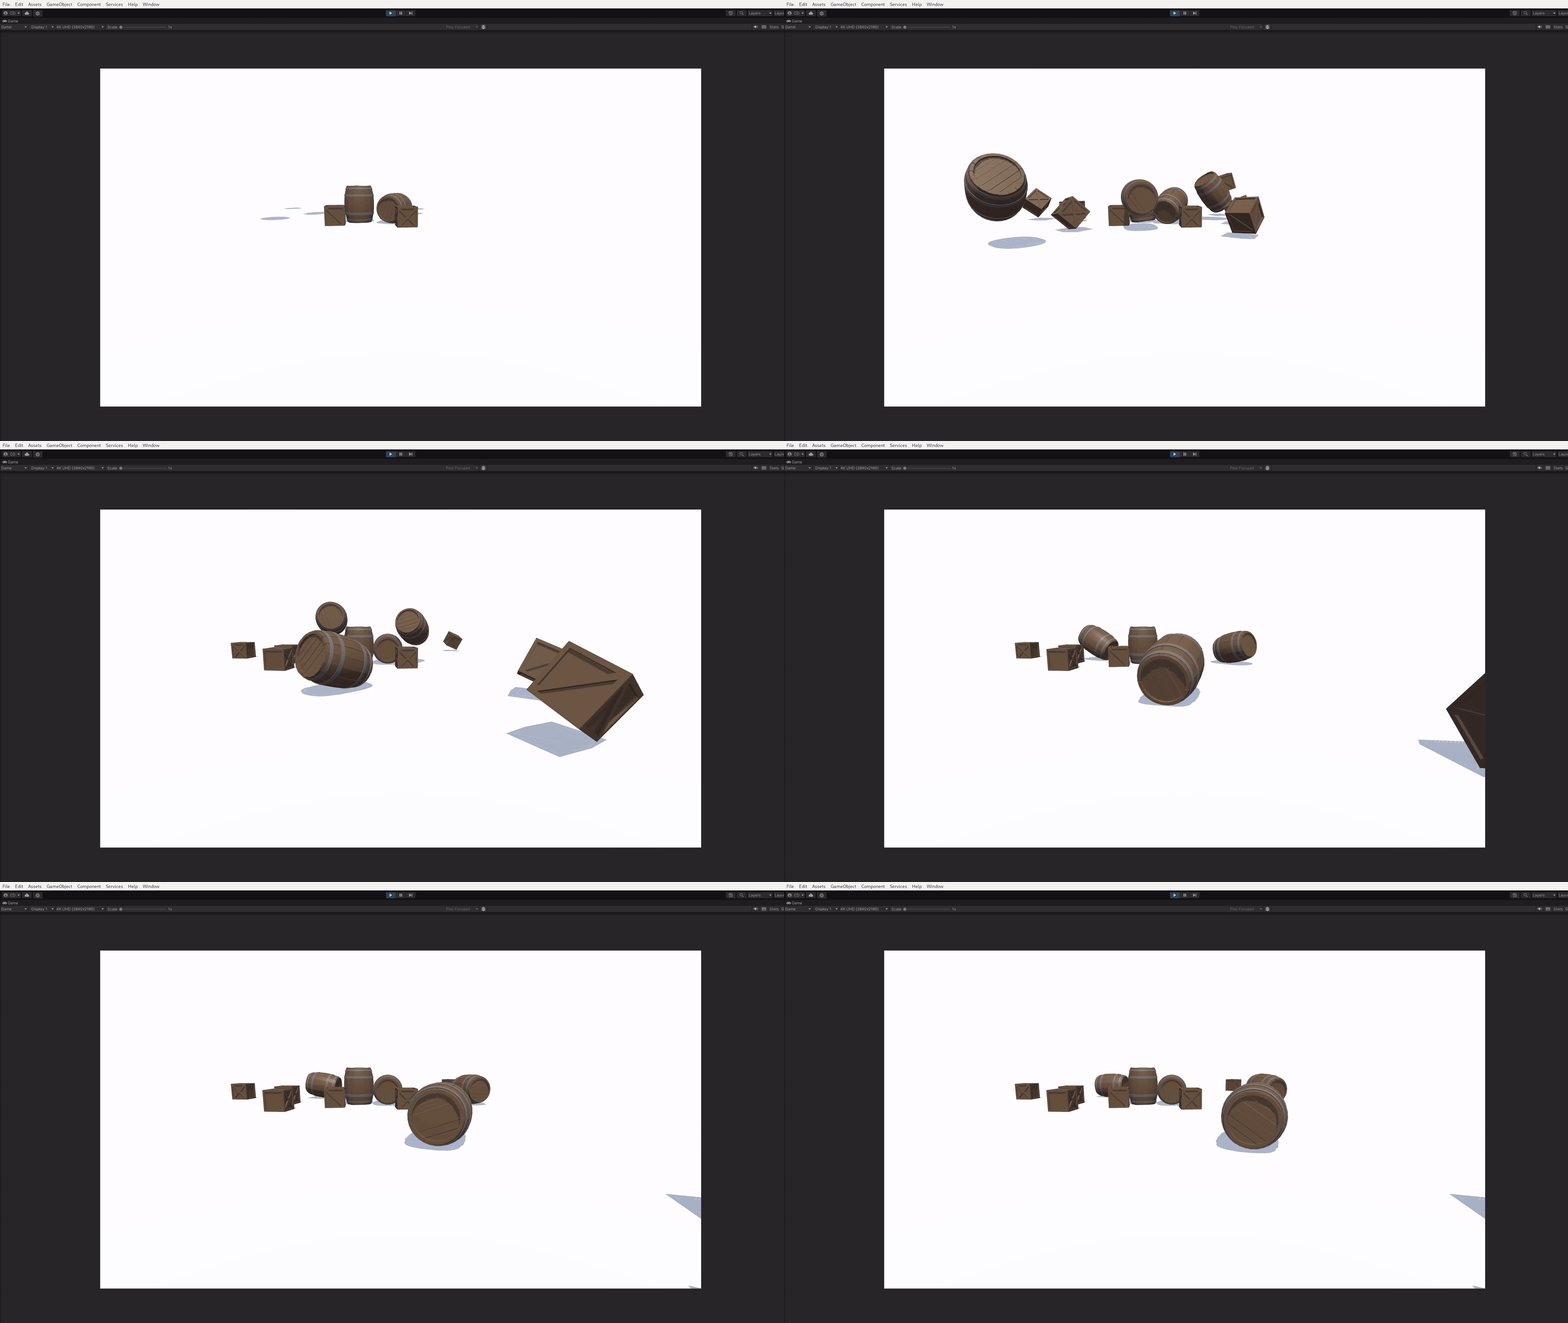
After switching to the LTS version, and writing a quick shell script as a band-aid fix (Linux is good I swear), I was able to import all the models and put together a simple scene. I wasn't really sure what to make, so I decided to just drop a bunch of stuff out of the sky.
