Week 6
Self Study 5 -- Lighting and Shadergraph
Now that the core game play was working, it was time to improve the appearance of the game with some improved lighting and simple shaders. Like I mentioned in a previous devlog, I had already begun working on a water shader so I could have a flowing river cutting through the centre of the map. Starting out I had little idea how shaders actually worked, so I did a bit of reading on the basics before following part of a tutorial from Brackeys on creating a water shader using shadergraph. This was a starting point, but it didn't really look how I wanted it too. I was trying to make more of a low poly effect, so I needed apply some flat shading. I thought this would just be a toggle somewhere in the material settings, but it seems the only way (that I could find) was to manually apply a flat shading effect to the normal channel. I also changed the noise type from gradient to voronoi, and this gave me an effect pretty close to what I was after. Lastly, I added some variables so I could change properties like the rate and amplitude of the waves, as well as the material properties for the water.
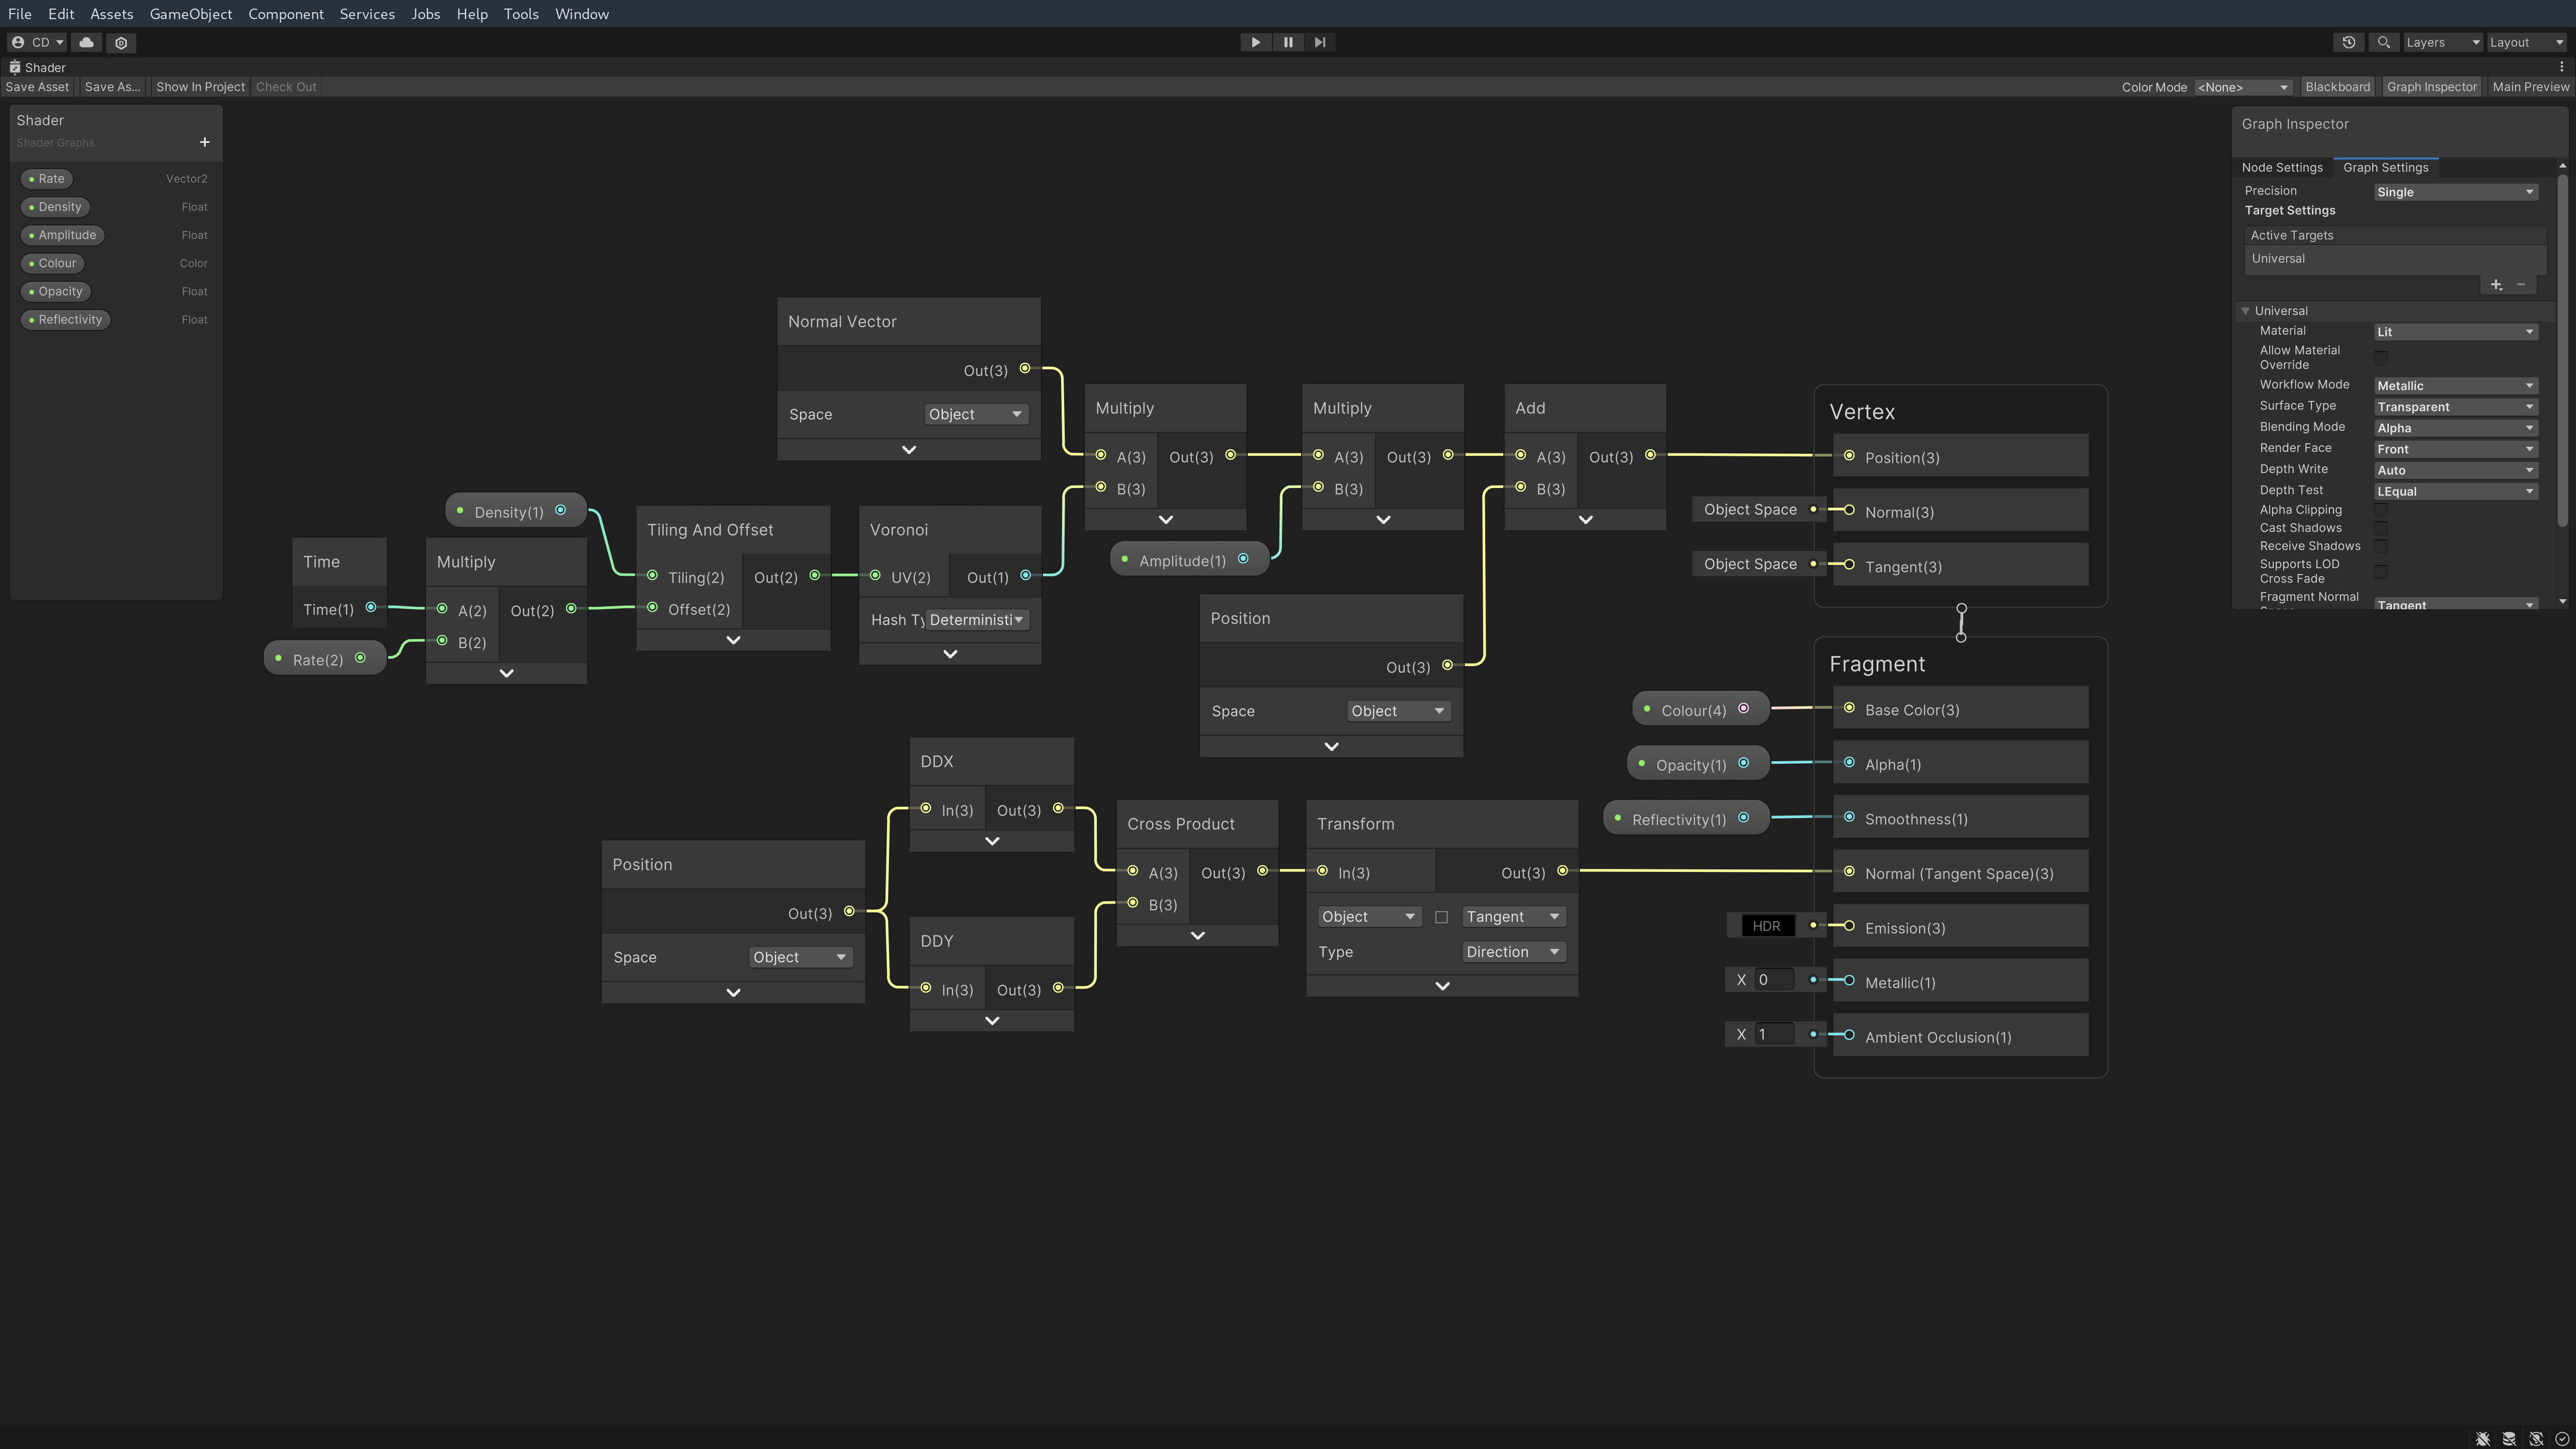
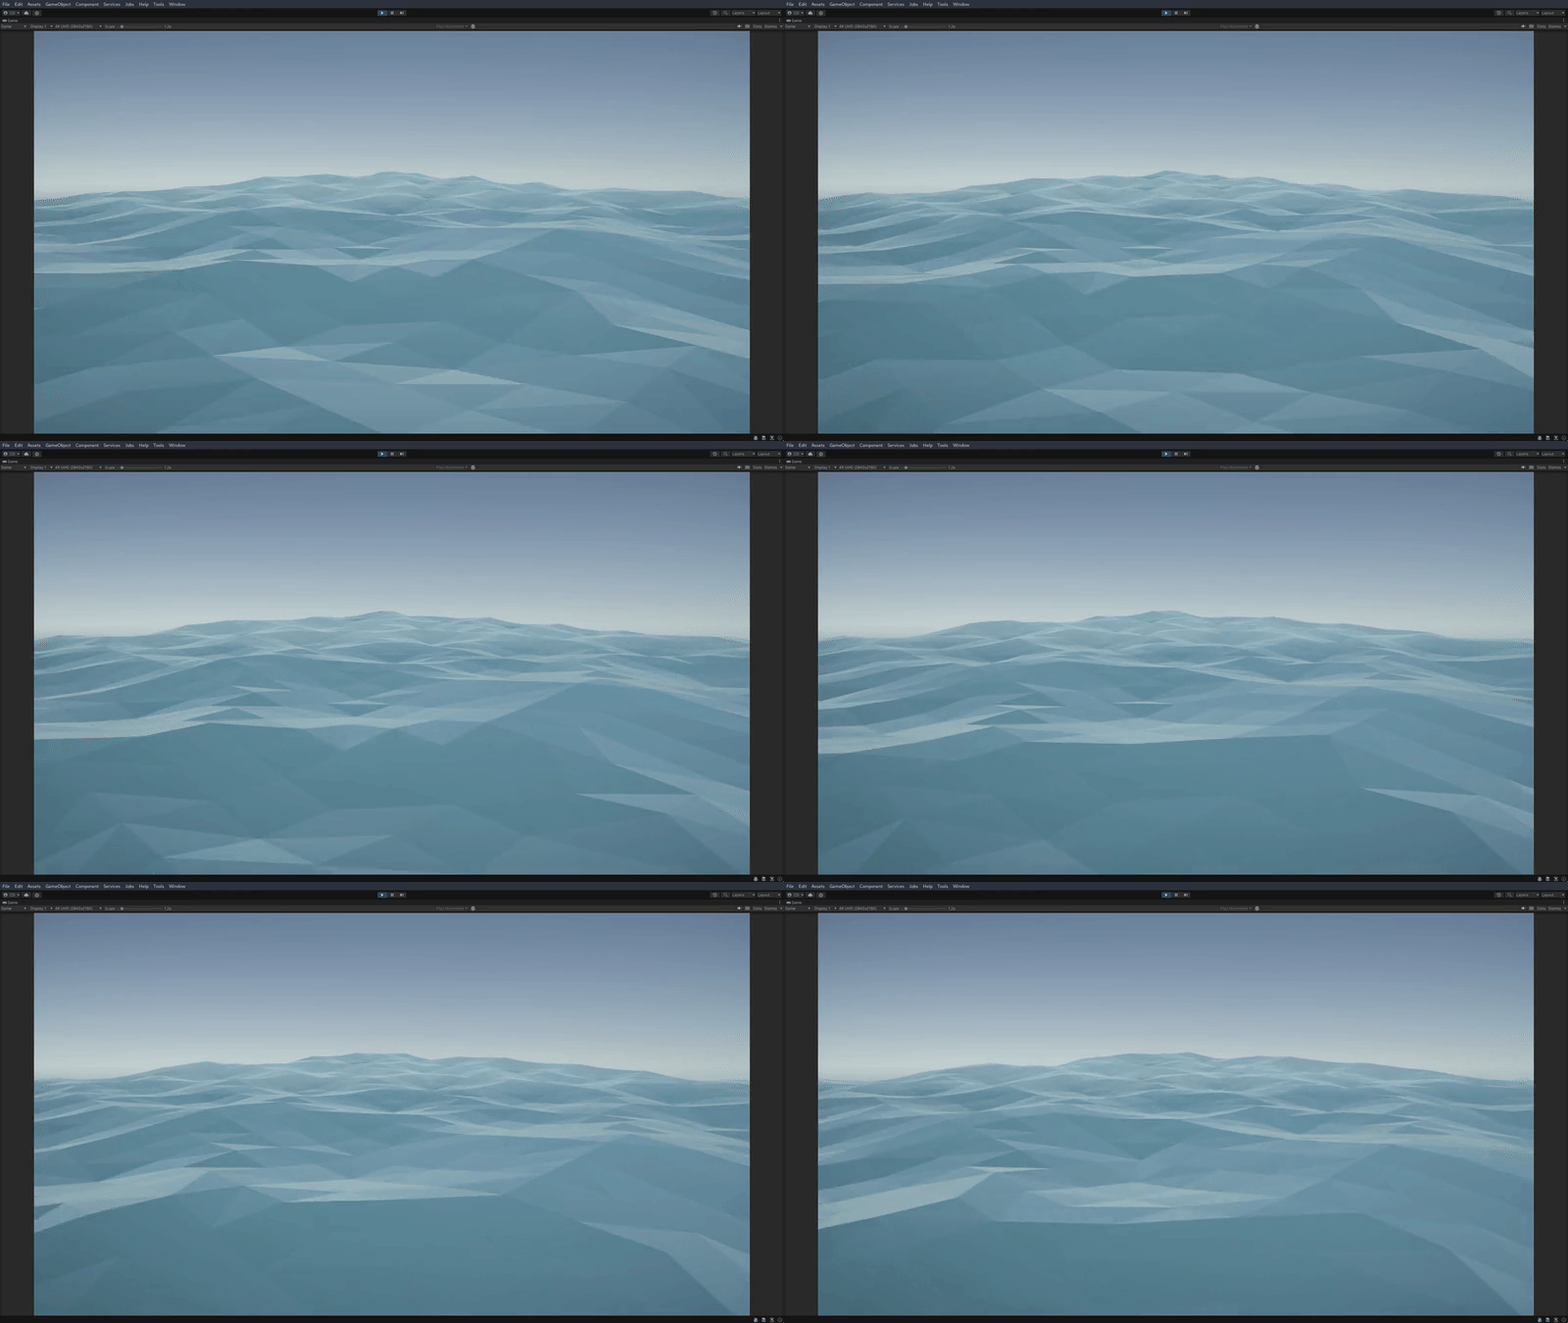
I was pretty happy with this effect, although I think it could be improved by adding some gradient colour to the waves, as well as generating pseudo-random noise, rather than using a repeating texture (you can see the pattern if you look for it). After importing this shader into my main project, I tried applying it to a large plane sitting under the map, but the vertex displacement was not working correctly. It turned out scaling the plane also seemed to 'scale' the shader that was applied to it. There is probably a simple way to fix this, but my scuffed solution was to create a grid of default planes, and then stitch them all together using pro-builder, which had the shader would work as expected.

You may have noticed I removed all the grass from my scene. I wanted to use a shader to generate animated grass instead. I thought this would be doable in shadergraph, but quickly realised doing this in a way that would be performant would require learning how to write shadercode.
*technical jargon ahead*
My first idea was to use a geometry shader to generate the grass, and then apply some vertex displacement for sway. This is a common, but flawed approach, as it causes the GPU to regenerate all the grass every frame. A better approach, described in a series of videos by Acerola, is to use GPU instancing to cache a simple grass model (or multiple for LOD) and then generate thousands of said model by storing them in a buffer, or multiple buffers for chunking.
*jargon over*
Unfortunately, Acerola's video is not a tutorial, just an explanation of the concept, but he does provide the sample project he made. I downloaded it and had a look at how it works, and while it's a little over my head, if I find the time to learn more about shadercode I think I could make it work for a project. I did find out that the terrain tools in Unity have a built in method of generating grass models using GPU instancing, but the editor couldn't seem to handle that much grass without crashing. So for now, I put the idea on hold until I can perhaps get a shader working (though I did learn a bunch about draw call optimisation trying this).
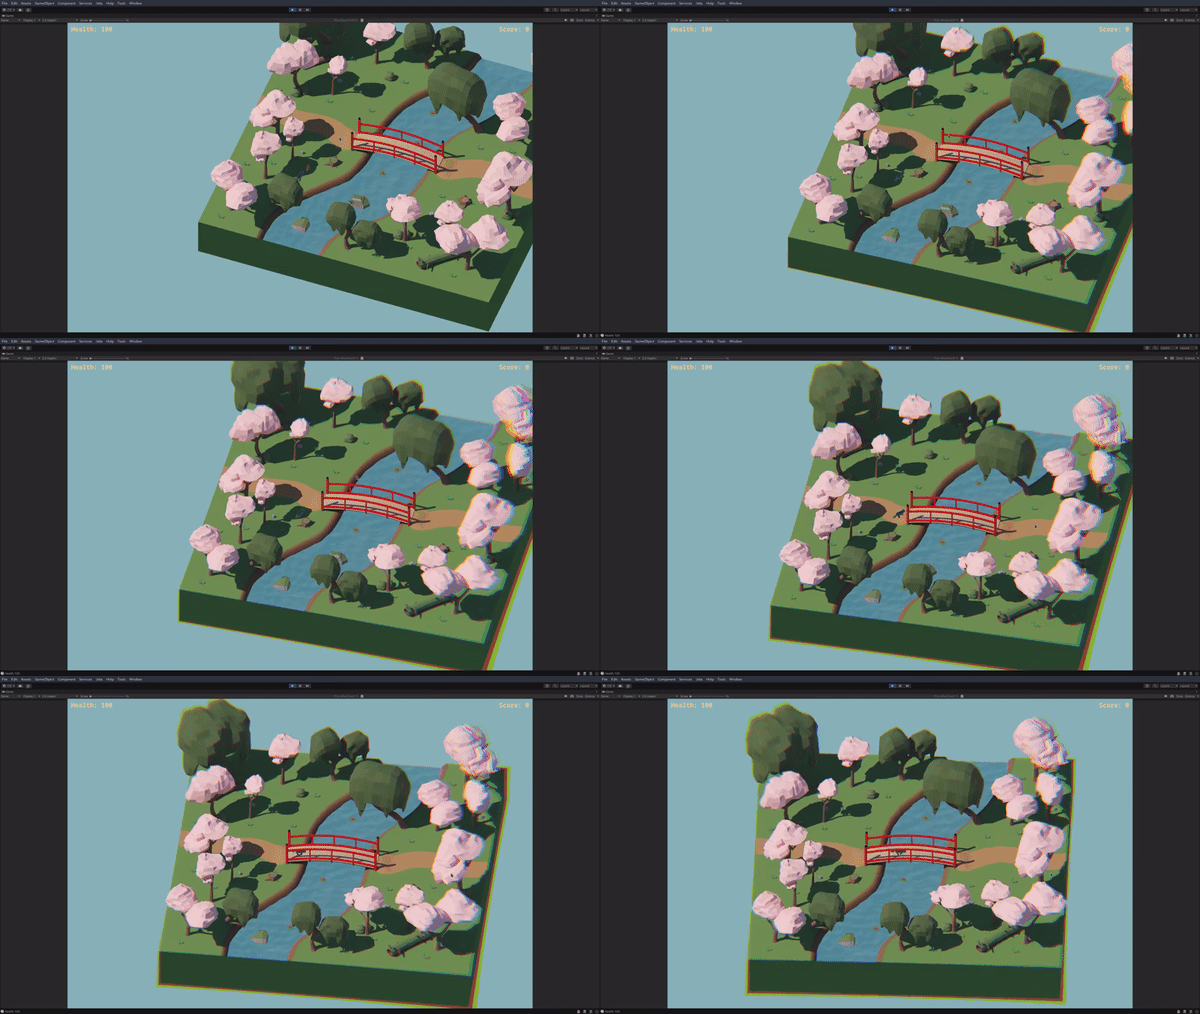
Next I had to improve the lighting for the scene. I had already adjusted the scene lighting when making the map, but the quality of the real time lighting (especially shadows) was very poor. Baking the lighting for static objects would yield a much better result, but I did have a lit of difficulty getting the bake to actually work. At first, the quality of the baked lighting was extremely poor. This turned out to be a problem with the light map UV's for many of the objects in the scene, which had to be adjusted to account for scaling of the models. After fixing this, the resolution of shadows improved significantly. I also tried increasing the light-map texture size to 4k, which literally killed my computer. The GPU would run out of VRAM, so the render was pushed onto the CPU, which promptly filled all the system memory and the swap file, and then crash the PC...
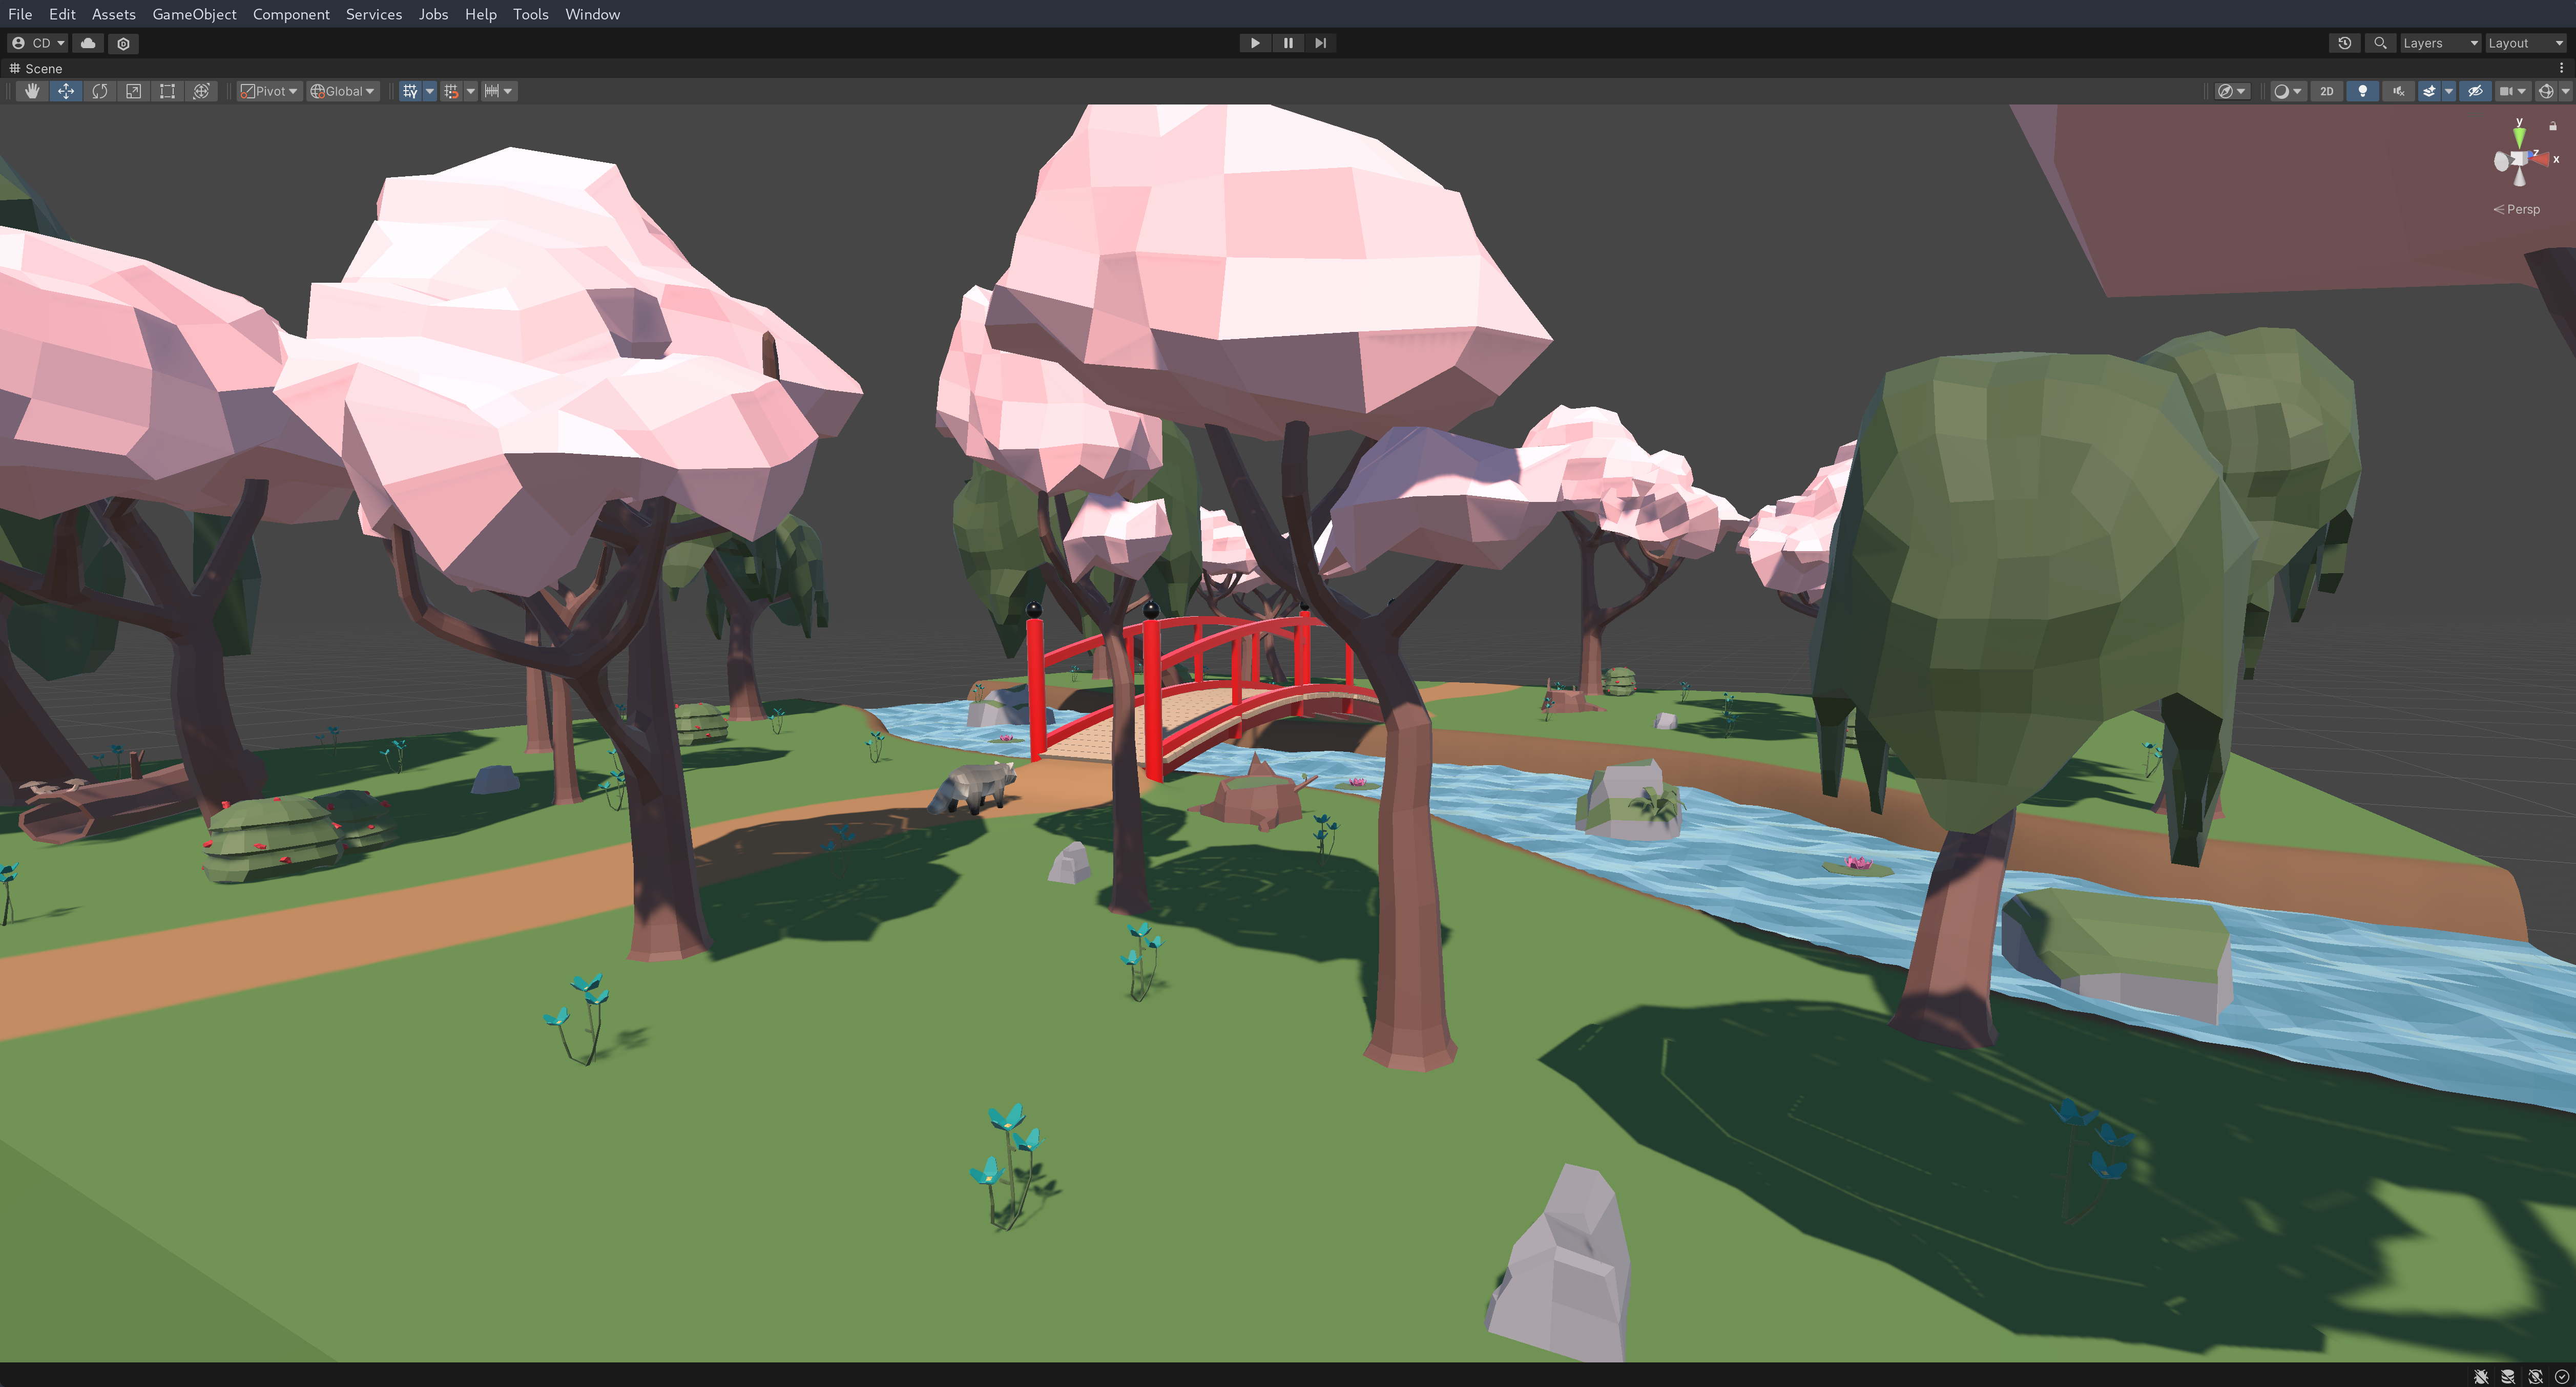
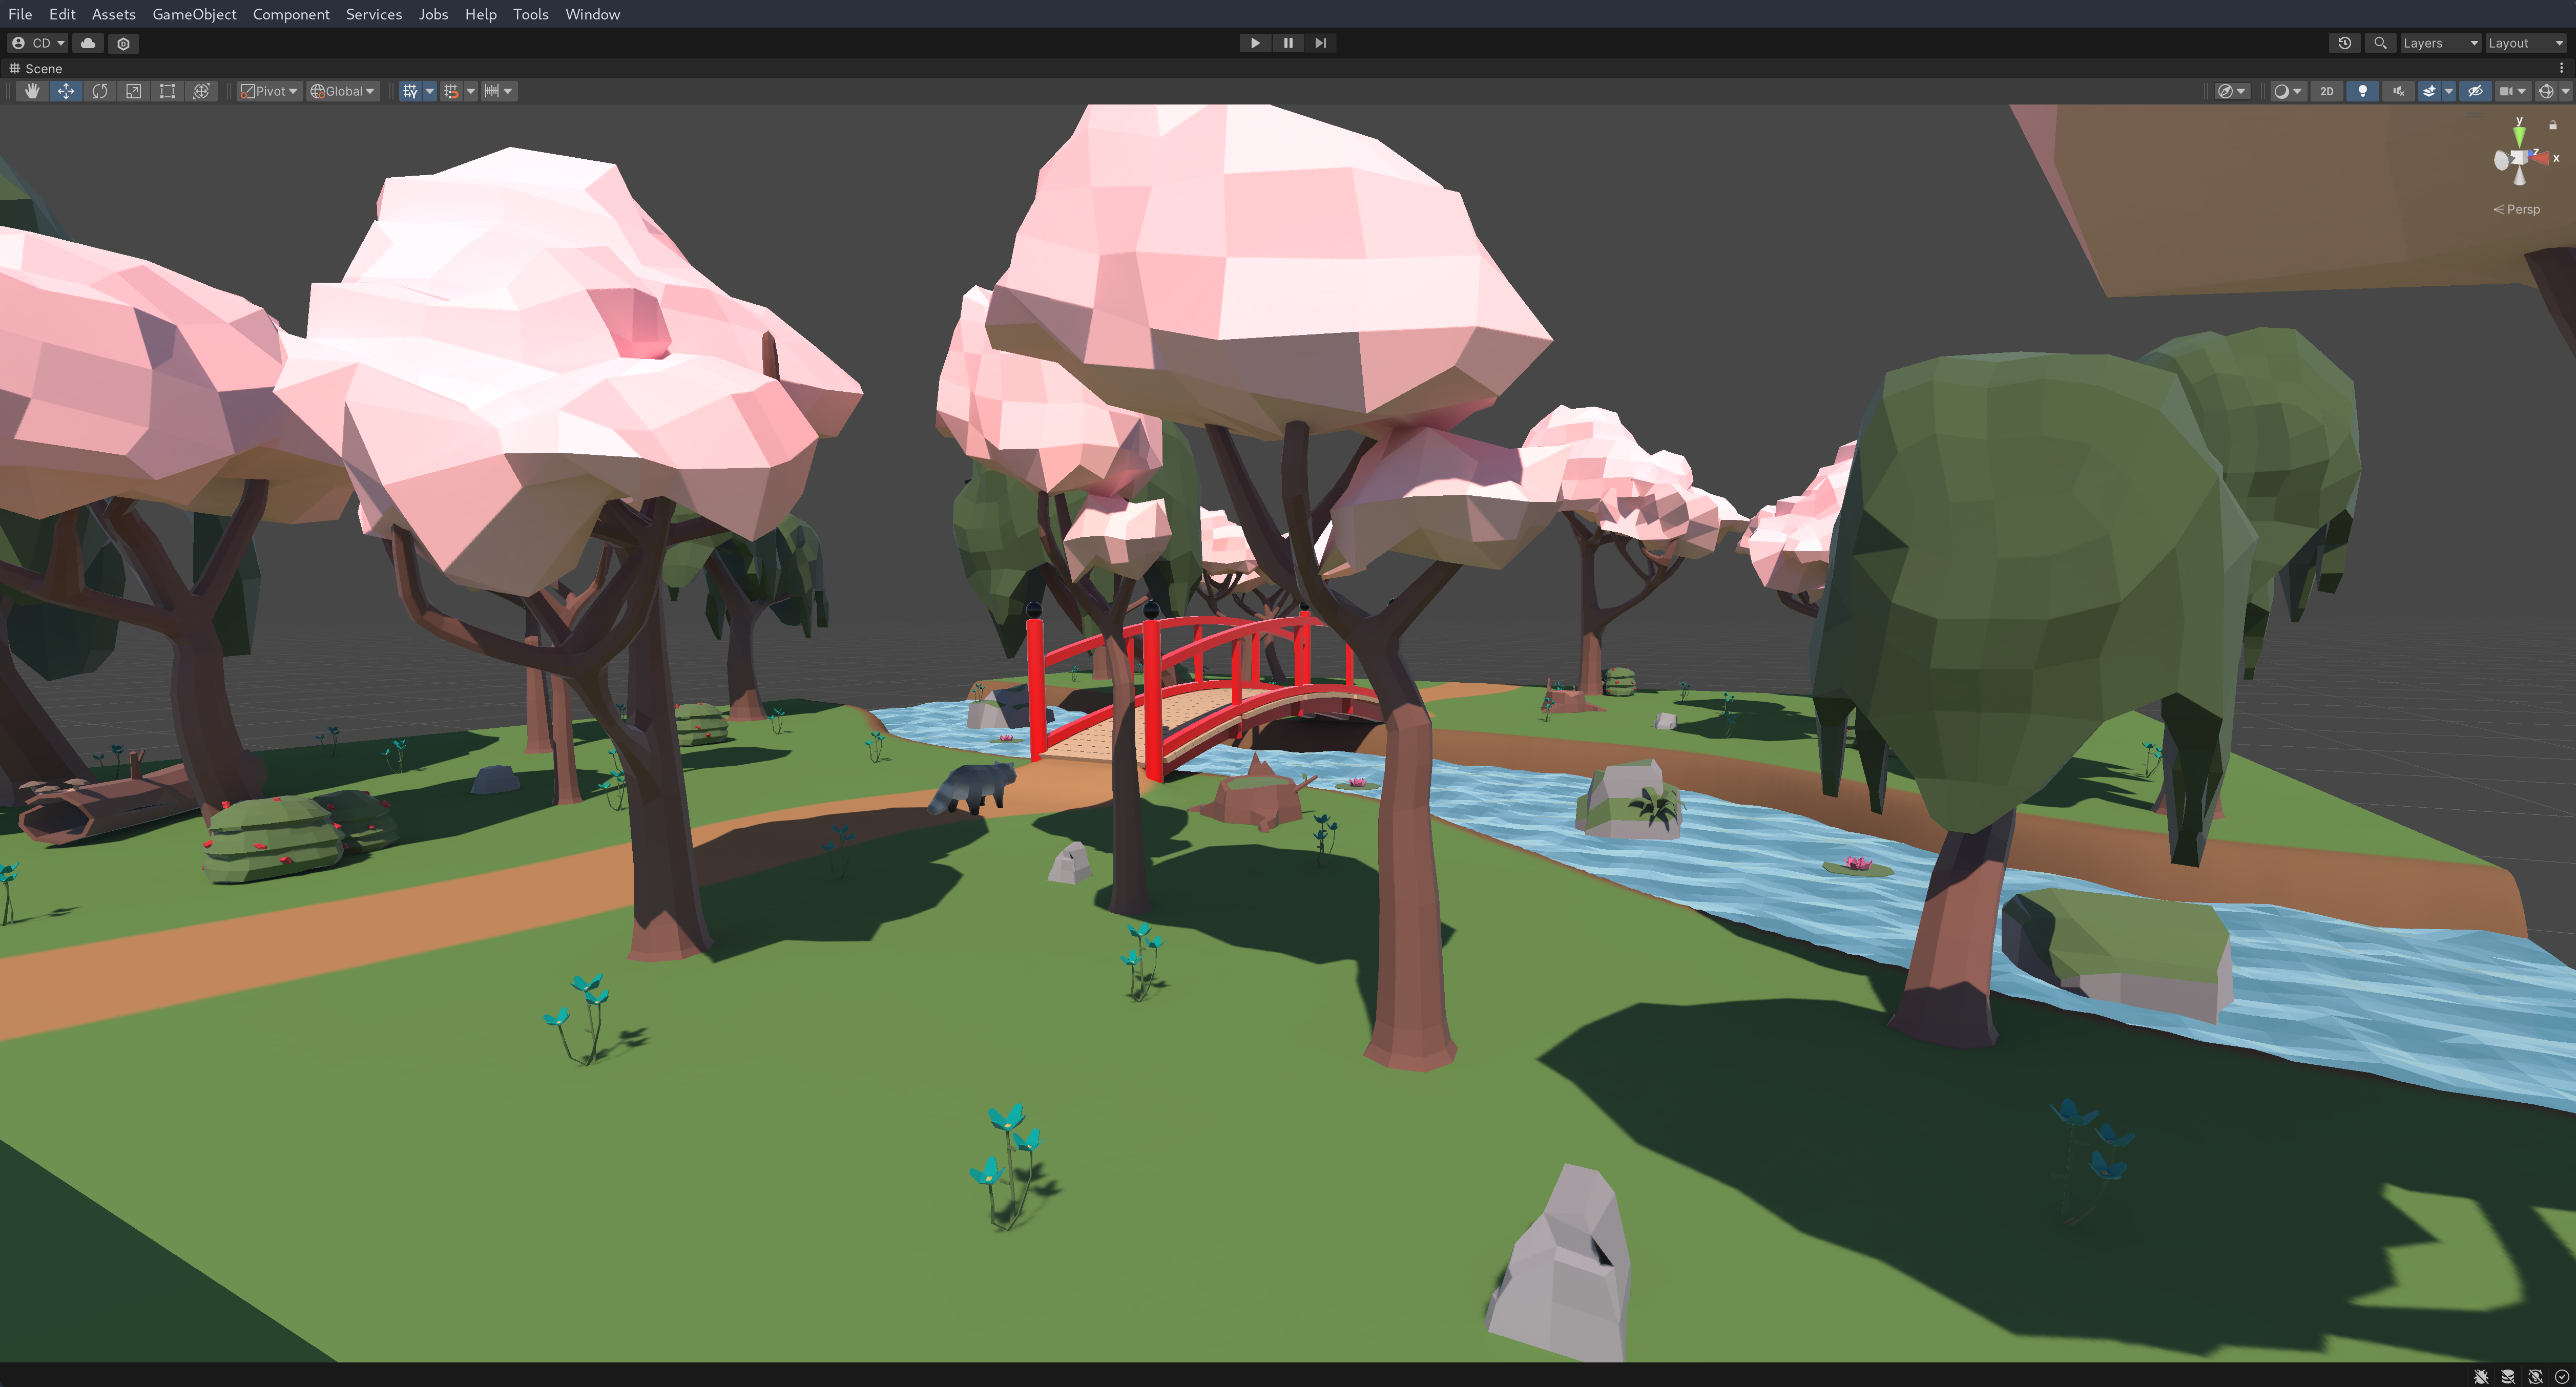
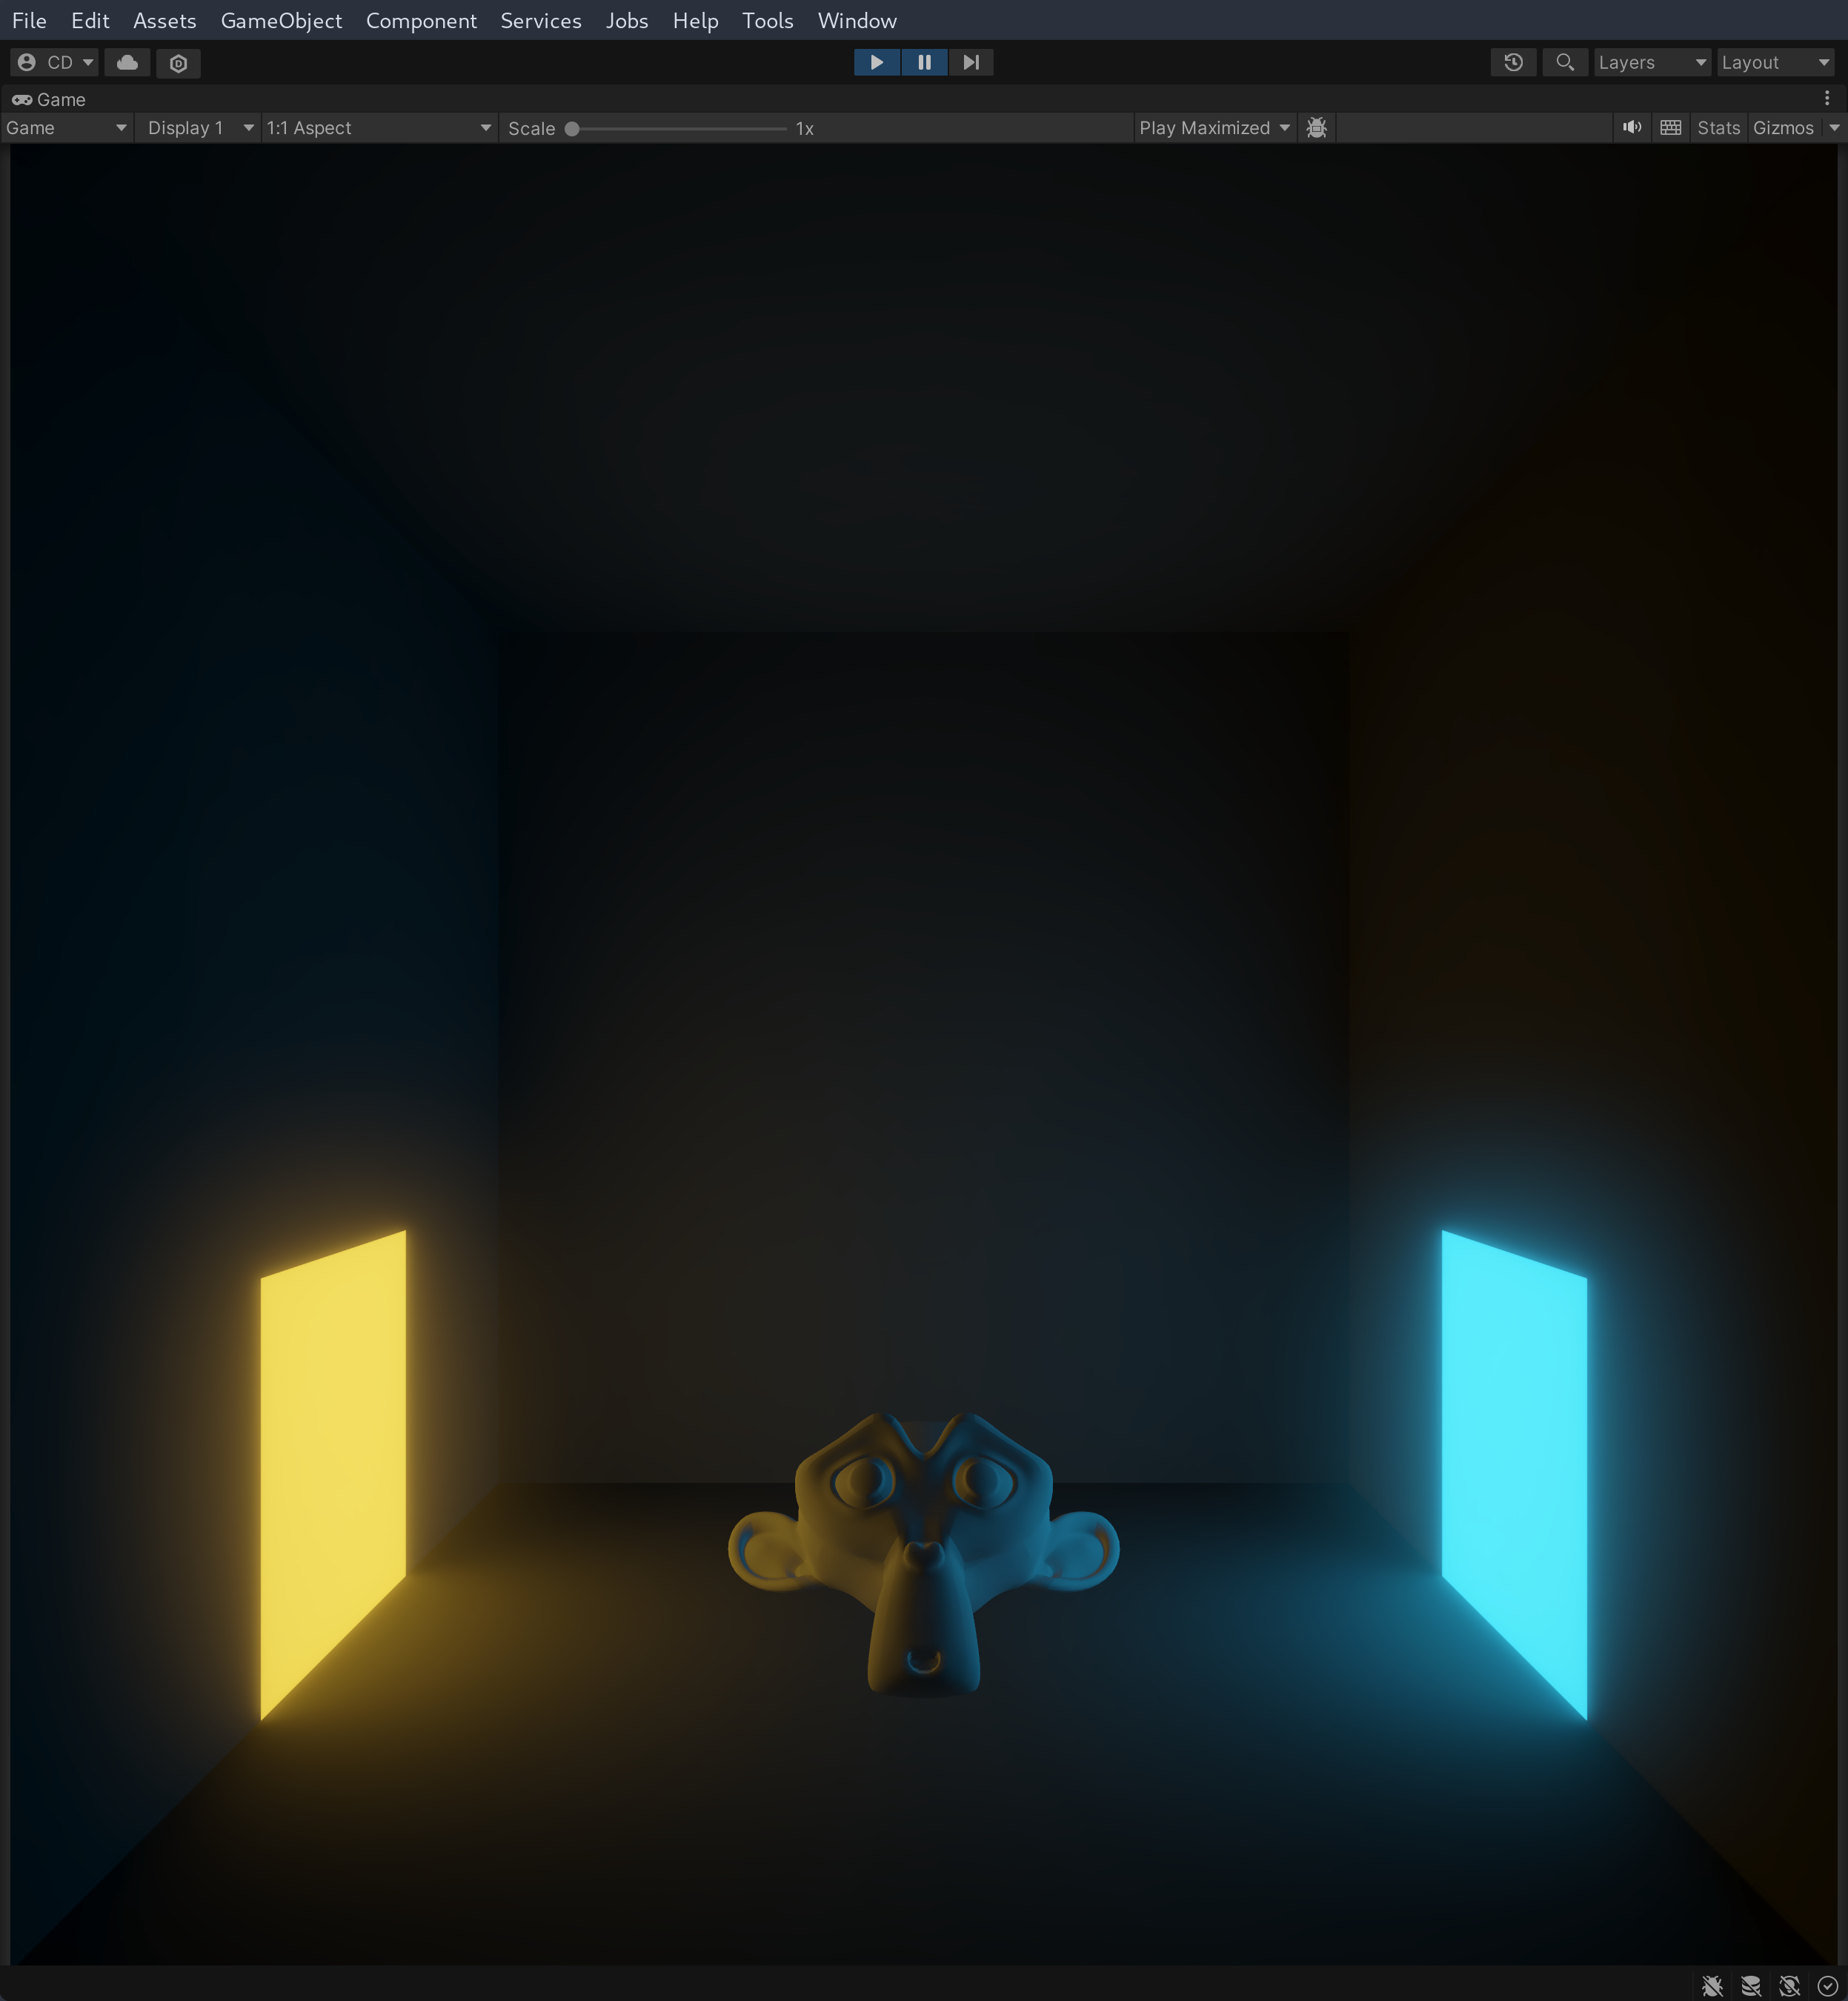
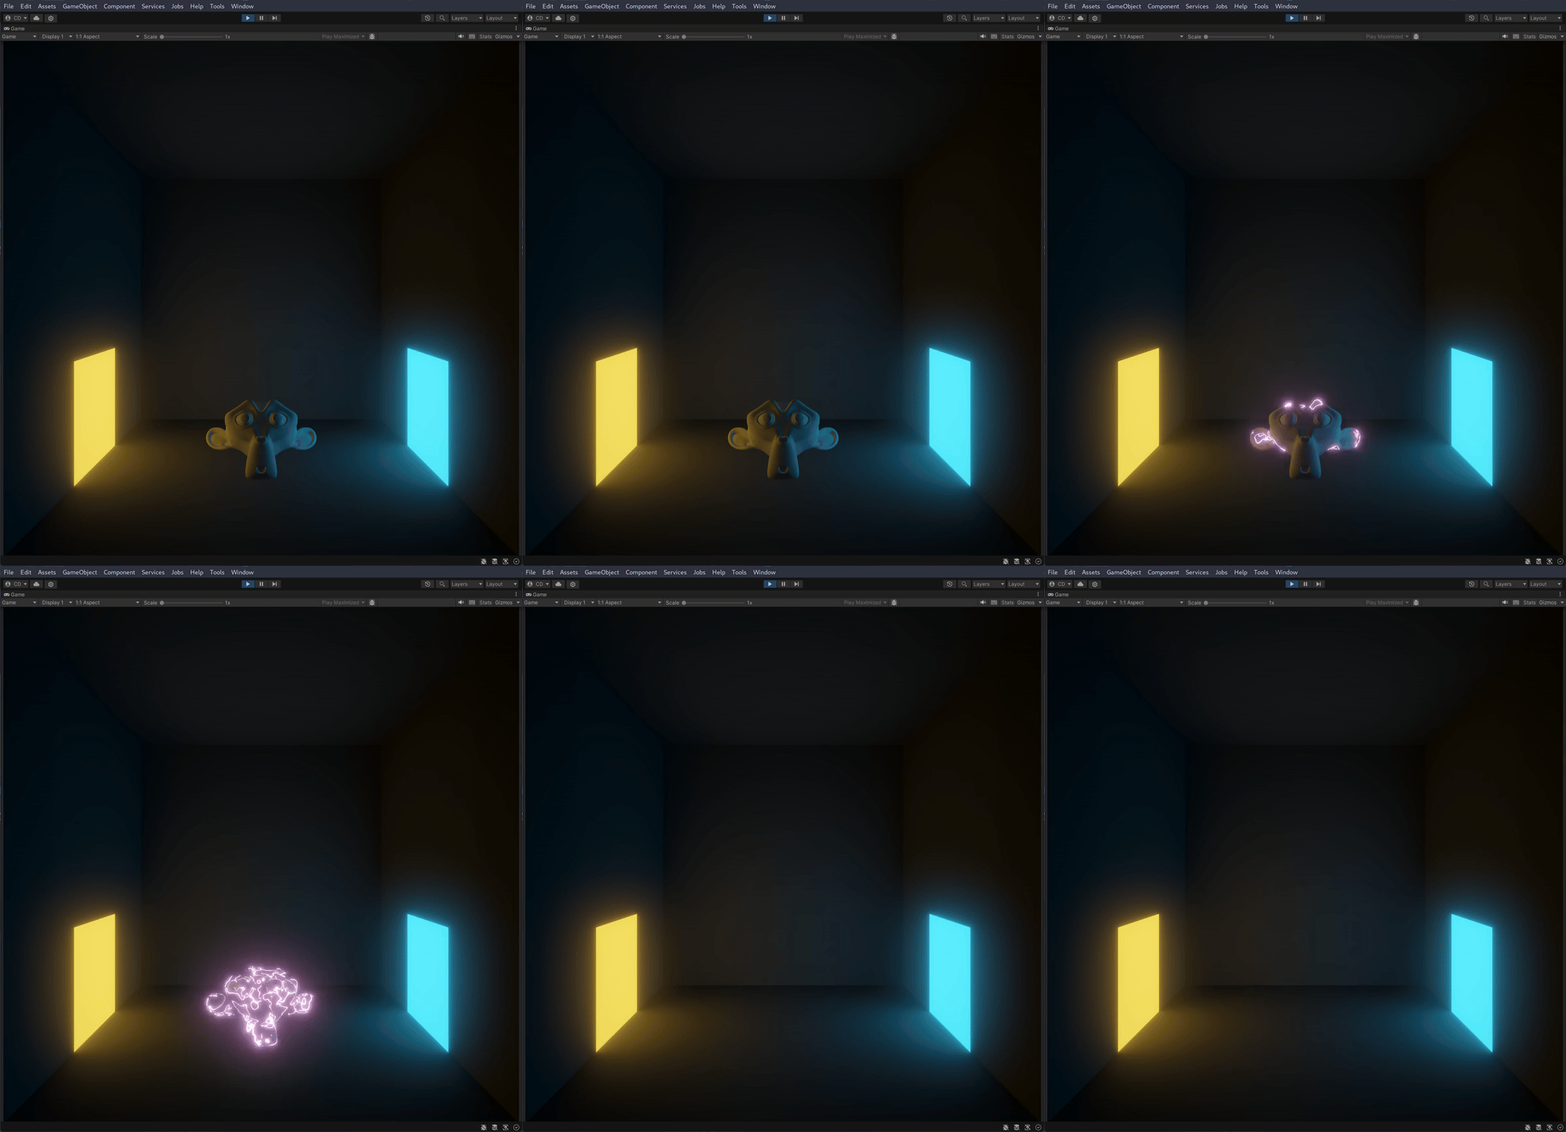
I kind of did this Self Study backwards, as I had already finished the lighting and shaders for the project before doing the Brackeys tutorial on the topics, but here's the results:
Tutorial 5 -- Post Processing and Cinemachine
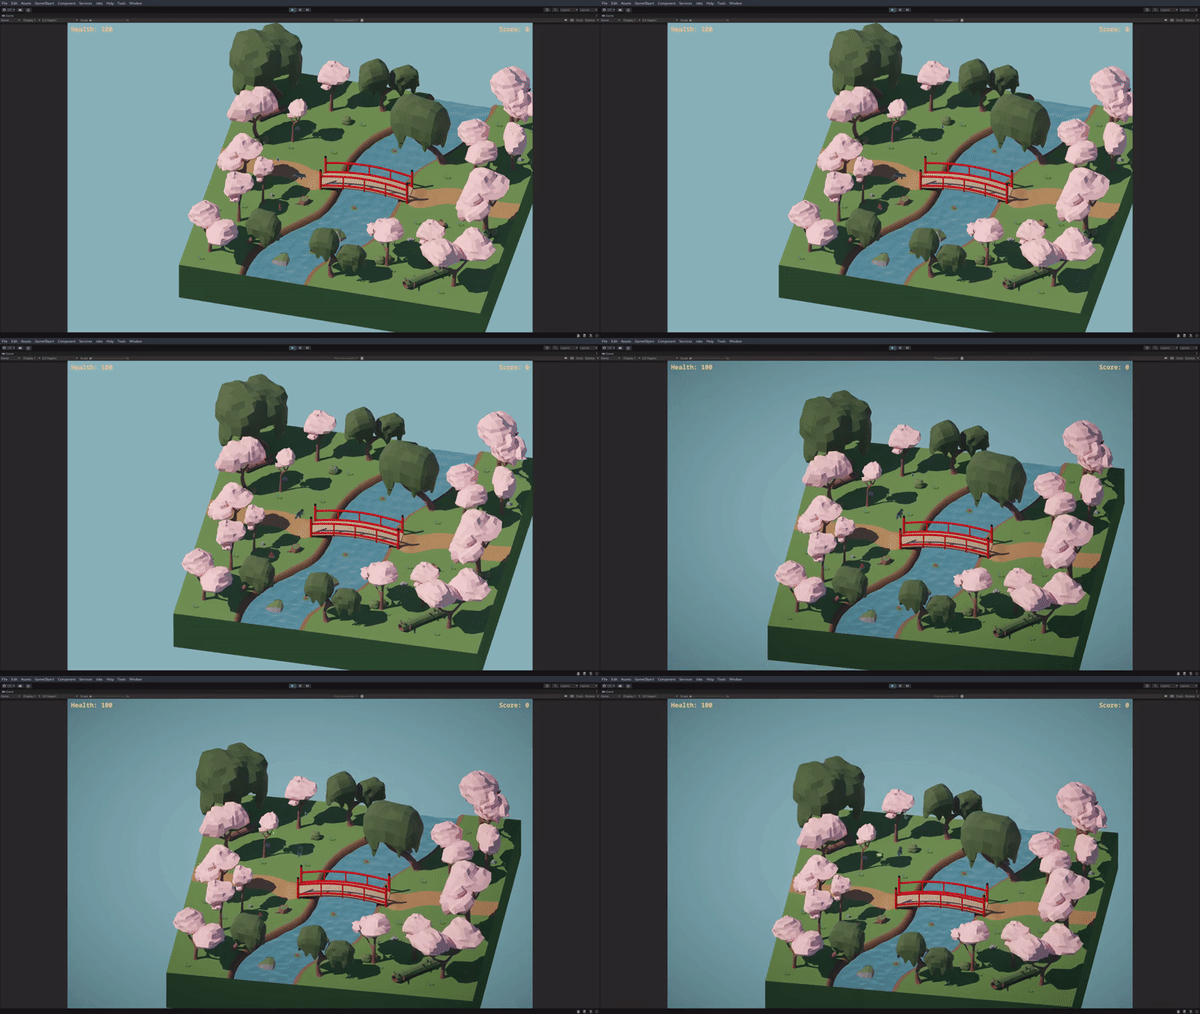
Continuing to improve the overall appearance of the game, I added a Cinemachine camera, as well as some post processing effects. I wasn't sure how I would incorporate a dynamic camera in this project, as I wanted to preserve the isometric style and keep the current control scheme, so using any close up camera angles of the player would not work. After working through the tutorial, I settled on having just a single camera that tracks the player as move across the map. This actually made the game a little easier to play, as it meant the trees did not obscure the player as easily.
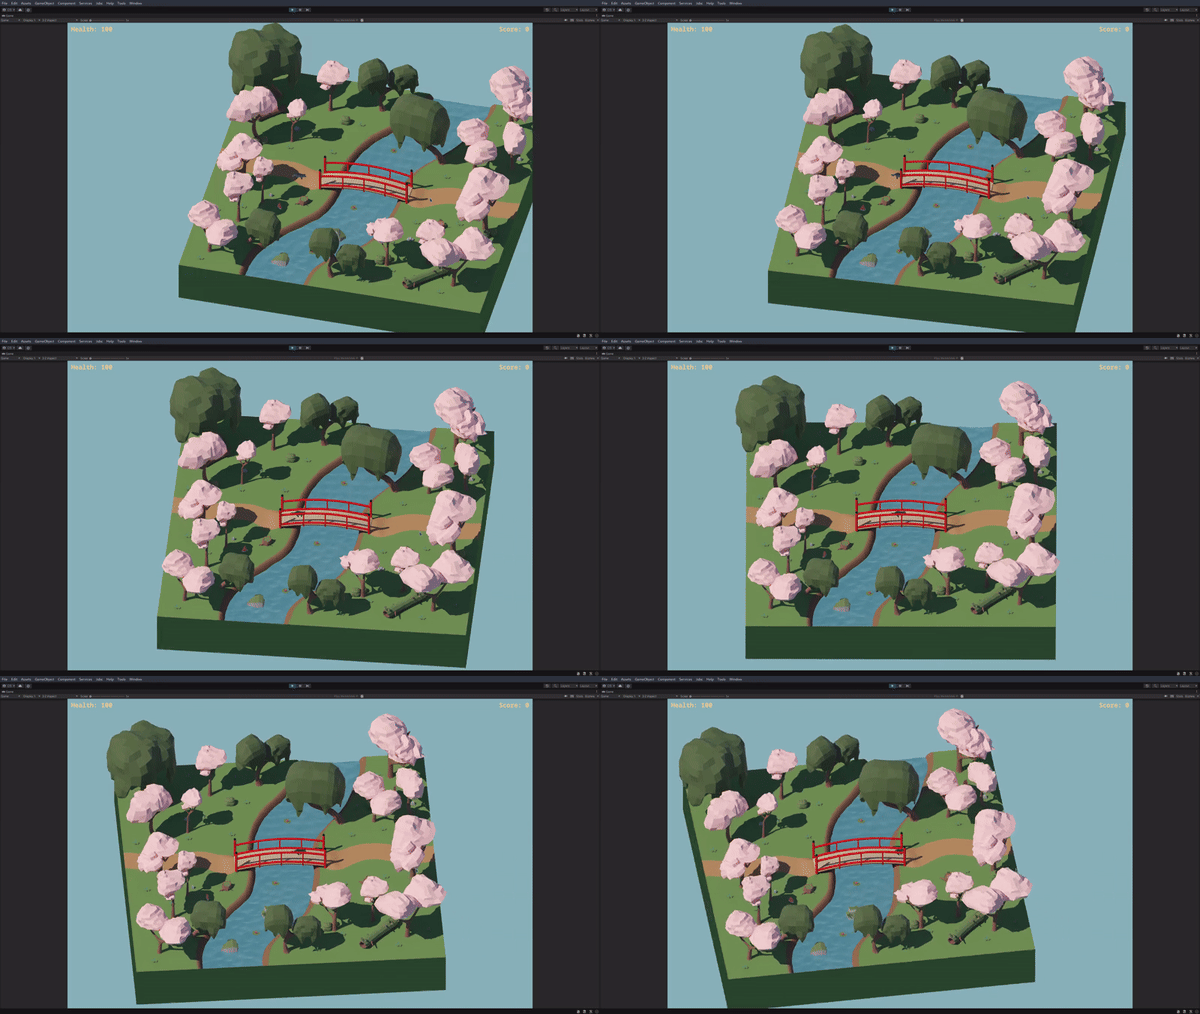
Next I added some post processing effects. The way I did this was a little different from the tutorial, as I am using the Universal Render Pipeline for this project (for the water shader). I started by adding some natural tone mapping to the scene, to give it a more muted look. Then, I decided to add a vignetting effect that would fade in when the player entered the spawner area. I wrote a script with a function called by the spawner that smoothly transitions the effect.
I also used a similar approach to apply some chromatic aberration when the player collects the power up, to make the state more obvious.
