Week 3
Self Study 2 - Animation and Rigging
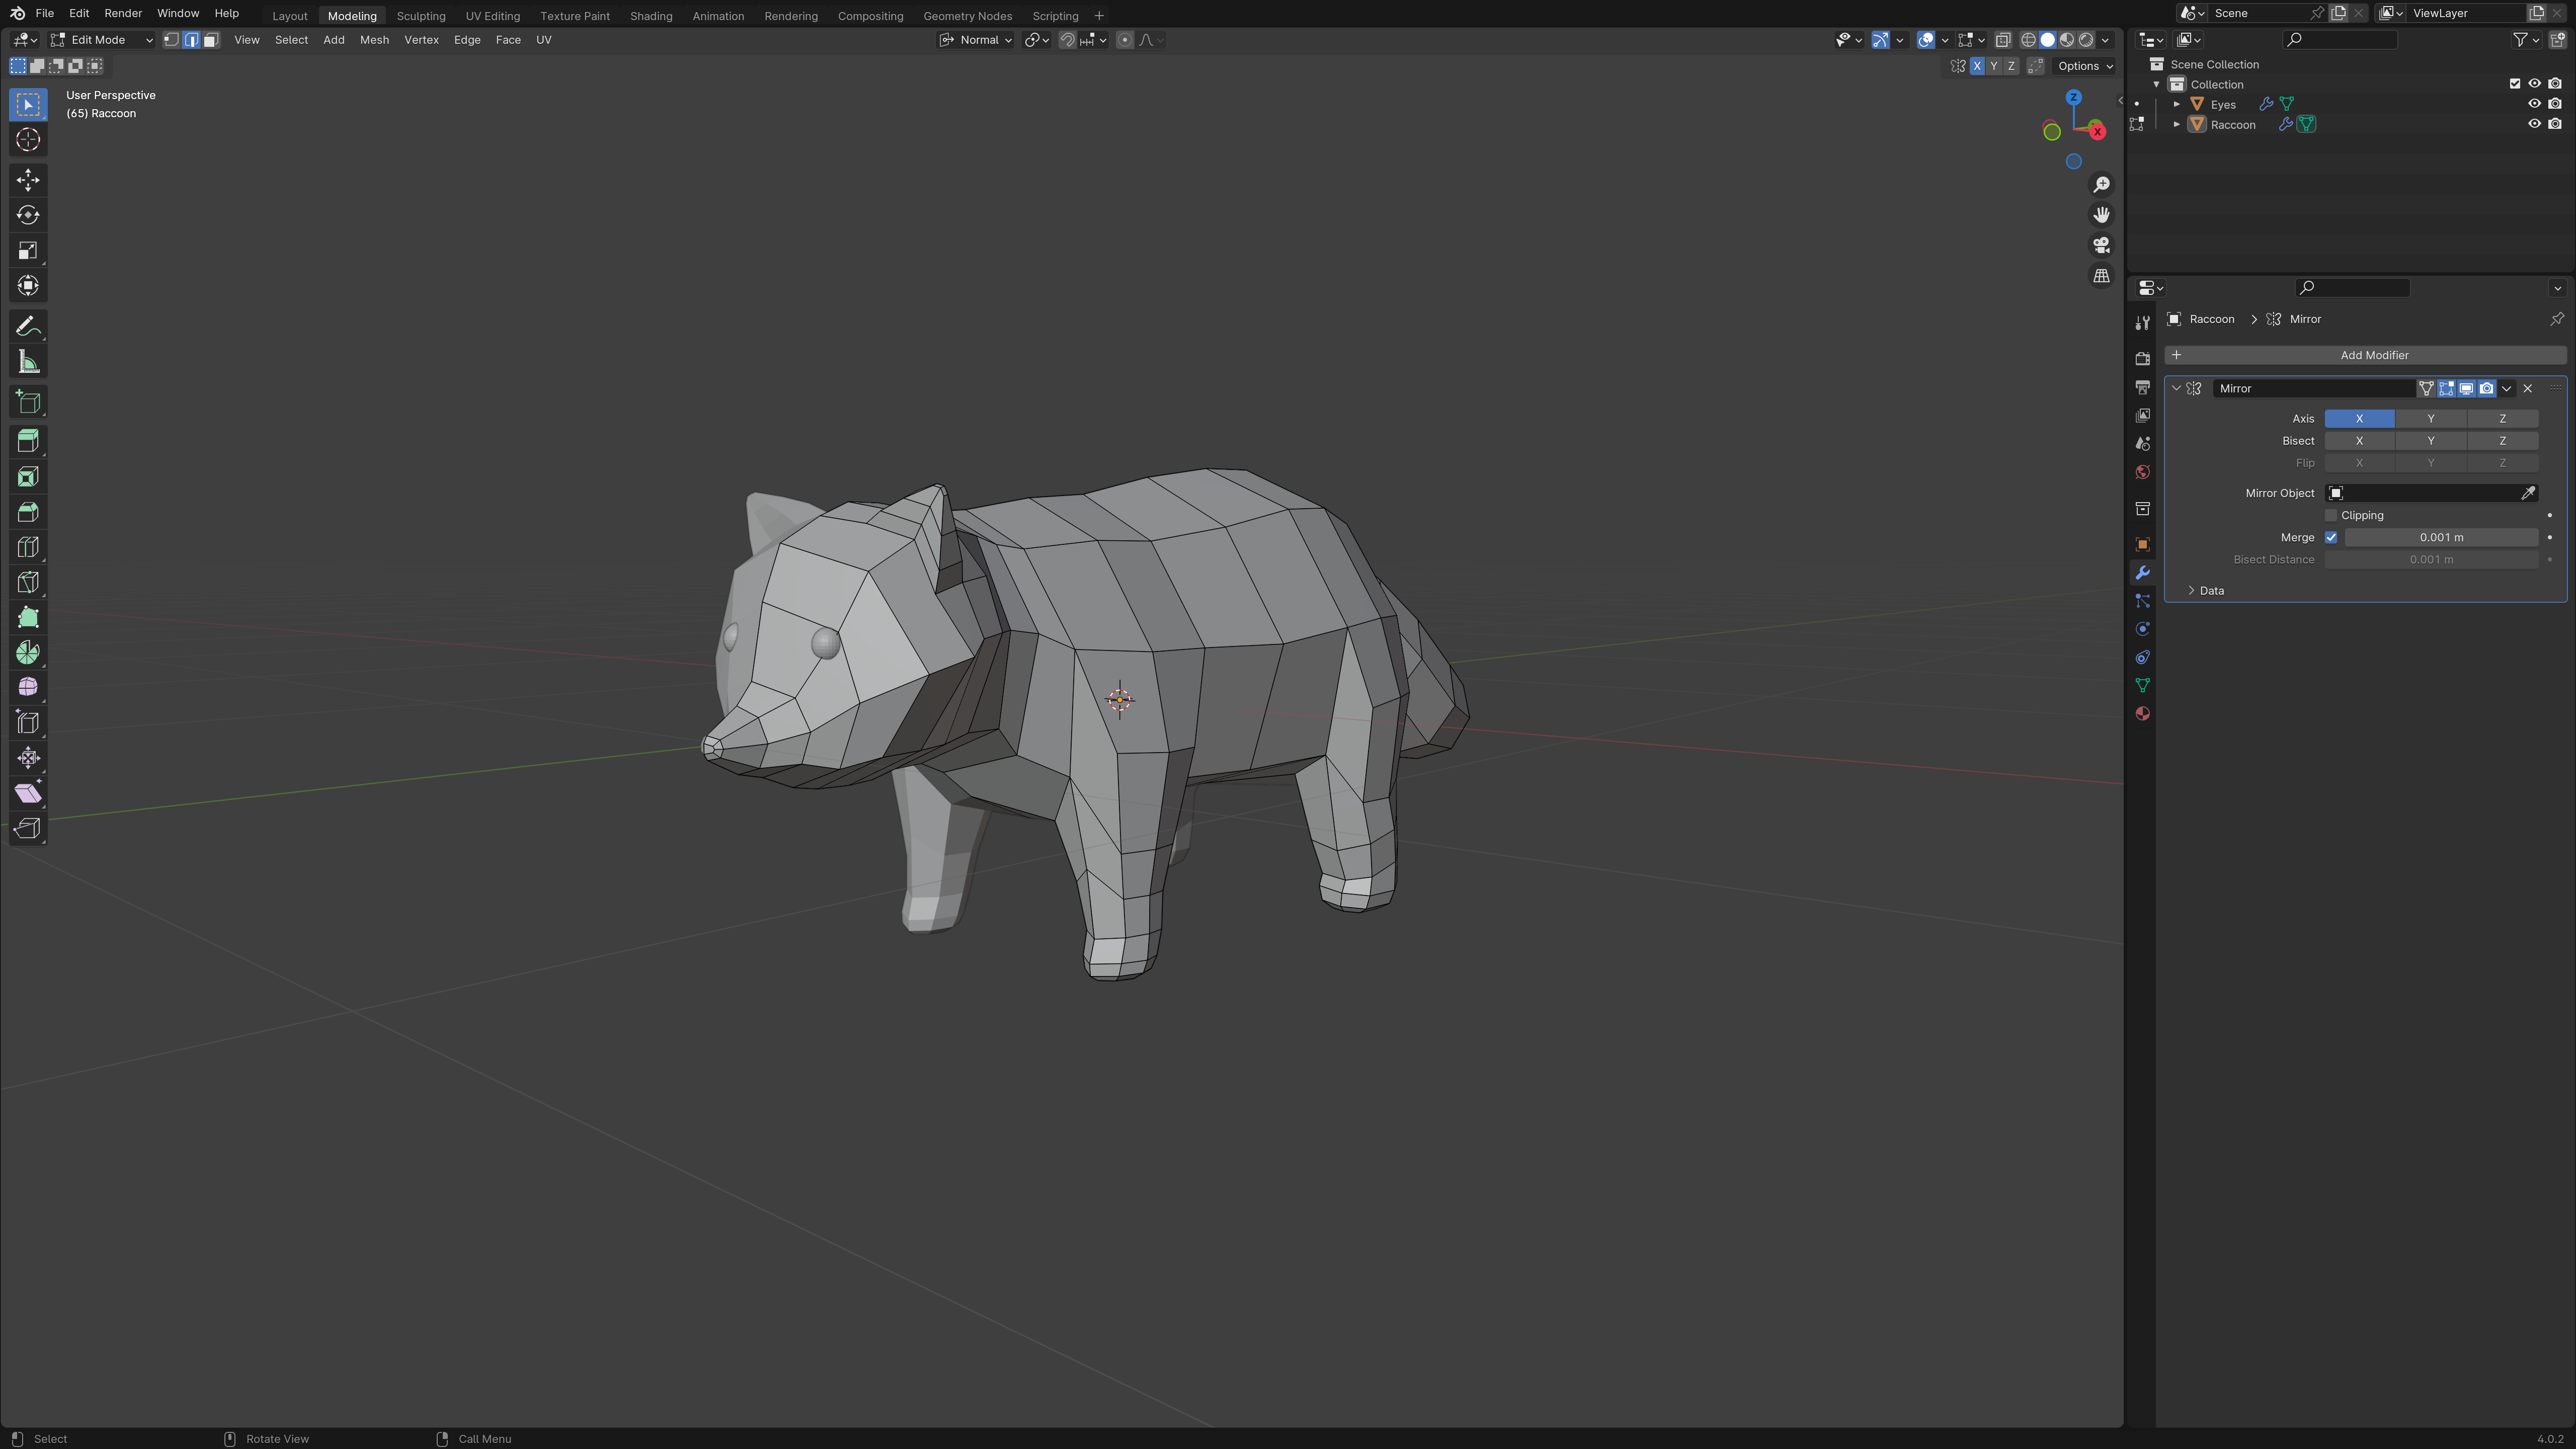
Keeping with the Japanese theme from last week, I decided to try modelling a Tanuki (raccoon dog), and giving him a handful of cute animations (I know the tutorial said humanoid character please forgive me). To keep things simple, I chose to follow a low-poly style for this one, and after a quick search for some inspiration, I set out to make him from from scratch.
The whole model started out as a single cylinder. To be honest I really had no idea where to begin, so I just started extruding and scaling it, and after some trial and error, I was eventually able to block out a (very) rough shape.
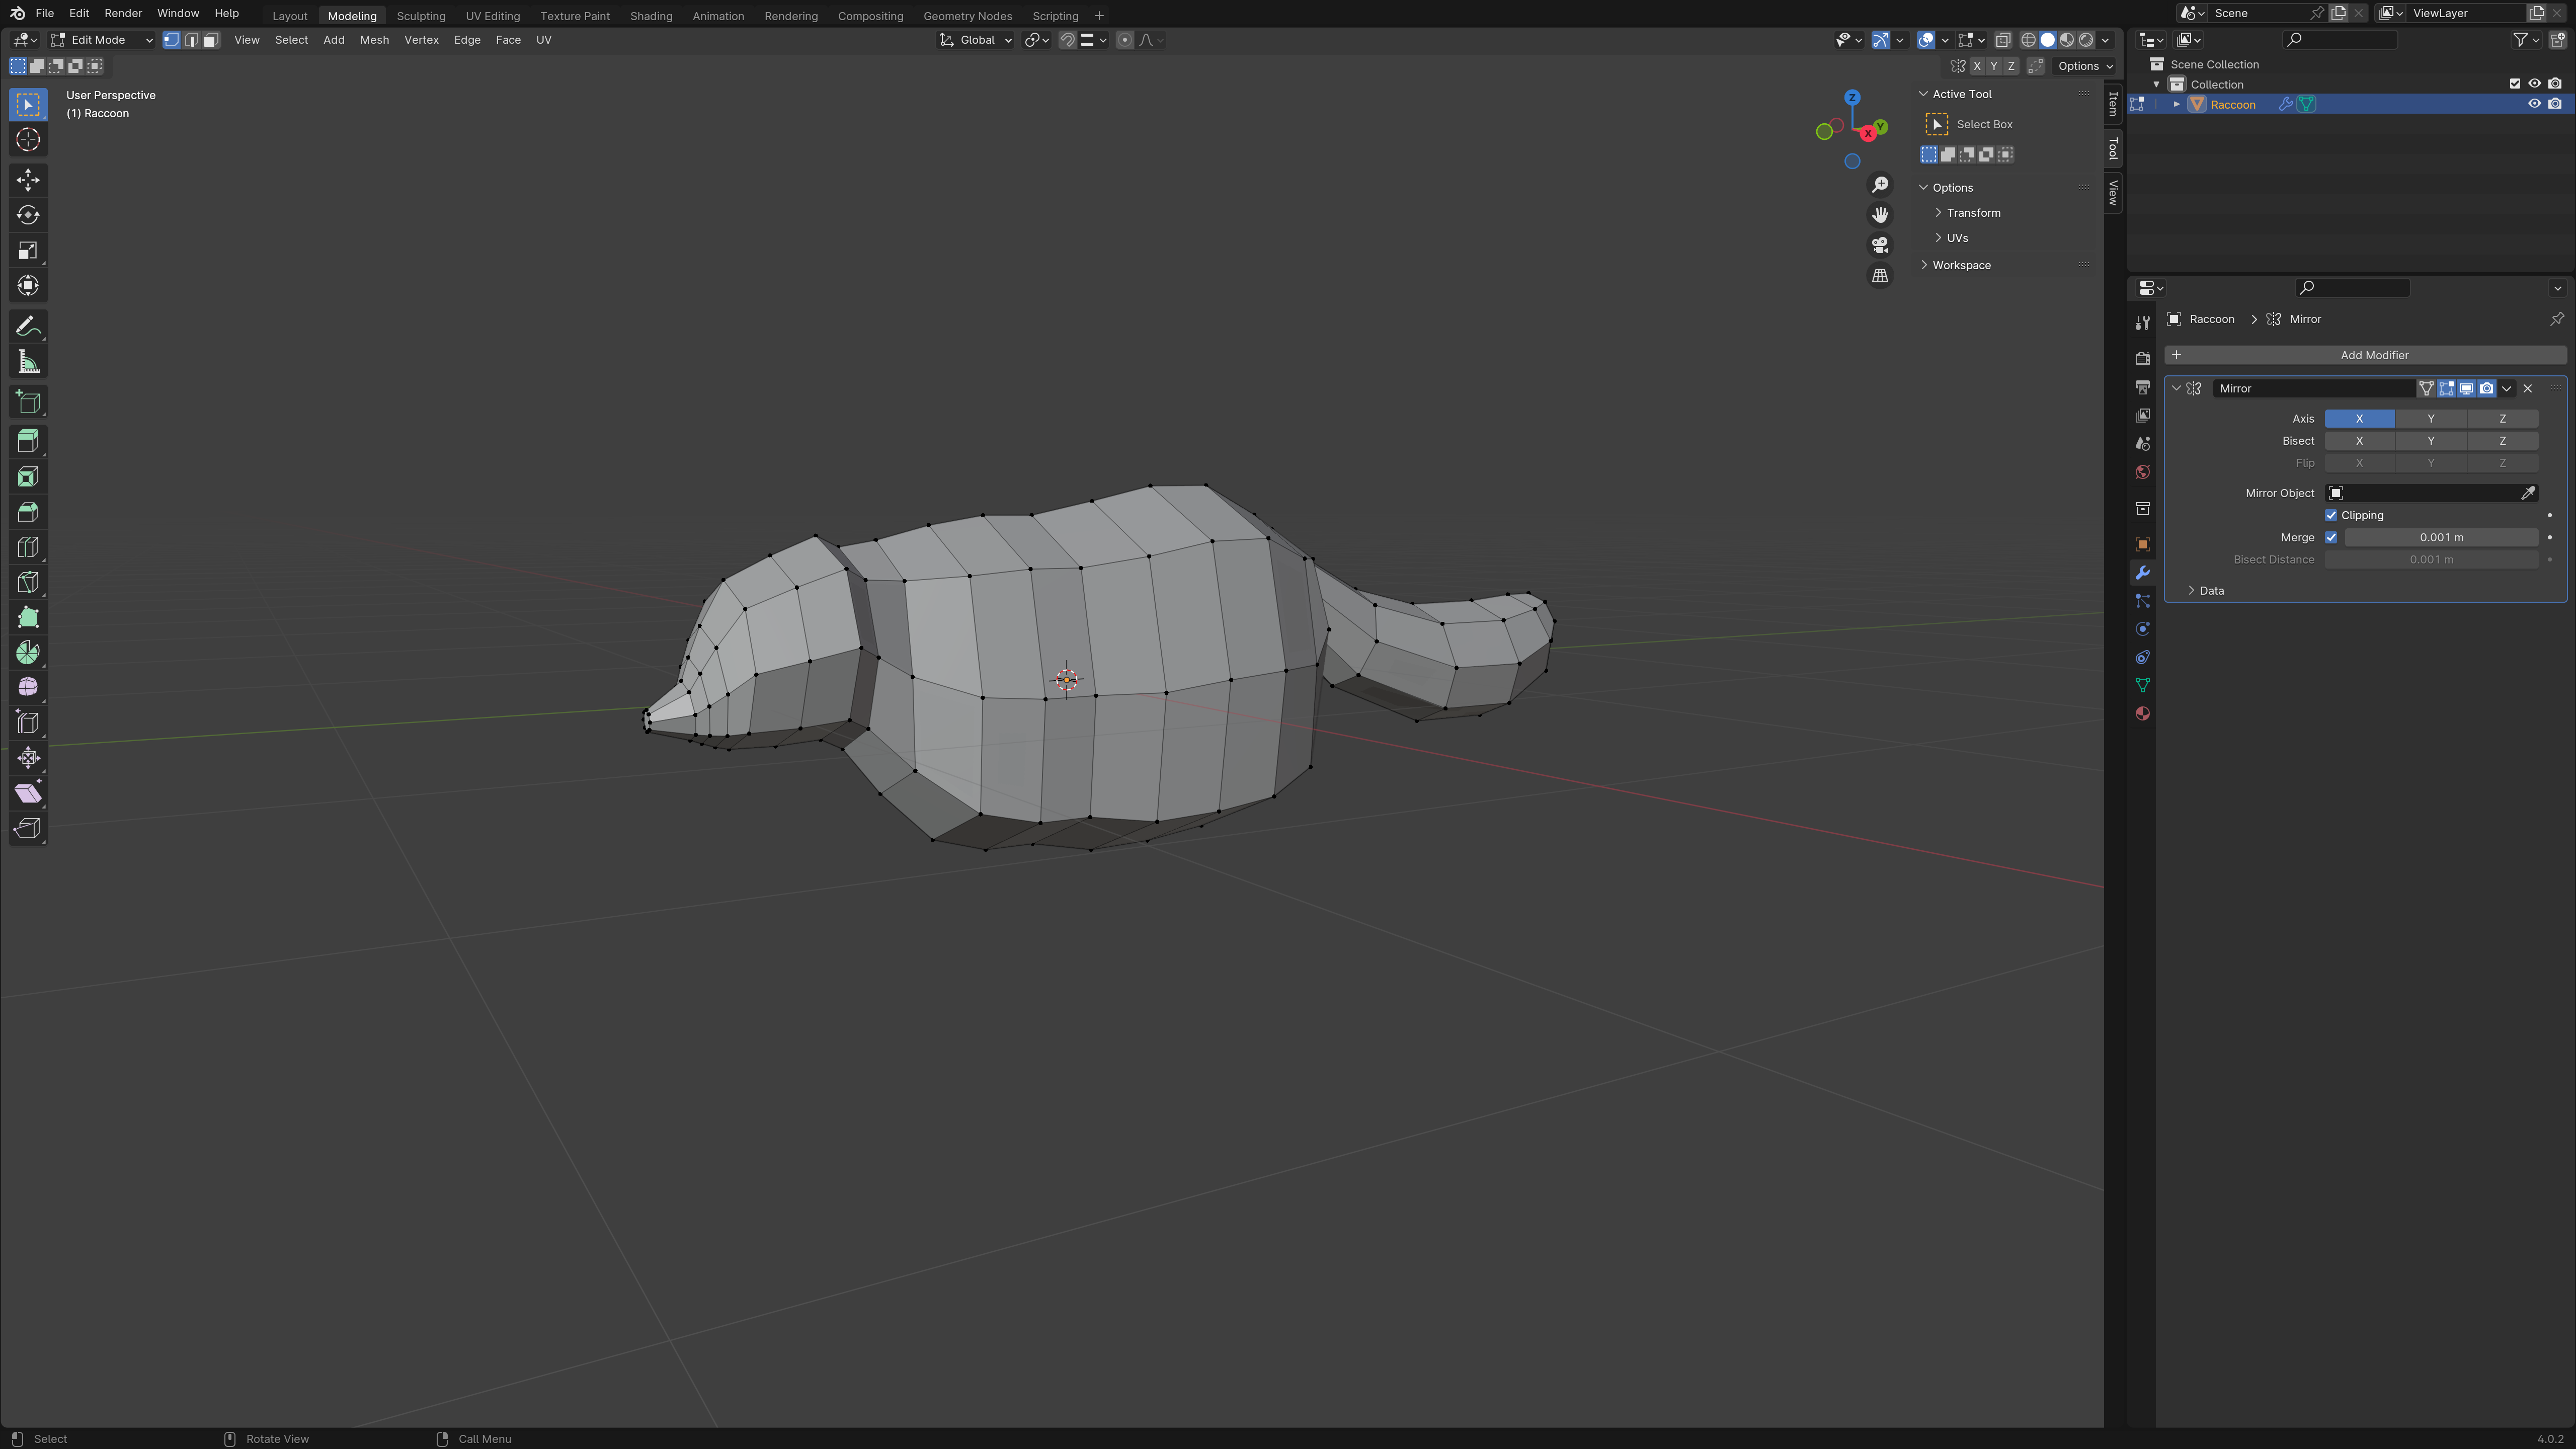
Adding the legs was the headrest part of the whole thing I swear.
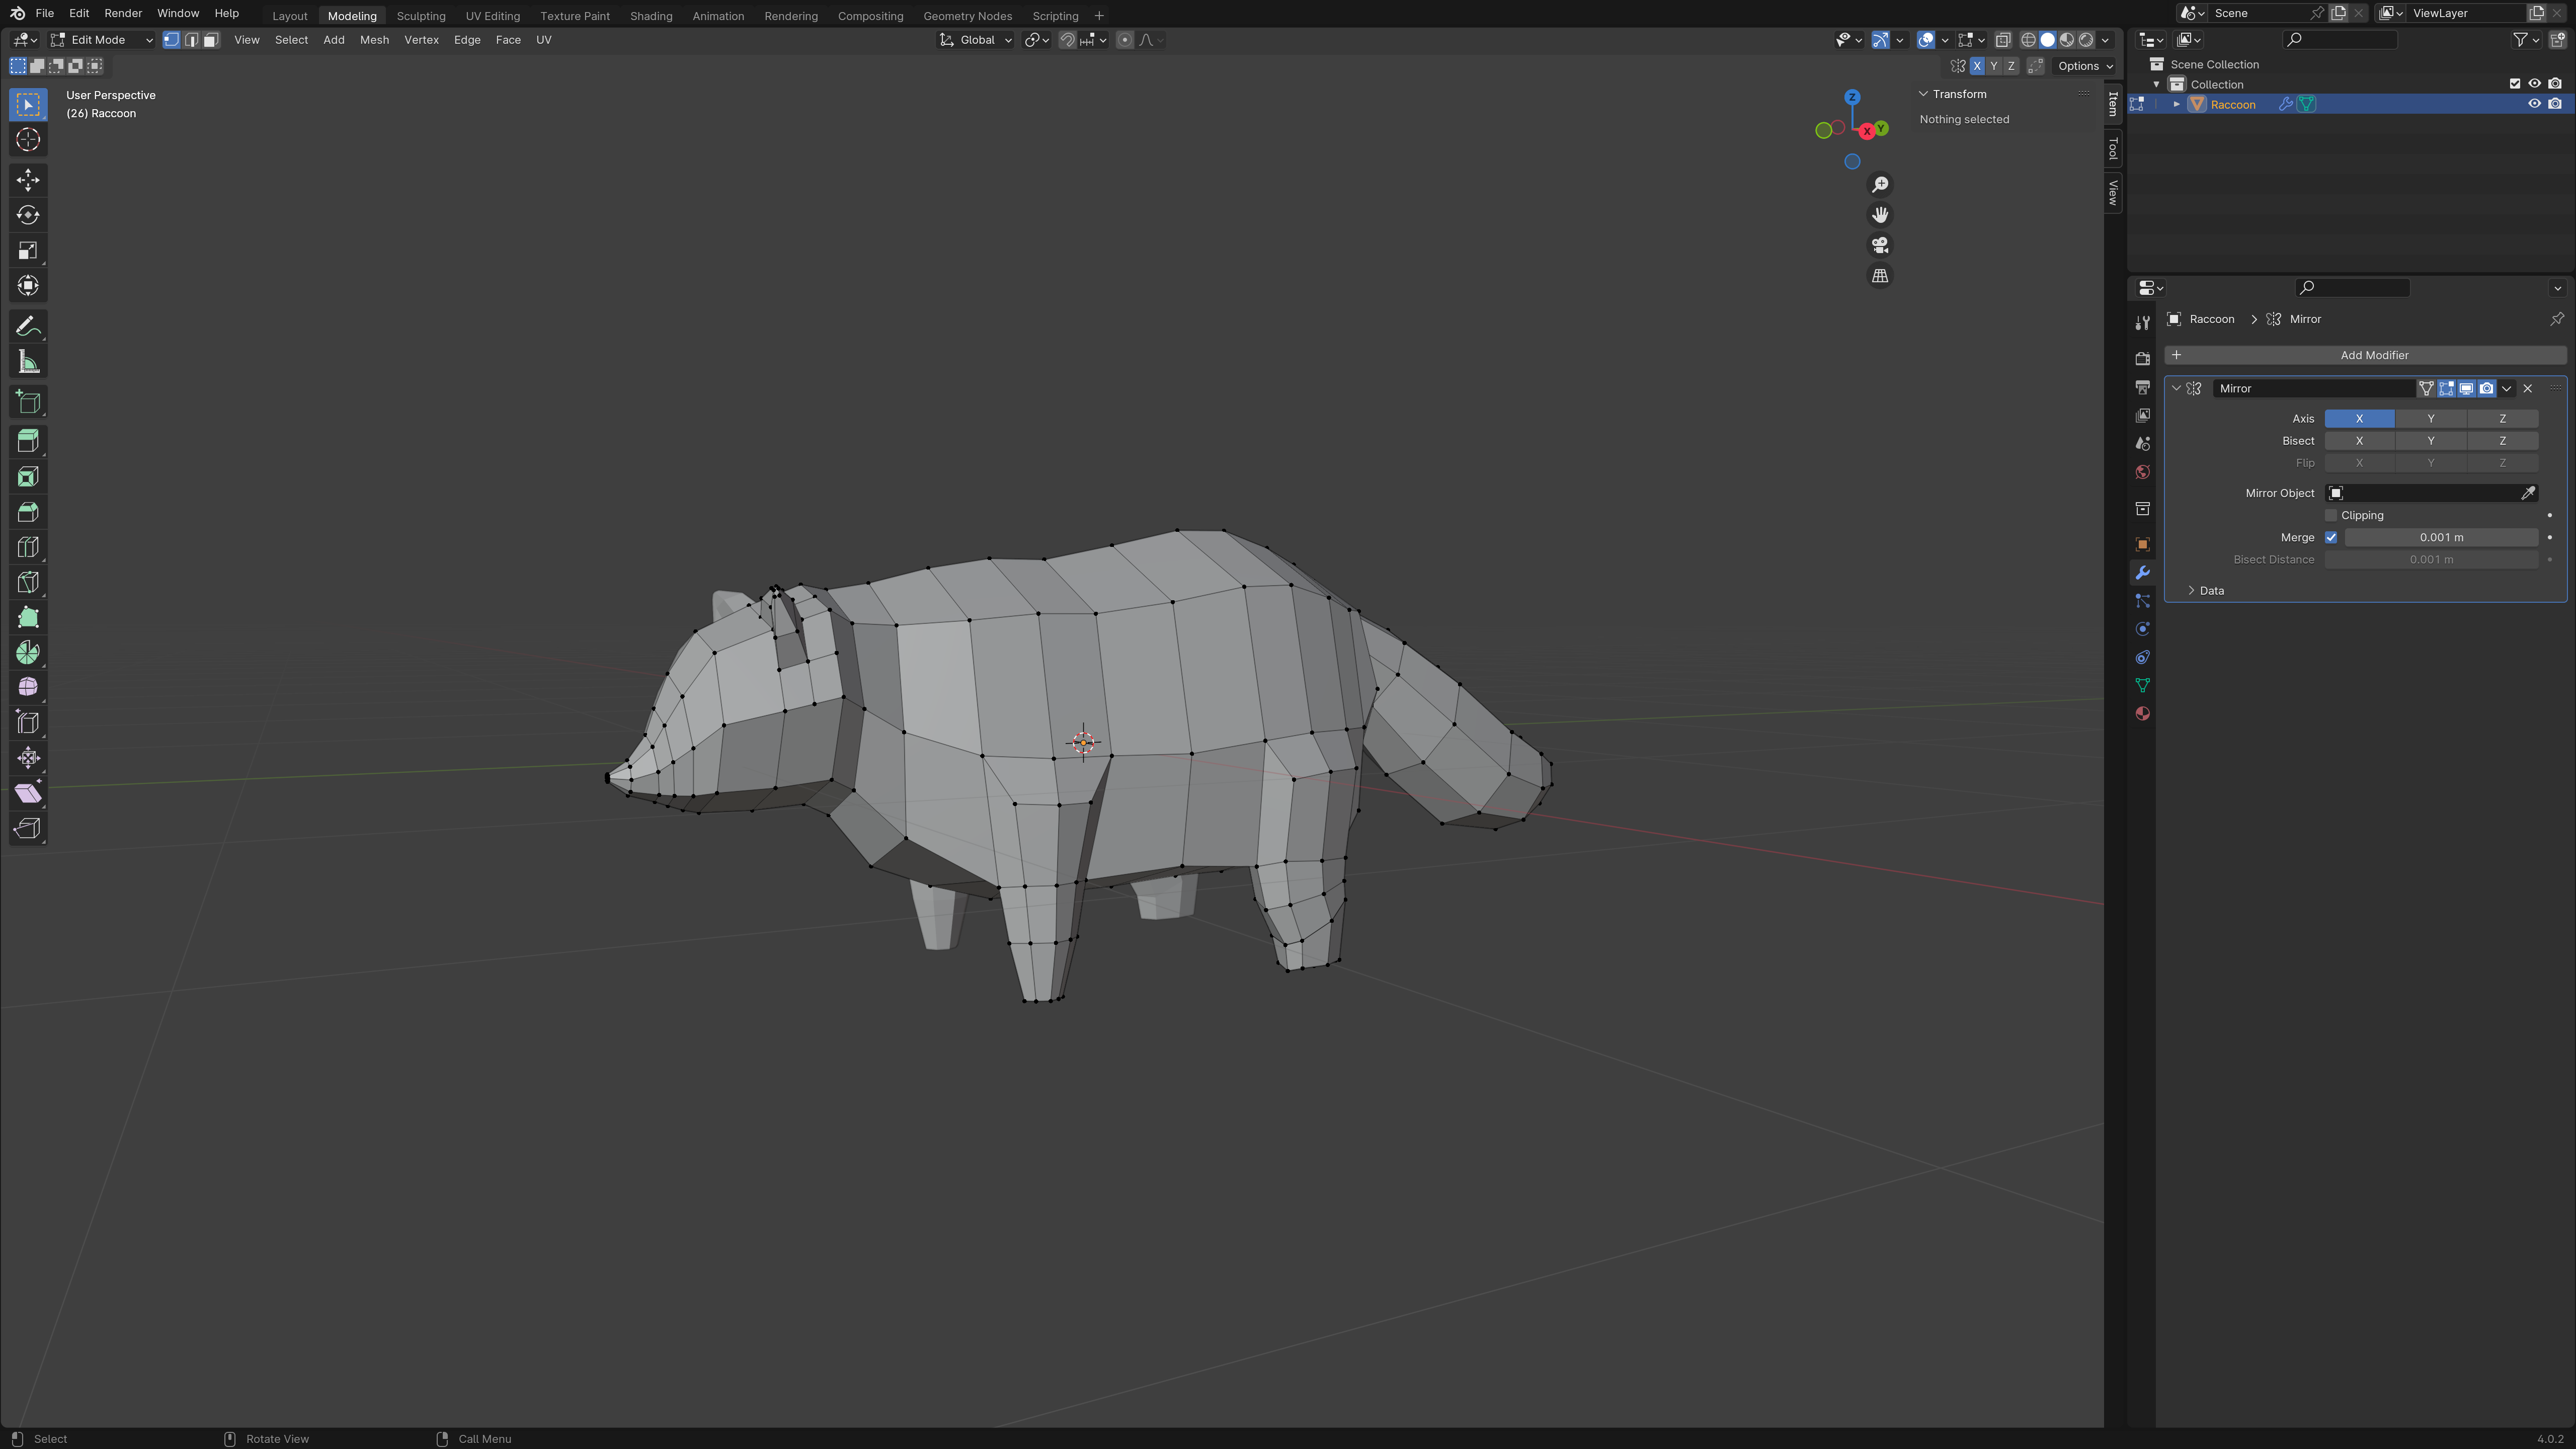
At this point I had a t h i c c model, that doesn't really resemble anything in particular. But with something basic to work with, it was really just a process of refinement; manipulating individual vertices/edges/faces until it began to approach raccoon status.
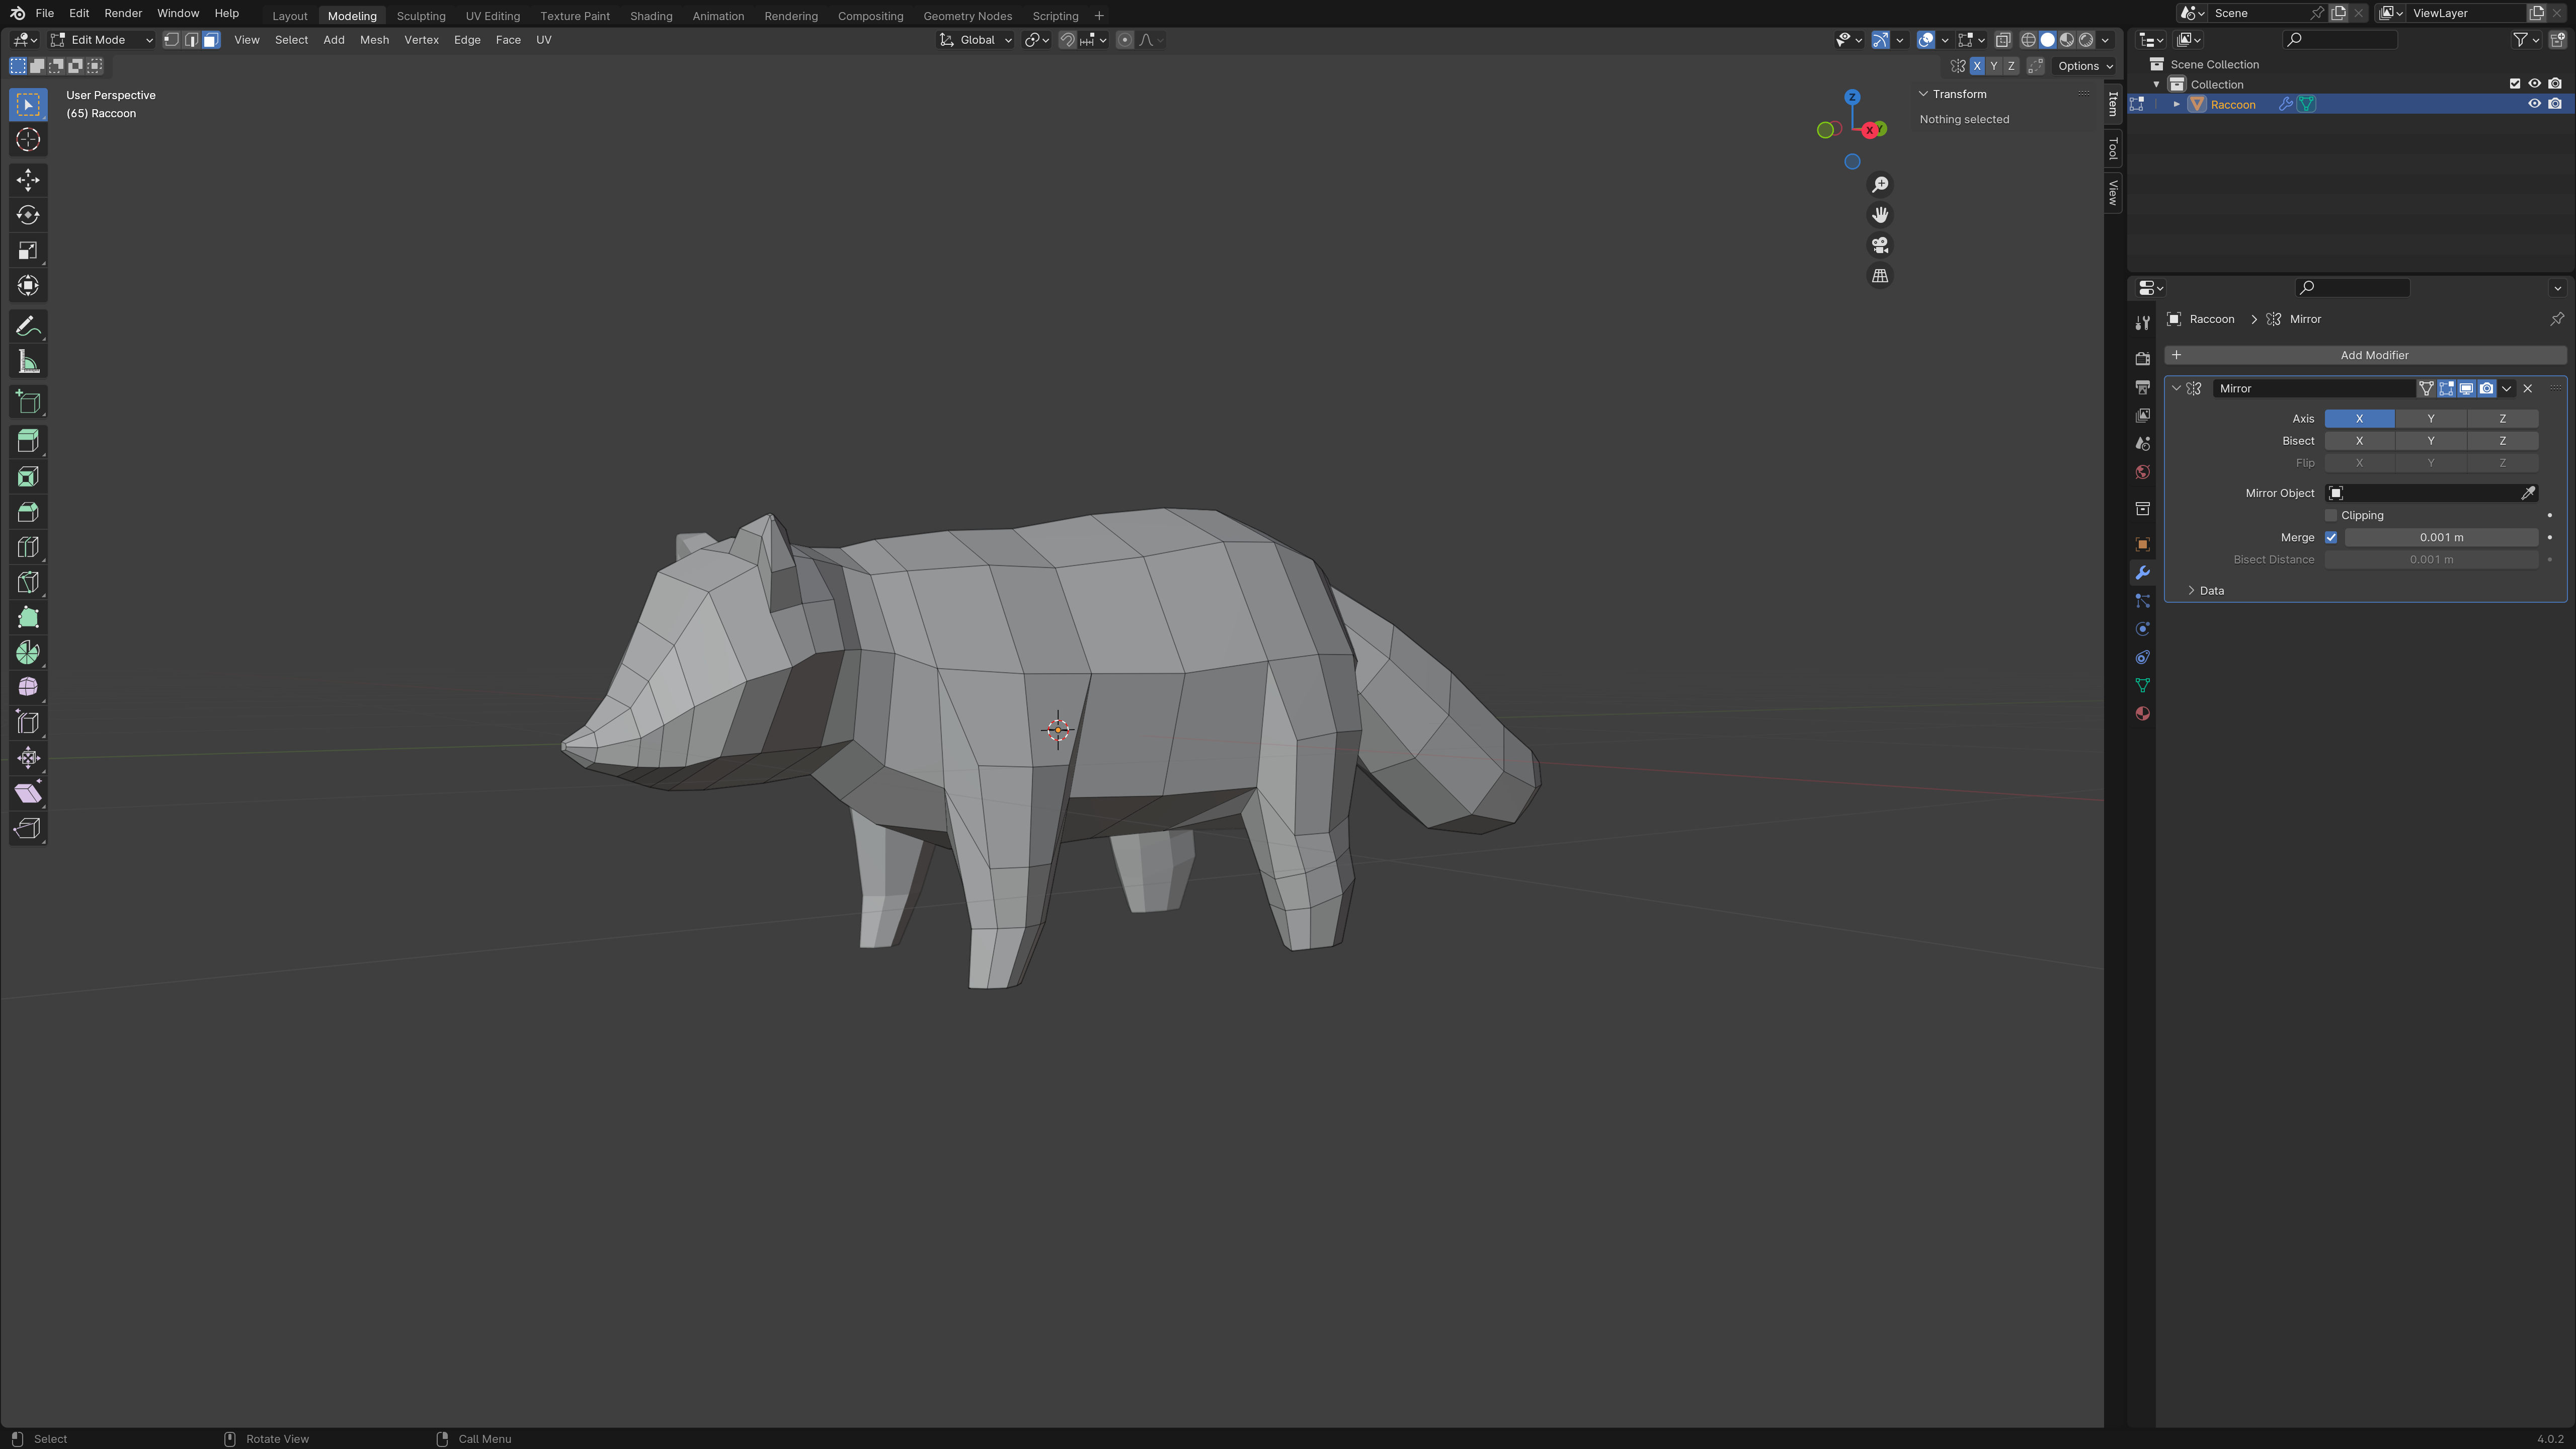
Throughout this whole process, I had been working on only half the model, and using the mirror modifier to duplicate that to the other side. This saved me a TON of time, and meant both sides were perfectly symmetrical, which made UV mapping, texturing and weight painting all much easier. I continued to work on it for the next few days, investing way too much time trying to improve the model (it literally never ends) - but once I was pretty happy with how it looked, I moved on to rigging.
Whilst I knew the basics of rigging up a model, I had no idea how to go about doing so in Blender. The speed tutorial playlist by Royal Skies was insanely helpful for figuring it all out. Despite many people recommending Rigify as a base for the armature rig, I opted not to use it, as I wanted fewer points of articulation to simplify animating and weight painting (and so I could learn to make one myself of course). I figured I would only really need a single armature each for the head and spine, two for each leg, and several for the tail, as well as a root bone to move the whole rig; and this setup worked pretty well for some simple animations. I also added some IK controllers for the legs and tail to speed up animating multiple joints.
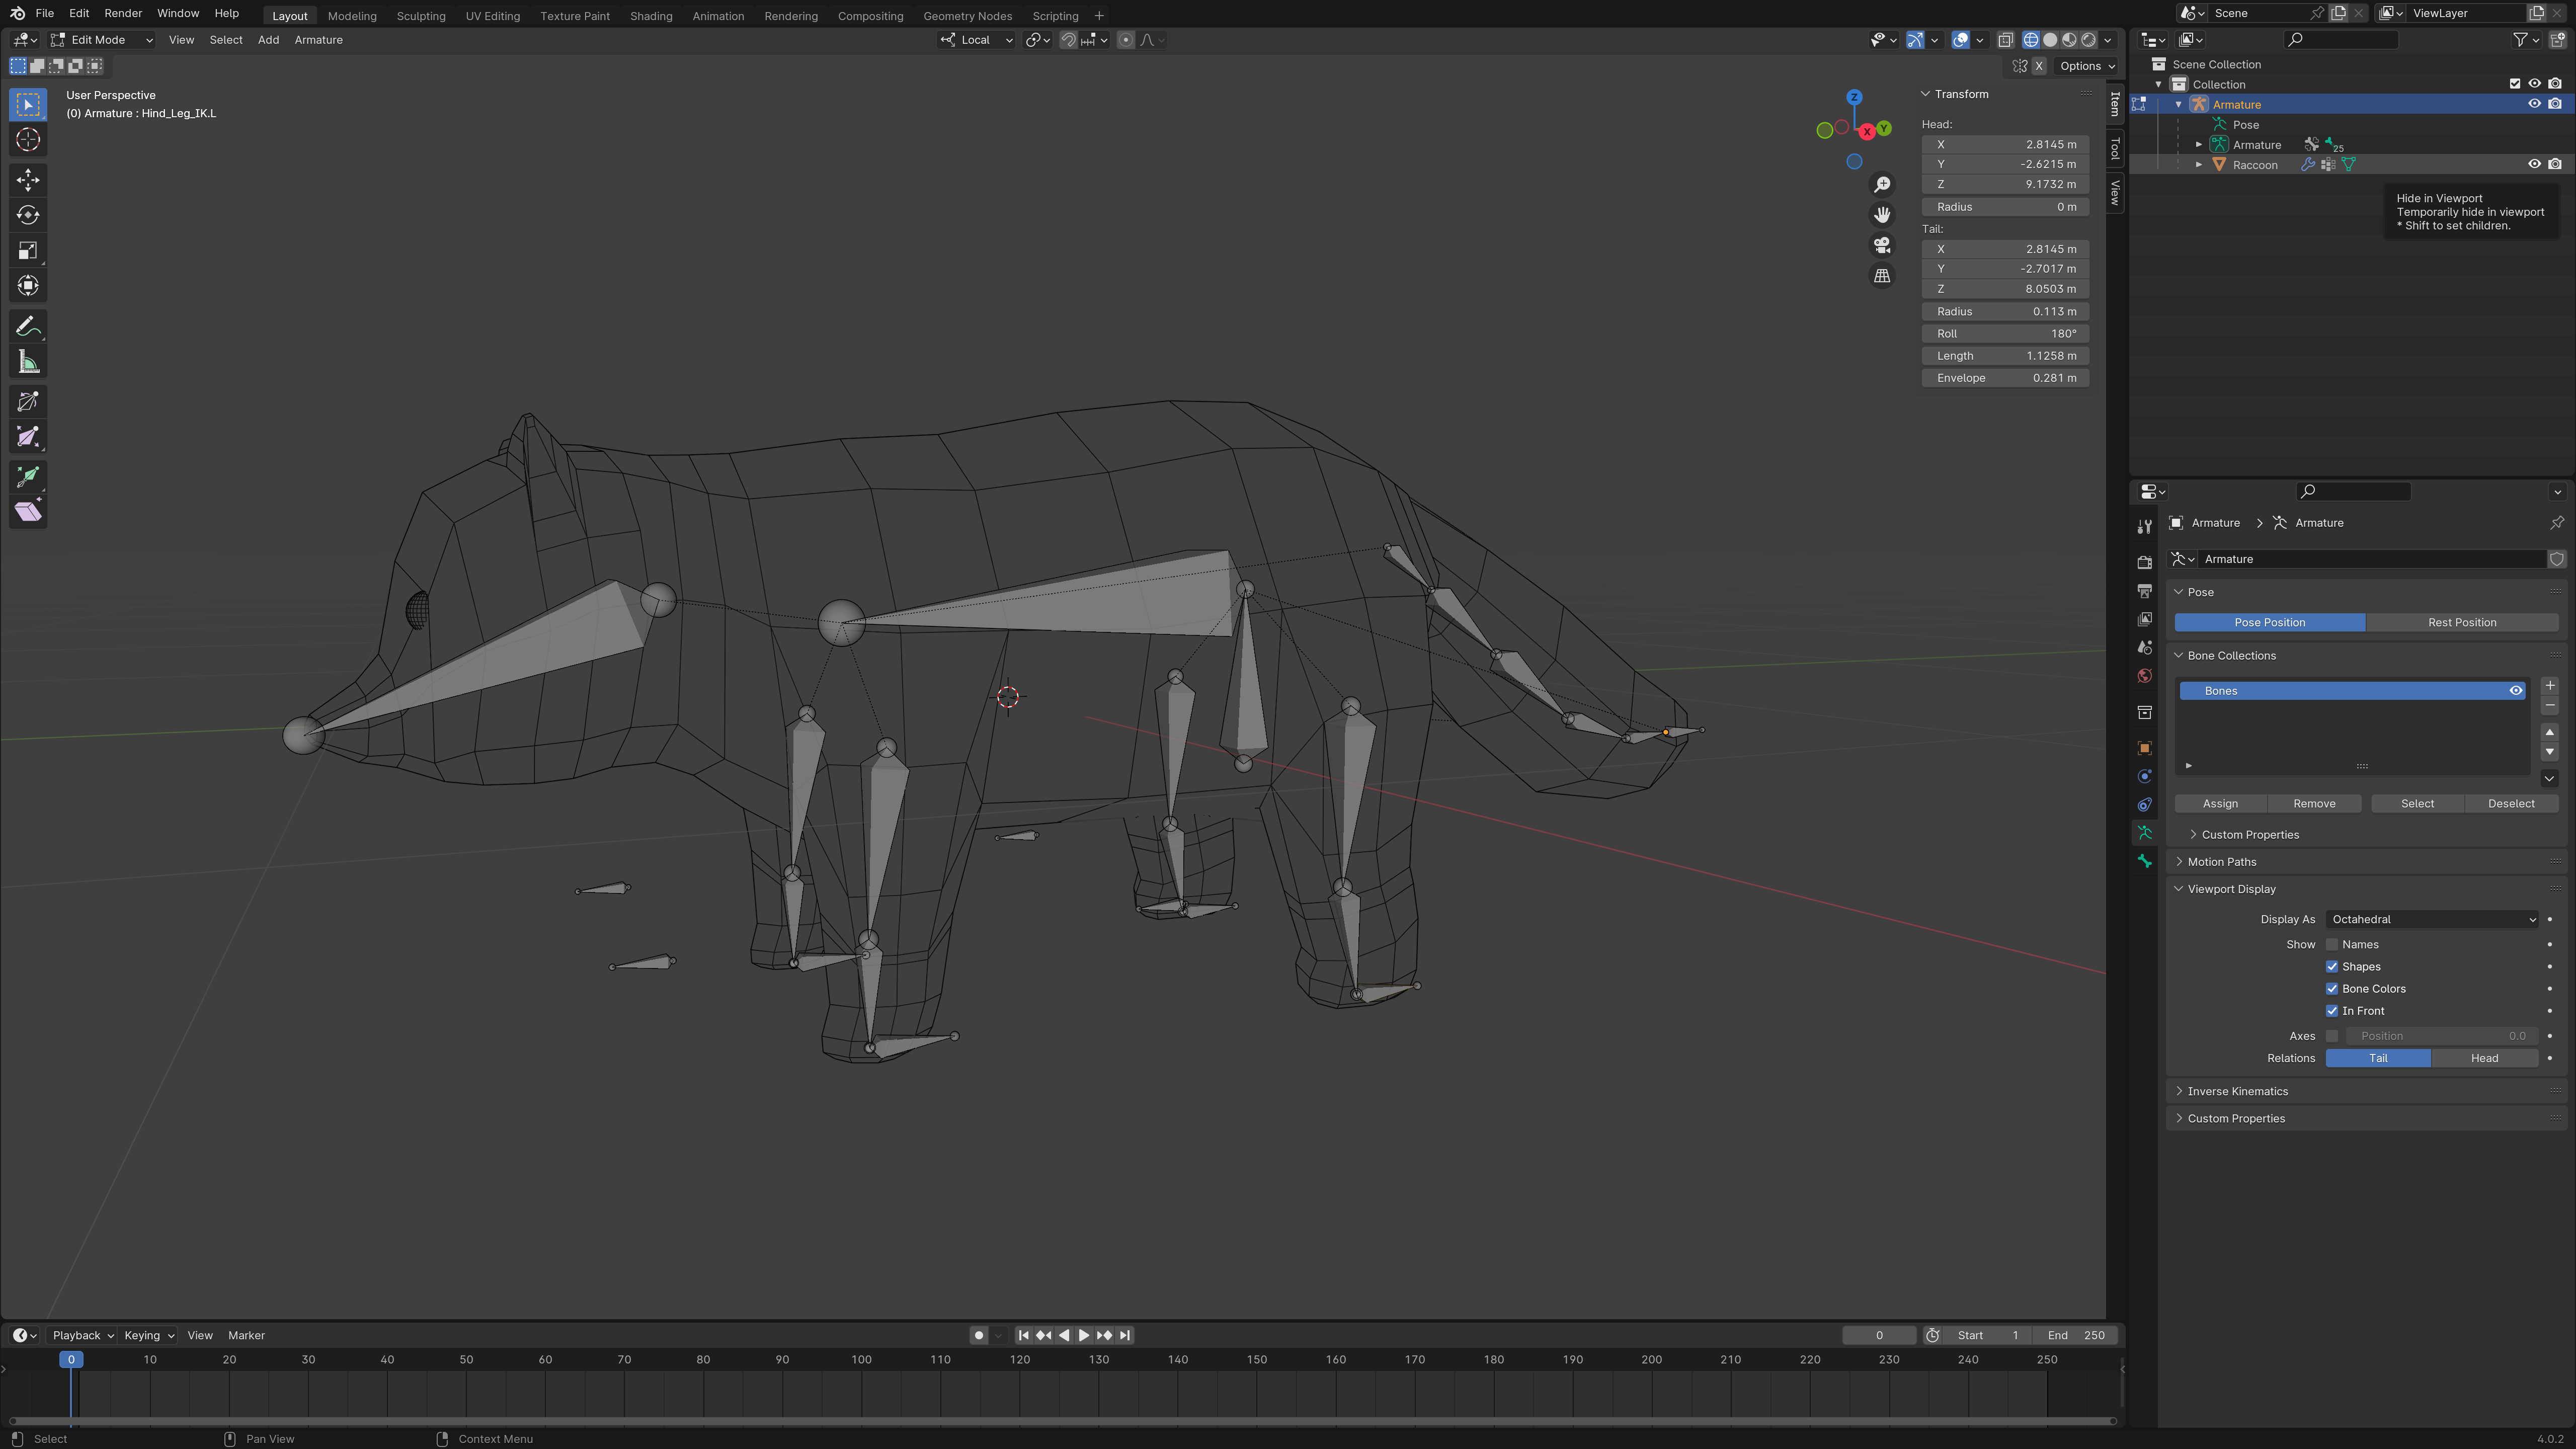
Weight painting was fairly straightforward, albeit tedious. However, even after getting the weights pretty much perfect, there was still some creasing around the knees and hips. I tried modifying the mesh to have bend points around these joints, but there really inst enough topology there to completely fix it. If I make more low-poly models in the future, I would definitely put some forethought into how the mesh is going to deform around joints as I'm modelling it, as it's a lot harder to go back and fix later.
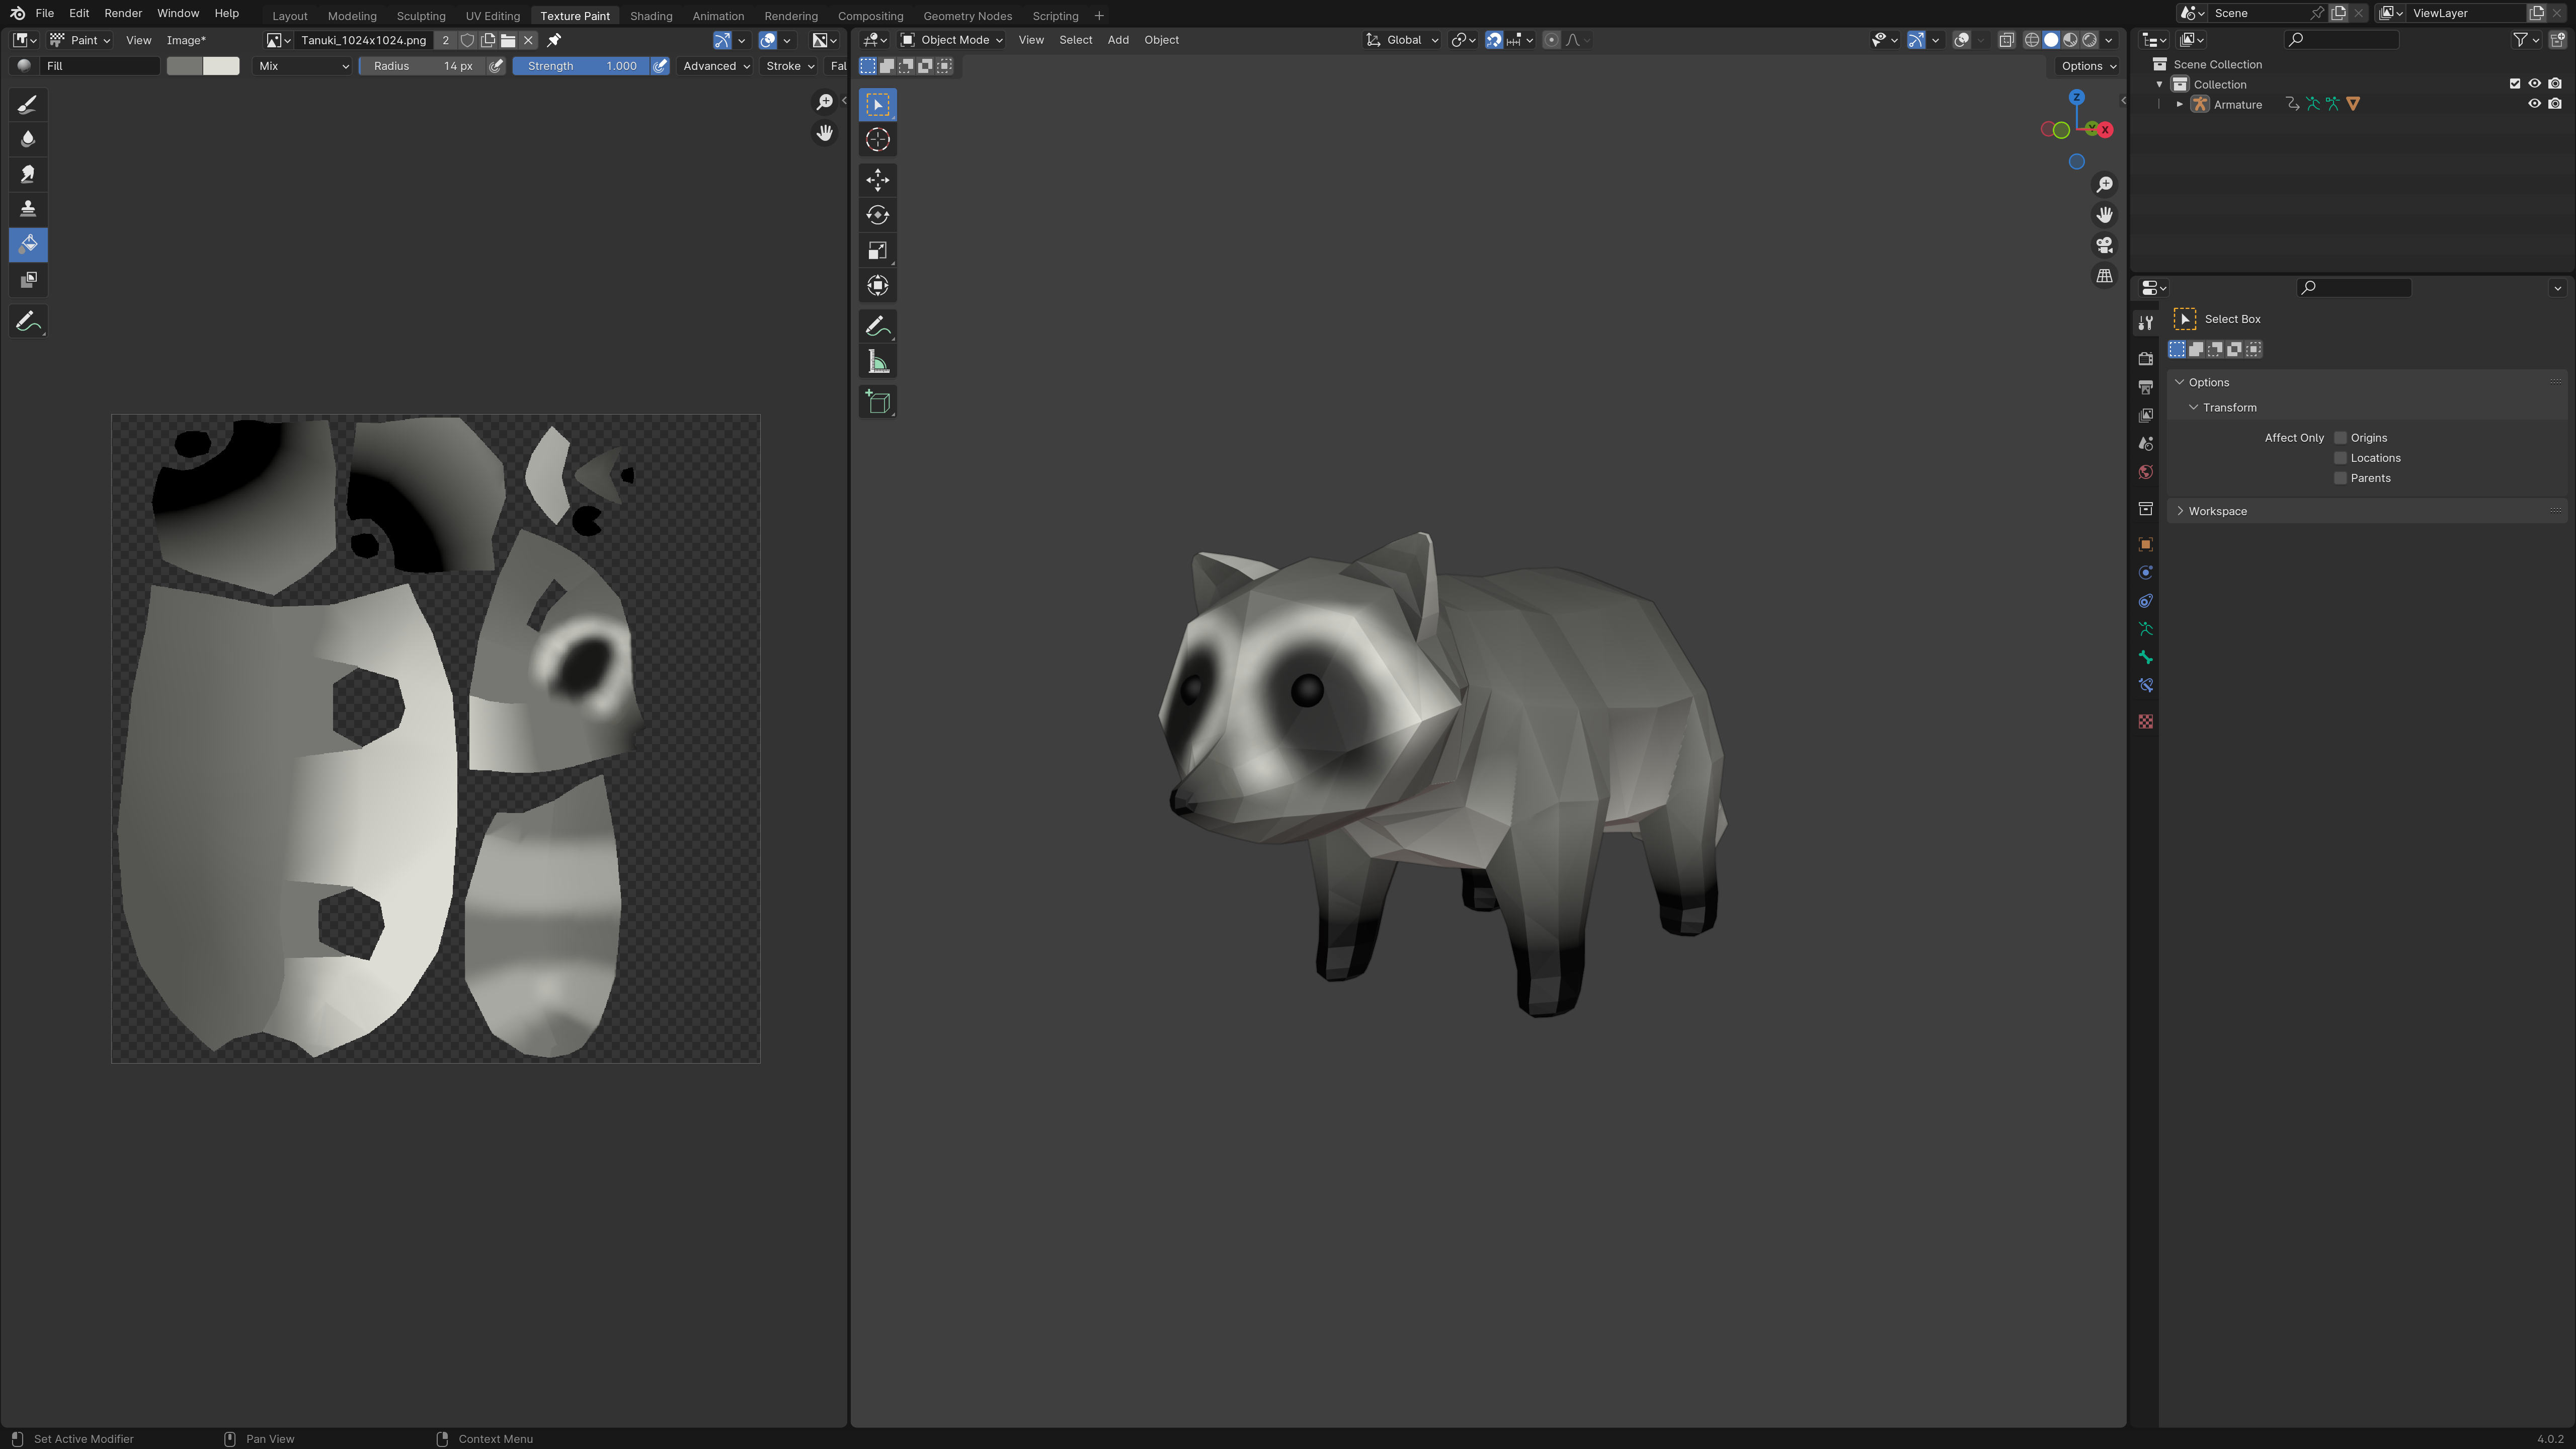
Once the rig was working well enough, I made some small changes to the model before unwrapping and painting it. I am really happy with how it turned out; it looks so much better than I was expecting!
Finally, it was time to animate. I decided to do three basic actions - walk, run and jump, as well as an idle animation. I would like to add some more idle animations, like sitting/lying down, looking around etc. that could play randomly to interject the basic keep alive motion. He's supposed to be a lazy raccoon, so I wanted his movements to be kind of sluggish and clumsy to suit. I used asymmetry in his movements, as well as adding plenty of small details, like head bobs, body rocking, and tail wagging, to make everything look more natural. I could spend some more time improving the timings, but I did push the limits as much as I could on such as simple rig.
Here's some last minute renders:
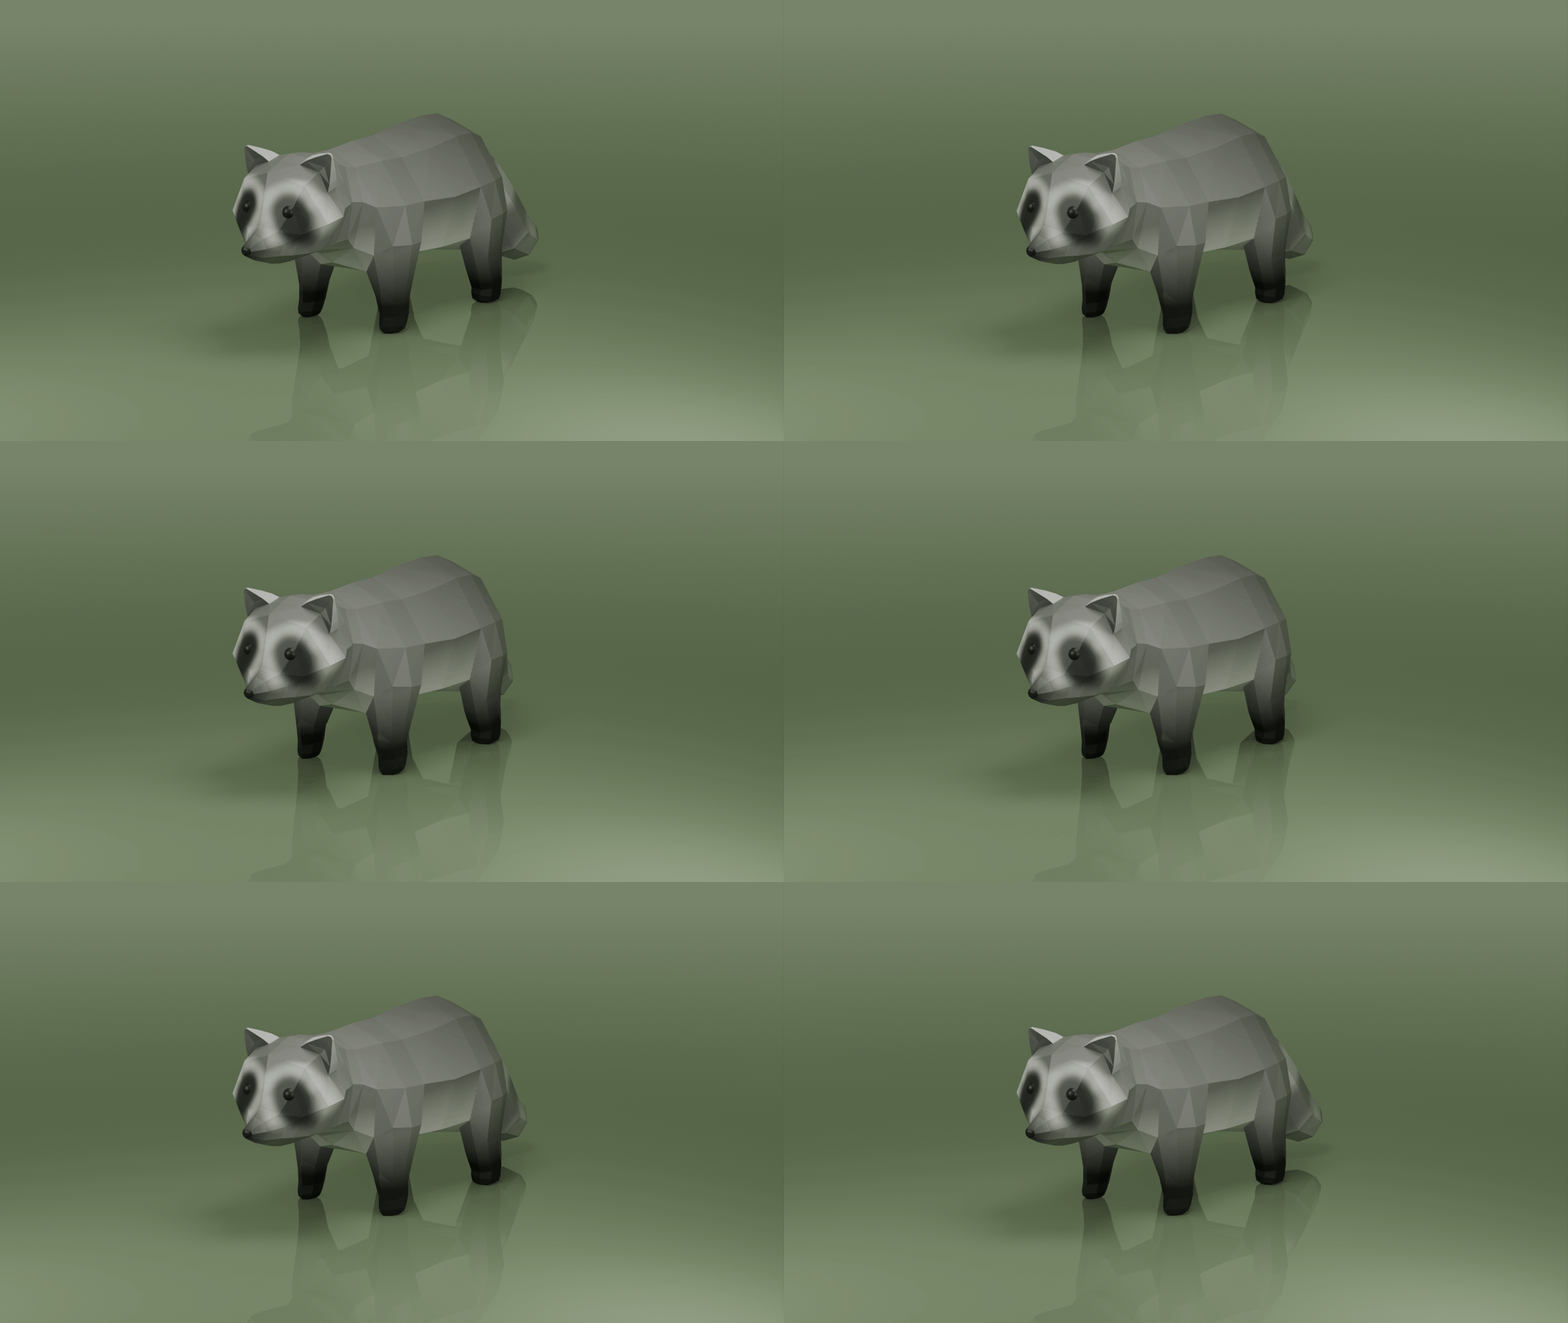
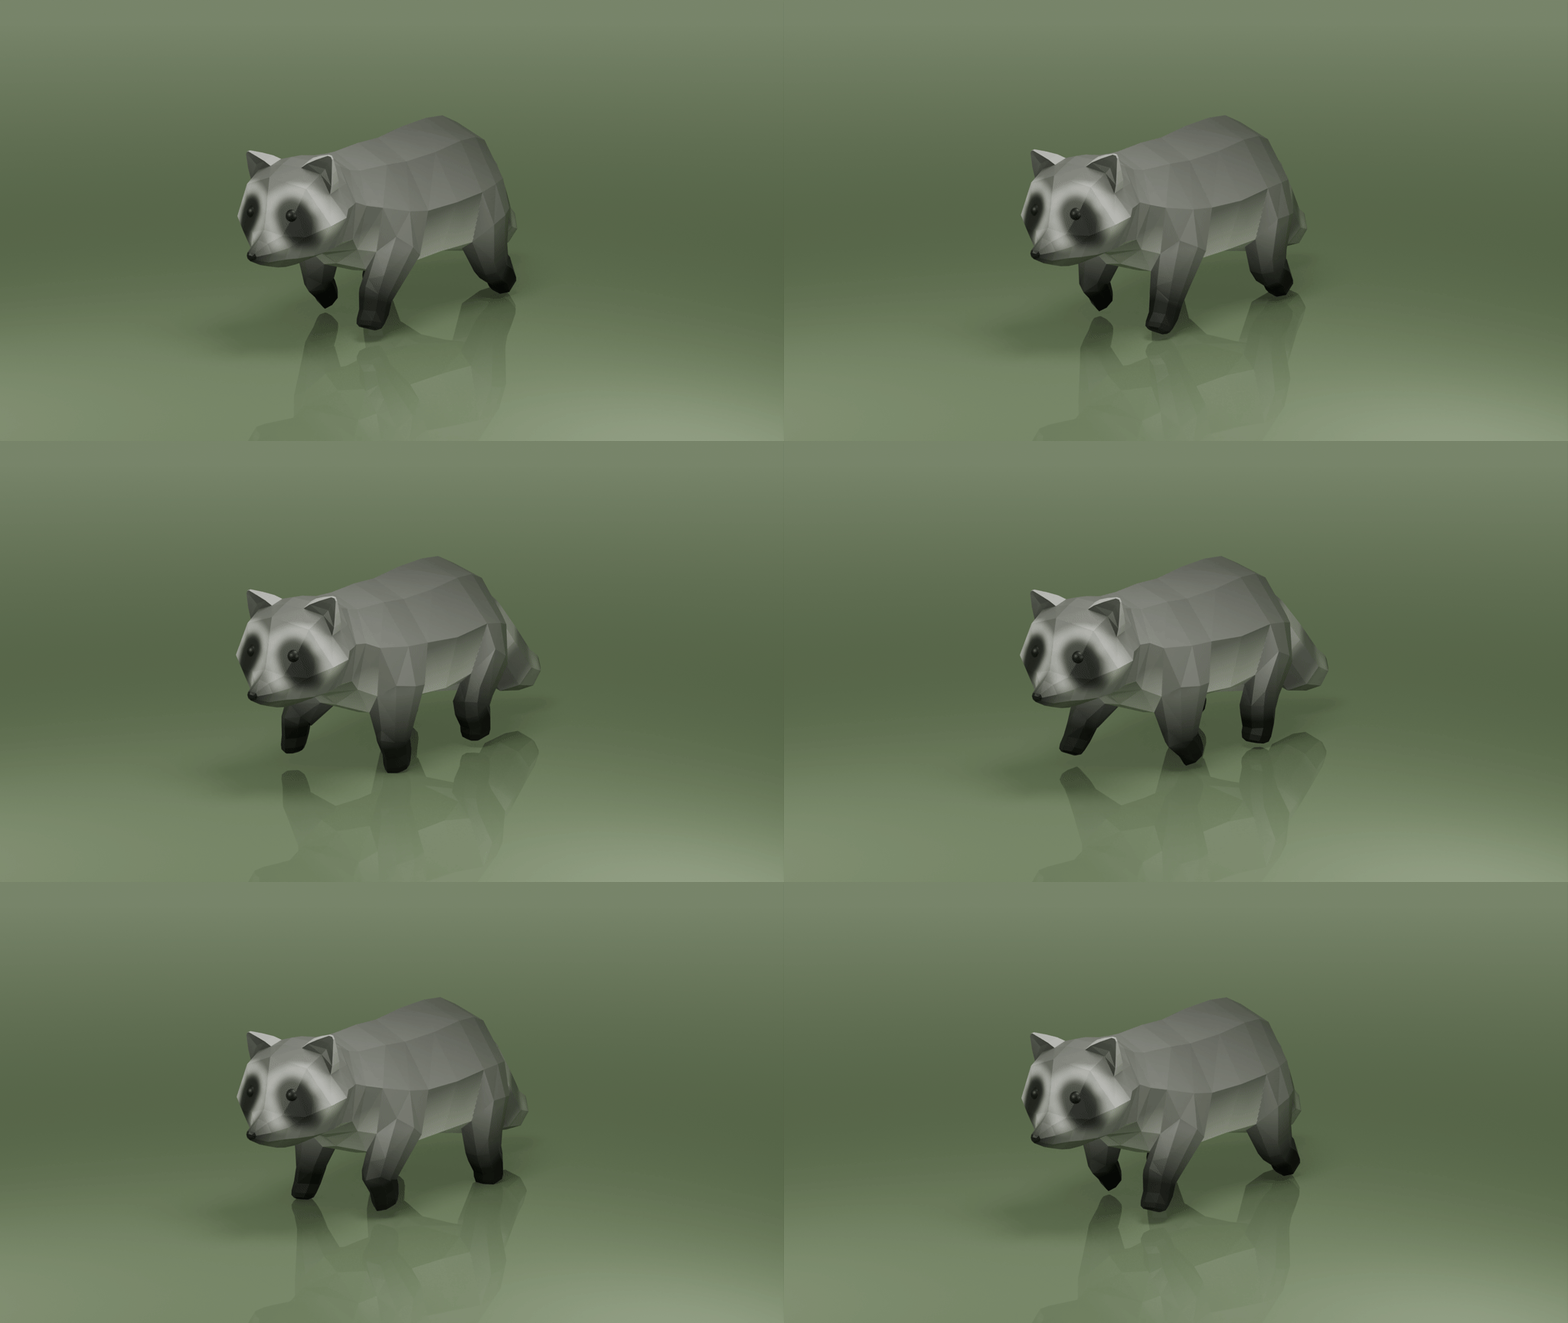
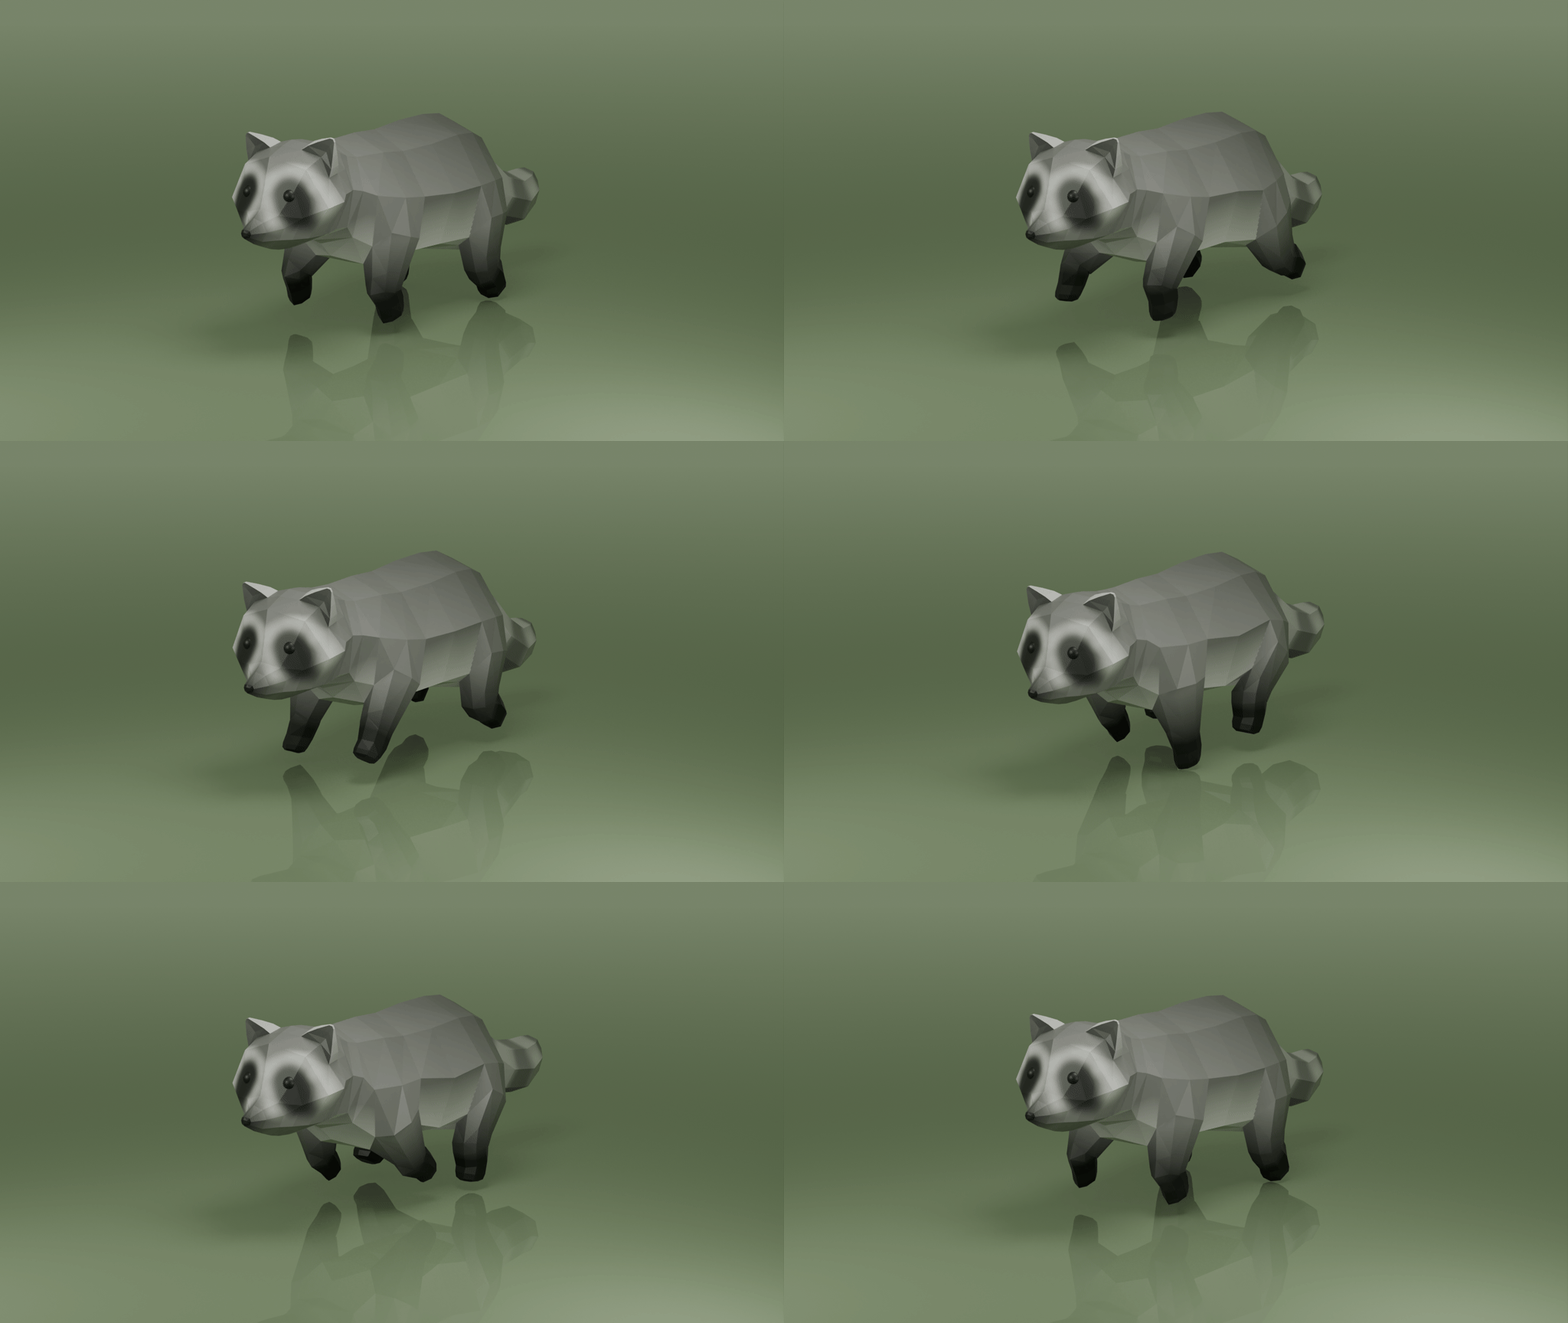
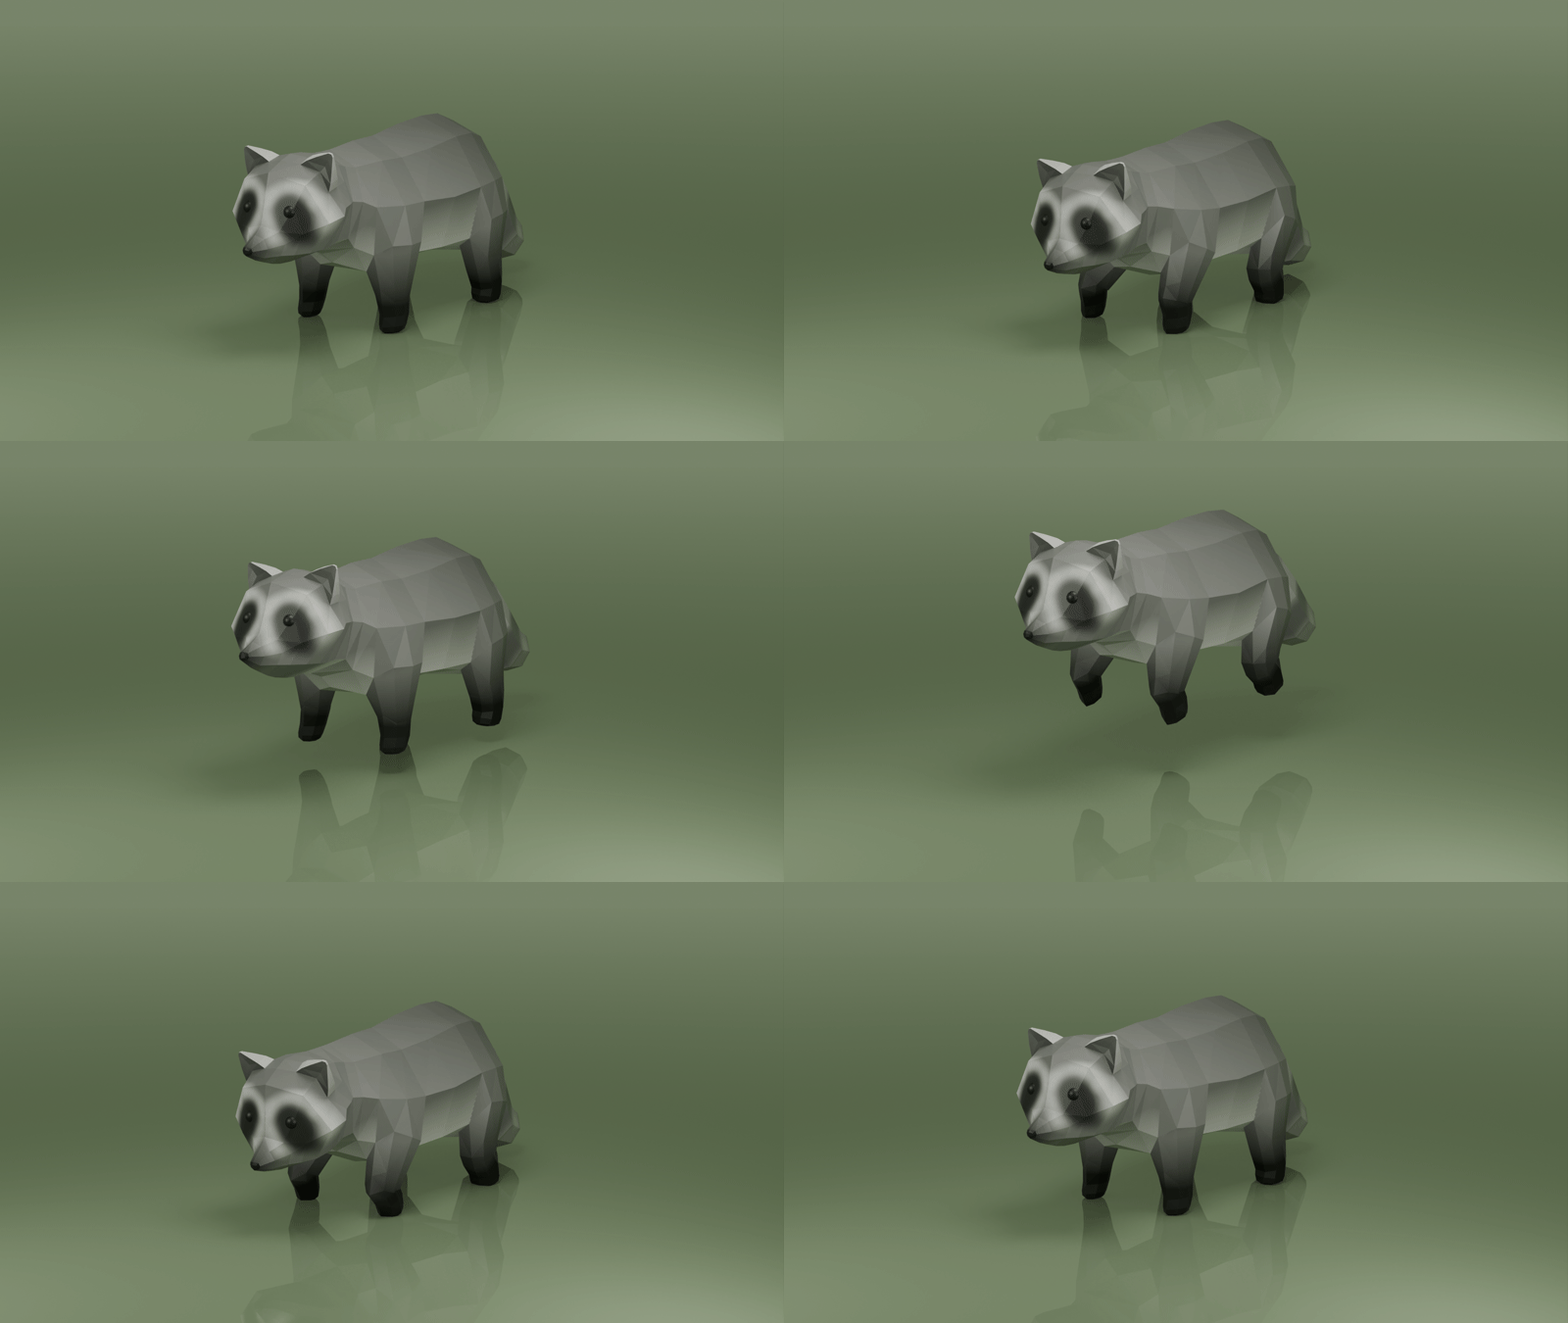
(not sure why the GIFs are stuttering, the animation is smooth in Blender)
Tutorial 2 - 3D Models in Unity
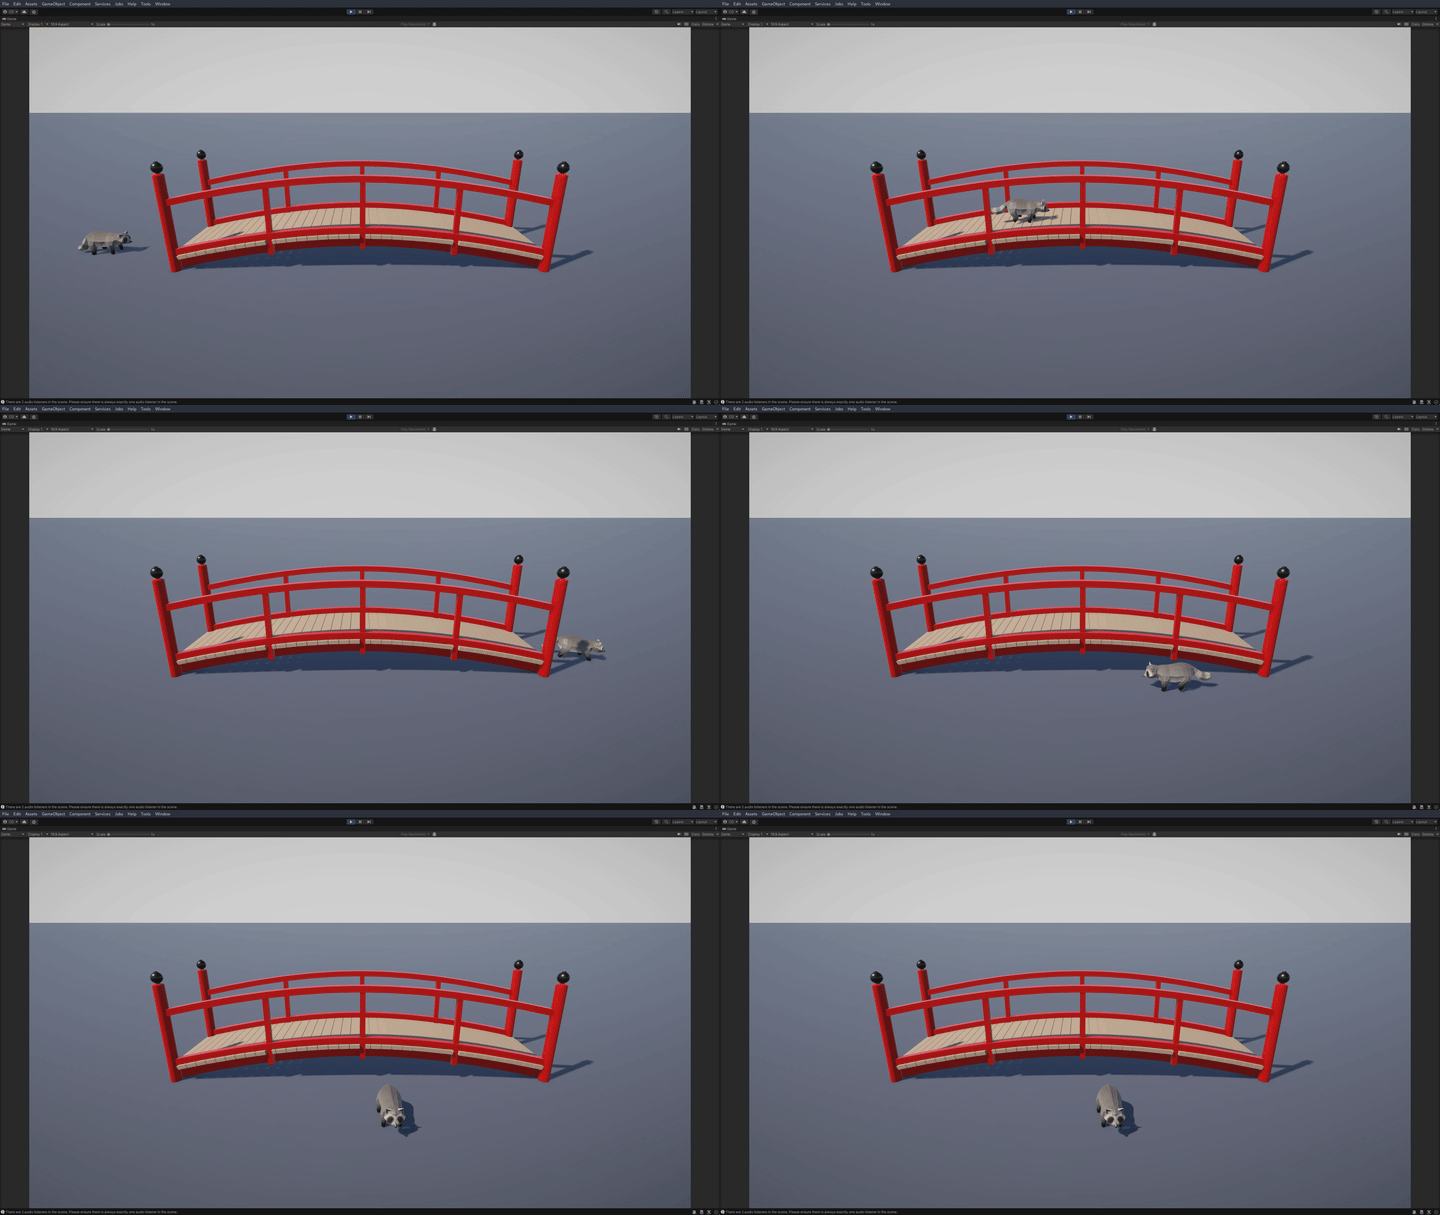
With the character model complete, I exported the rig to a new blender project and began setting up the animations with a basic player movement script. Configuring everything was fairly straightforward, and largely similar to the 2D workflow, if not easier as all they keying is done in beforehand (no messing with sprite sheets). It was really just getting the logic correct so the animations transitioned correctly between states. It did become apparent that I needed more animation states to move between for different actions. For example, the character can currently only jump while standing still - I need a separate 'running jump' animation to jump while moving. I could also add turning animations, to have him lean into a turn instead of just rotating (Spyro the Dragon is a perfect example of this). Once everything was working as expected, I adjusted the movement speed to sync up reasonably well with the animation. There is probably a better way to handle this, like linking animation speed to movement of the transform, or using 'apply root motion' (which I only just found out about) and having the animation itself move the character forward.
Quick GIF of one speedy boy:
