Week 4
Self Study 3 -- Terrains and ProBuilder
With a now working character, it was time to build a small level for him to run around in. I decided to go with a top down, isometric view, and make a single 'chunk' of a level to play on. It would be a small forest, with a river running through the centre to separate the two halves, and have lots of object detail (rocks, bushes, trees etc.) - so there's a plenty of obstacles for the navmesh to work with.
Once I had settled on a size for the map, I started carving out the river using the terrain tools. It took a few tries to get the kind of winding shape I wanted (because painting with a mouse is kind of jank) but I roughed in a shape and then smoothed off the edges, pretty simple really. I took the time to texture paint some colour for the grass, and a path for the bridge to sit on. I also found a grass model on Sketchfab by Mitro123 , and after figuring out how to set up the LOD, I used the tree painting tool to paint some actual grass mesh onto the terrain (and resisted the urge to batch place 1 million grass and see what happens...).

Now I had to add some water to my river. I figured a flat plane would be really boring, so I wanted to create some animated water instead, although I didn't really know how I was going to do that. My first attempt was to create a plane in Blender, and apply a displacement modifier with some perlin noise, then modify the noise and key the changes to create animated water. This actually worked really well, except, because the displacement modifier never actually gets applied each frame, I couldn't bake the vertex changes as an animation to import it into Unity. So, without any other ideas, I decided I was going to have to learn to make a shader.
It wasn't until after I had finished making it that I saw shadegraph is part of the last self study module, so I will save the details of how I made it for that post. But, it essentially does a similar kind of vertex displacement as my Blender animation, just way more complicated. I used ProBuilder to subdivide and stitch together many small planes for the water layer (because scaling one large plane breaks the shader), as well as make a bounding box to hide the underside of the terrain.
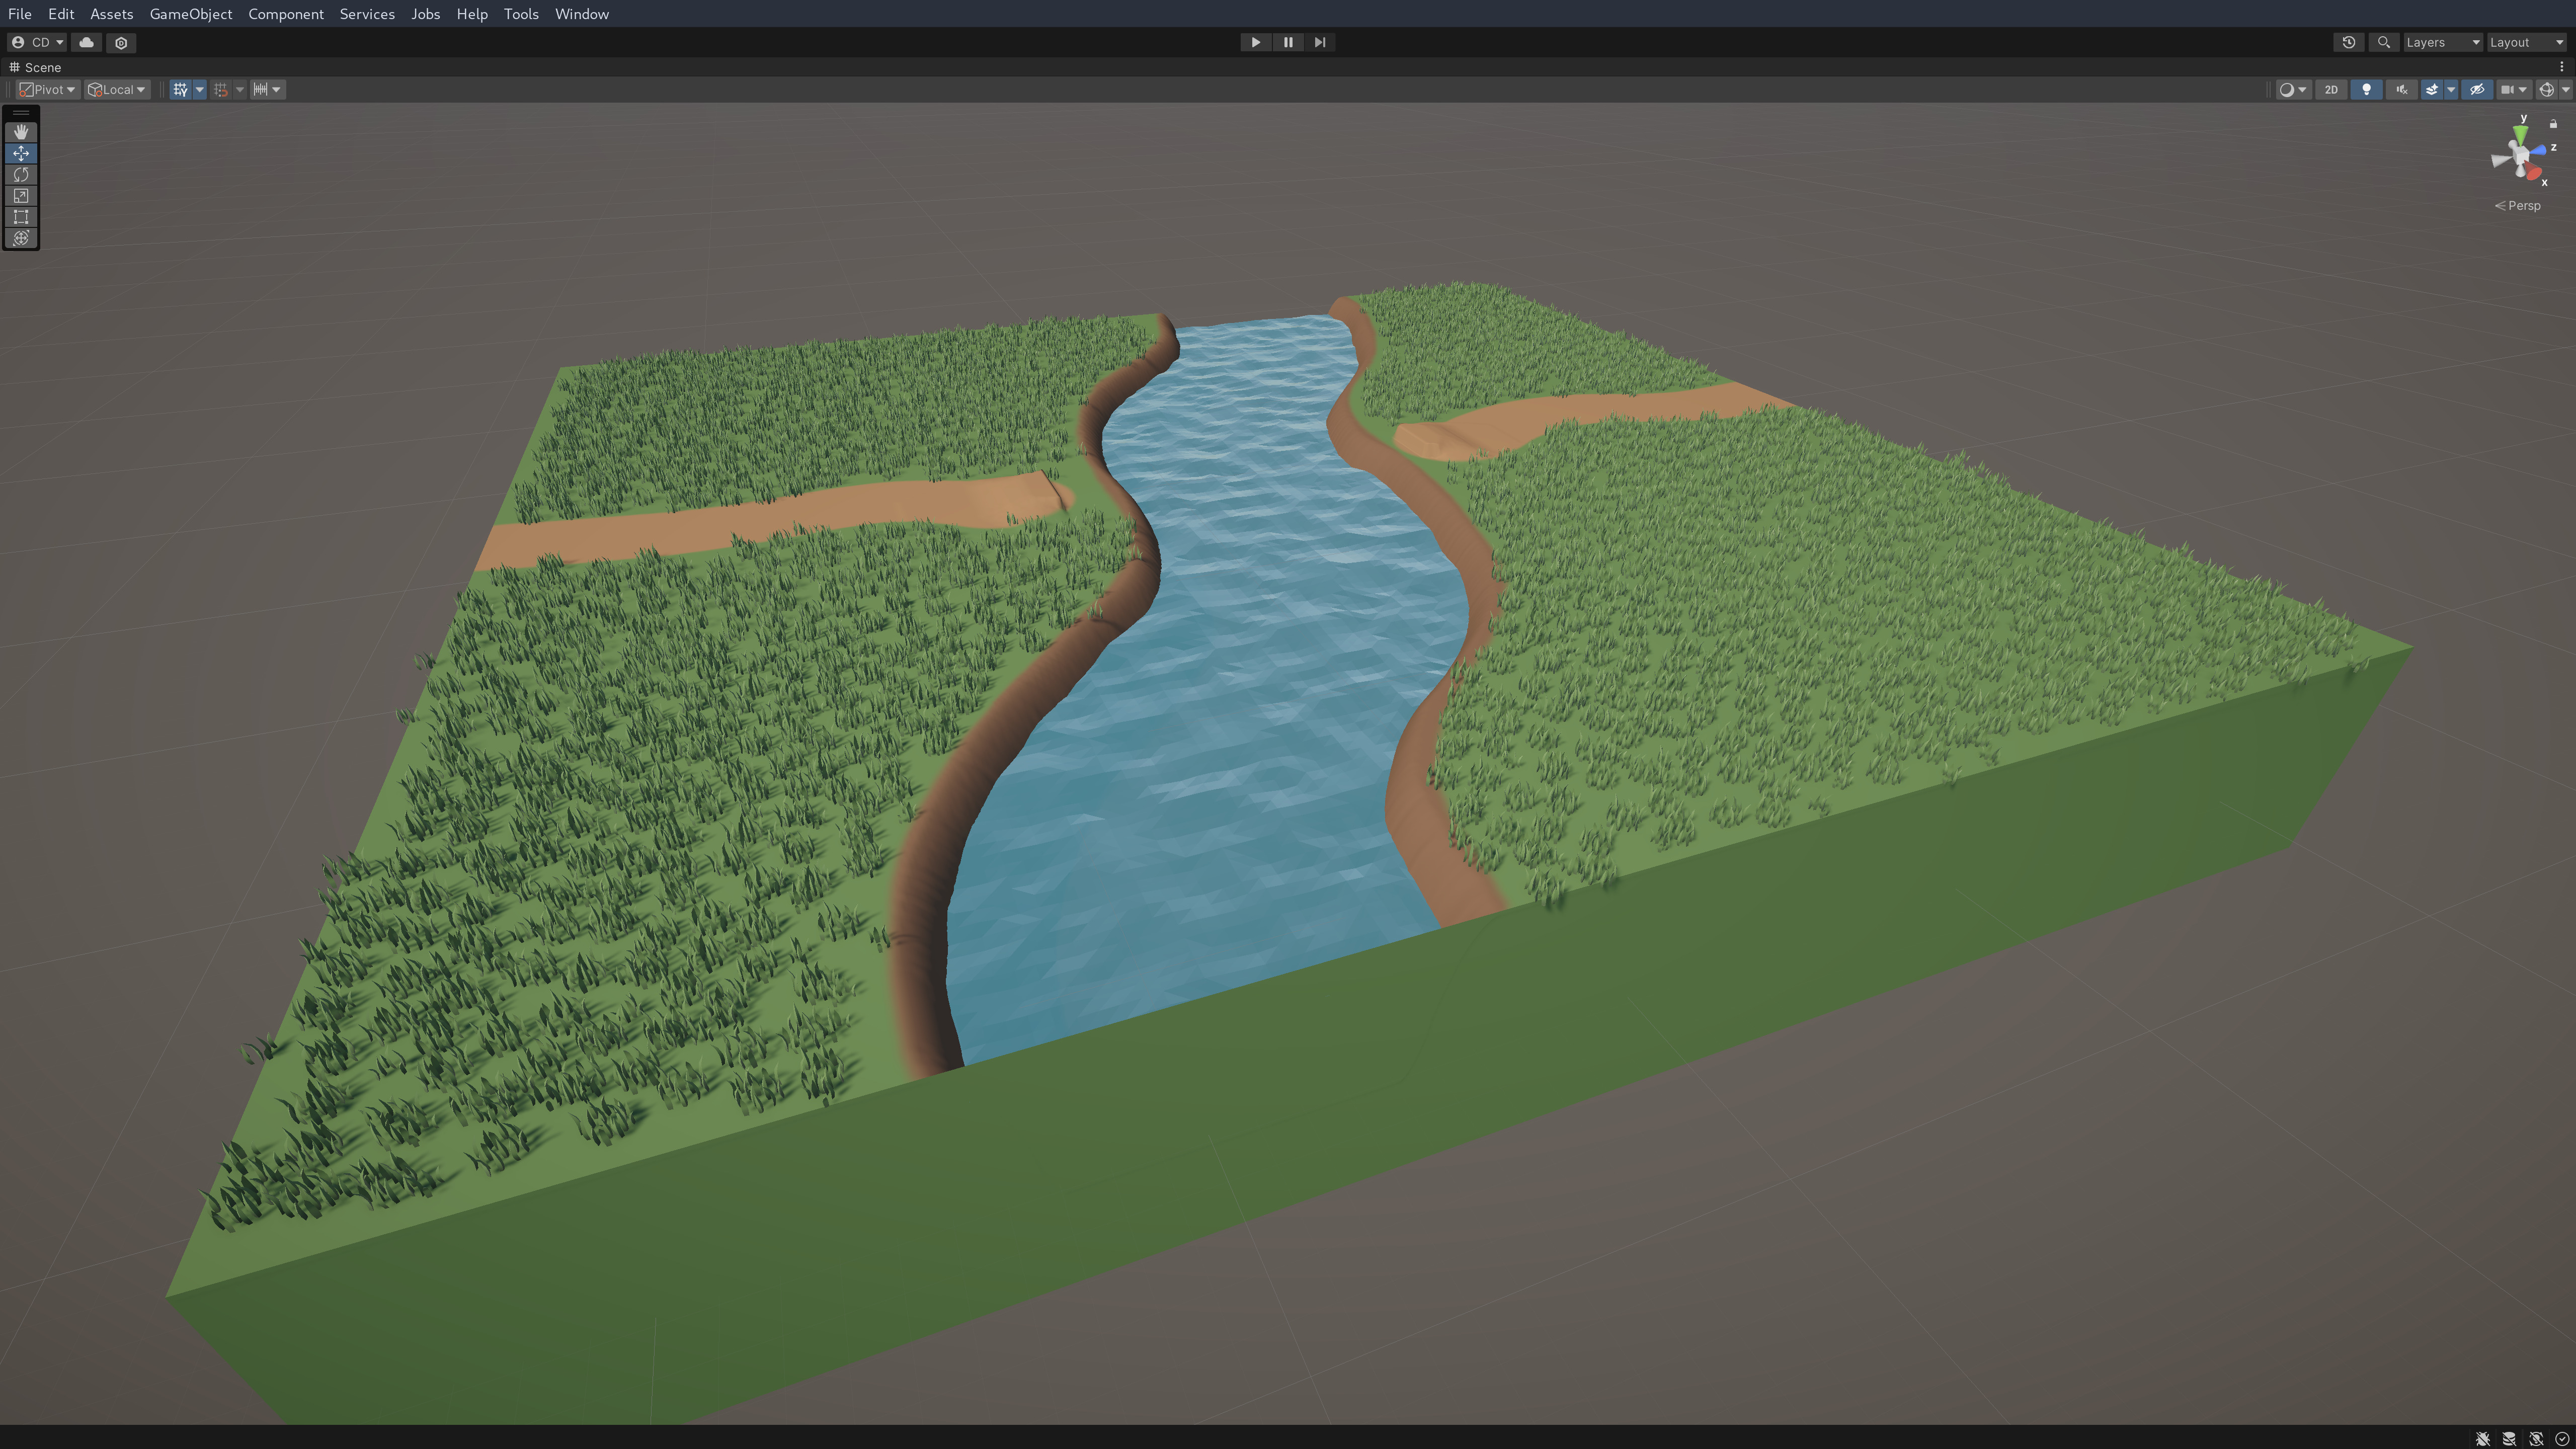
I had initially planned to use ProBuilder to make a Japanese Toori gate to go along with my bridge, but unfortunately I just ran out of time to model it before this devlog. I did use it to make some simple changes to imported objects (re-shaping trees/rock etc.) but that's really all. From my experience with it though, it seems like it is most useful for basic modelling (like level blocking), as Blender is much better suited for making detailed assets.
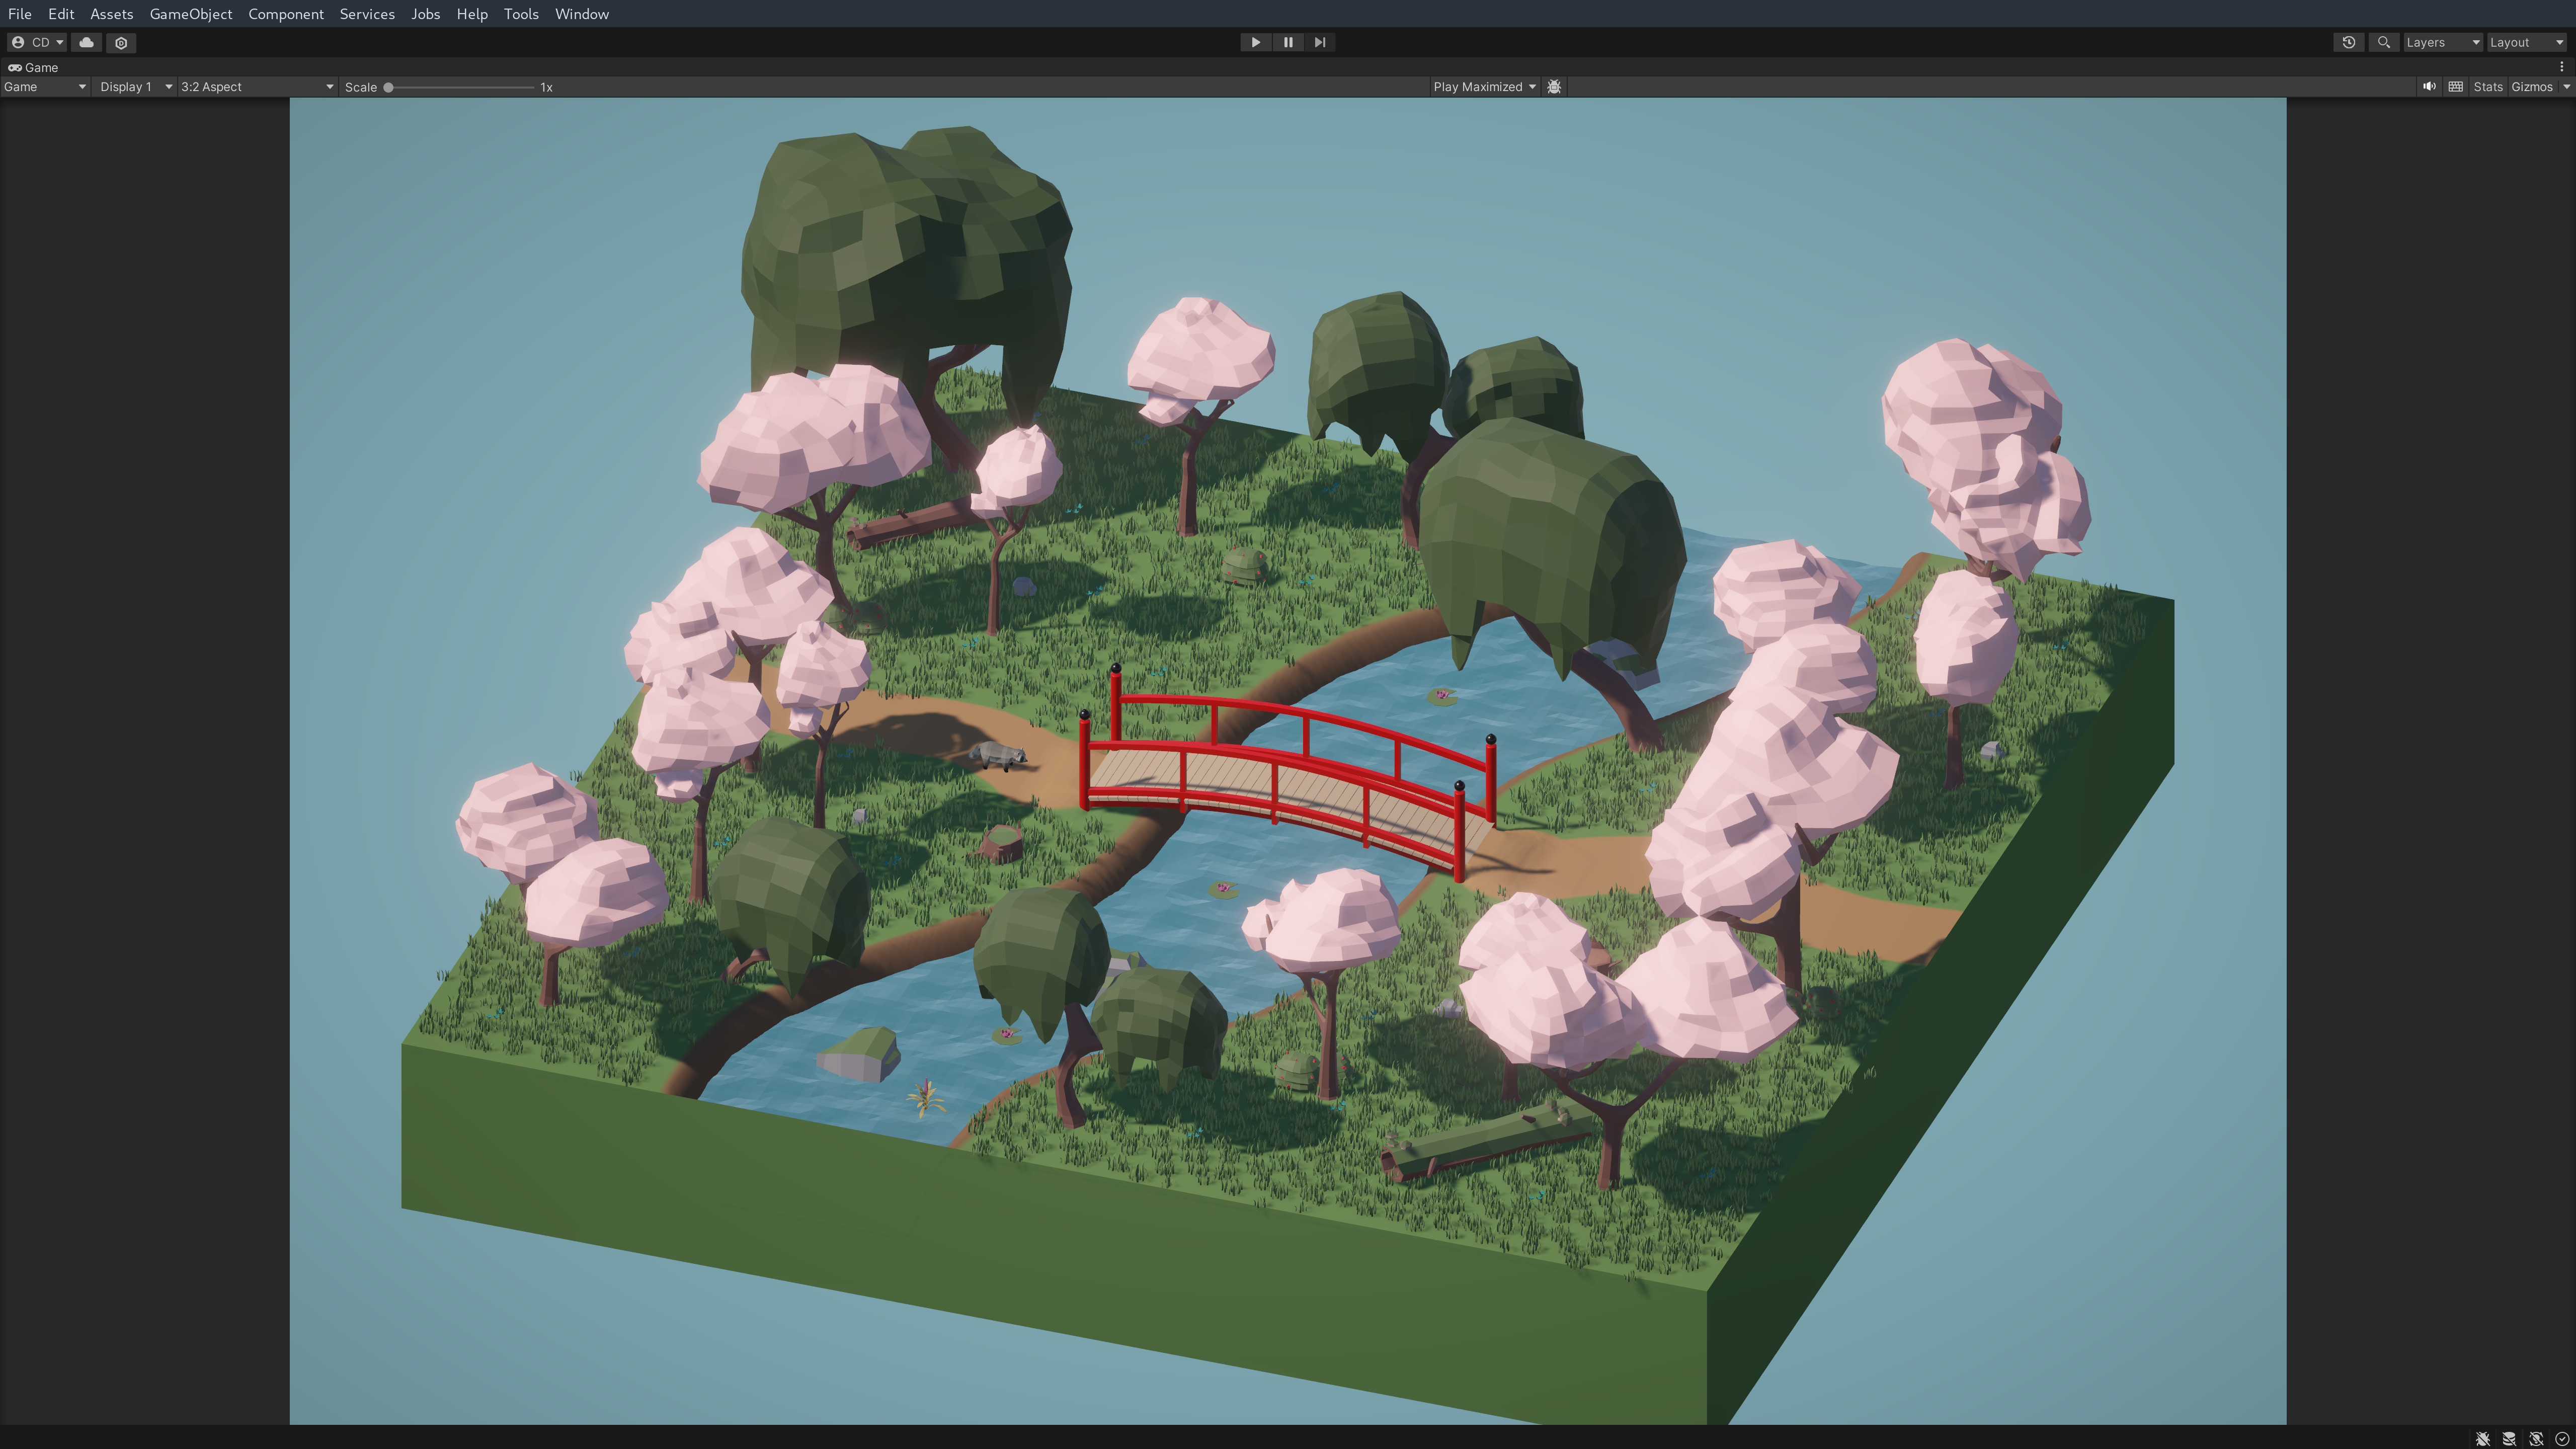
With the foundation of my level finished, I added in my bridge and tanuki, and then went on a hunt to find some good, low poly nature assets to fill out the scene. After looking through a bunch of free asset packs, I settled on the Low Poly Nature Pack by Quaternious on OpenGameArt.org. I spent quite a lot of time detailing the map, moving, resizing and recolouring the models until I was happy with how it looked (I might have to cull some of the tree's though).
Tutorial 3 - Navigation
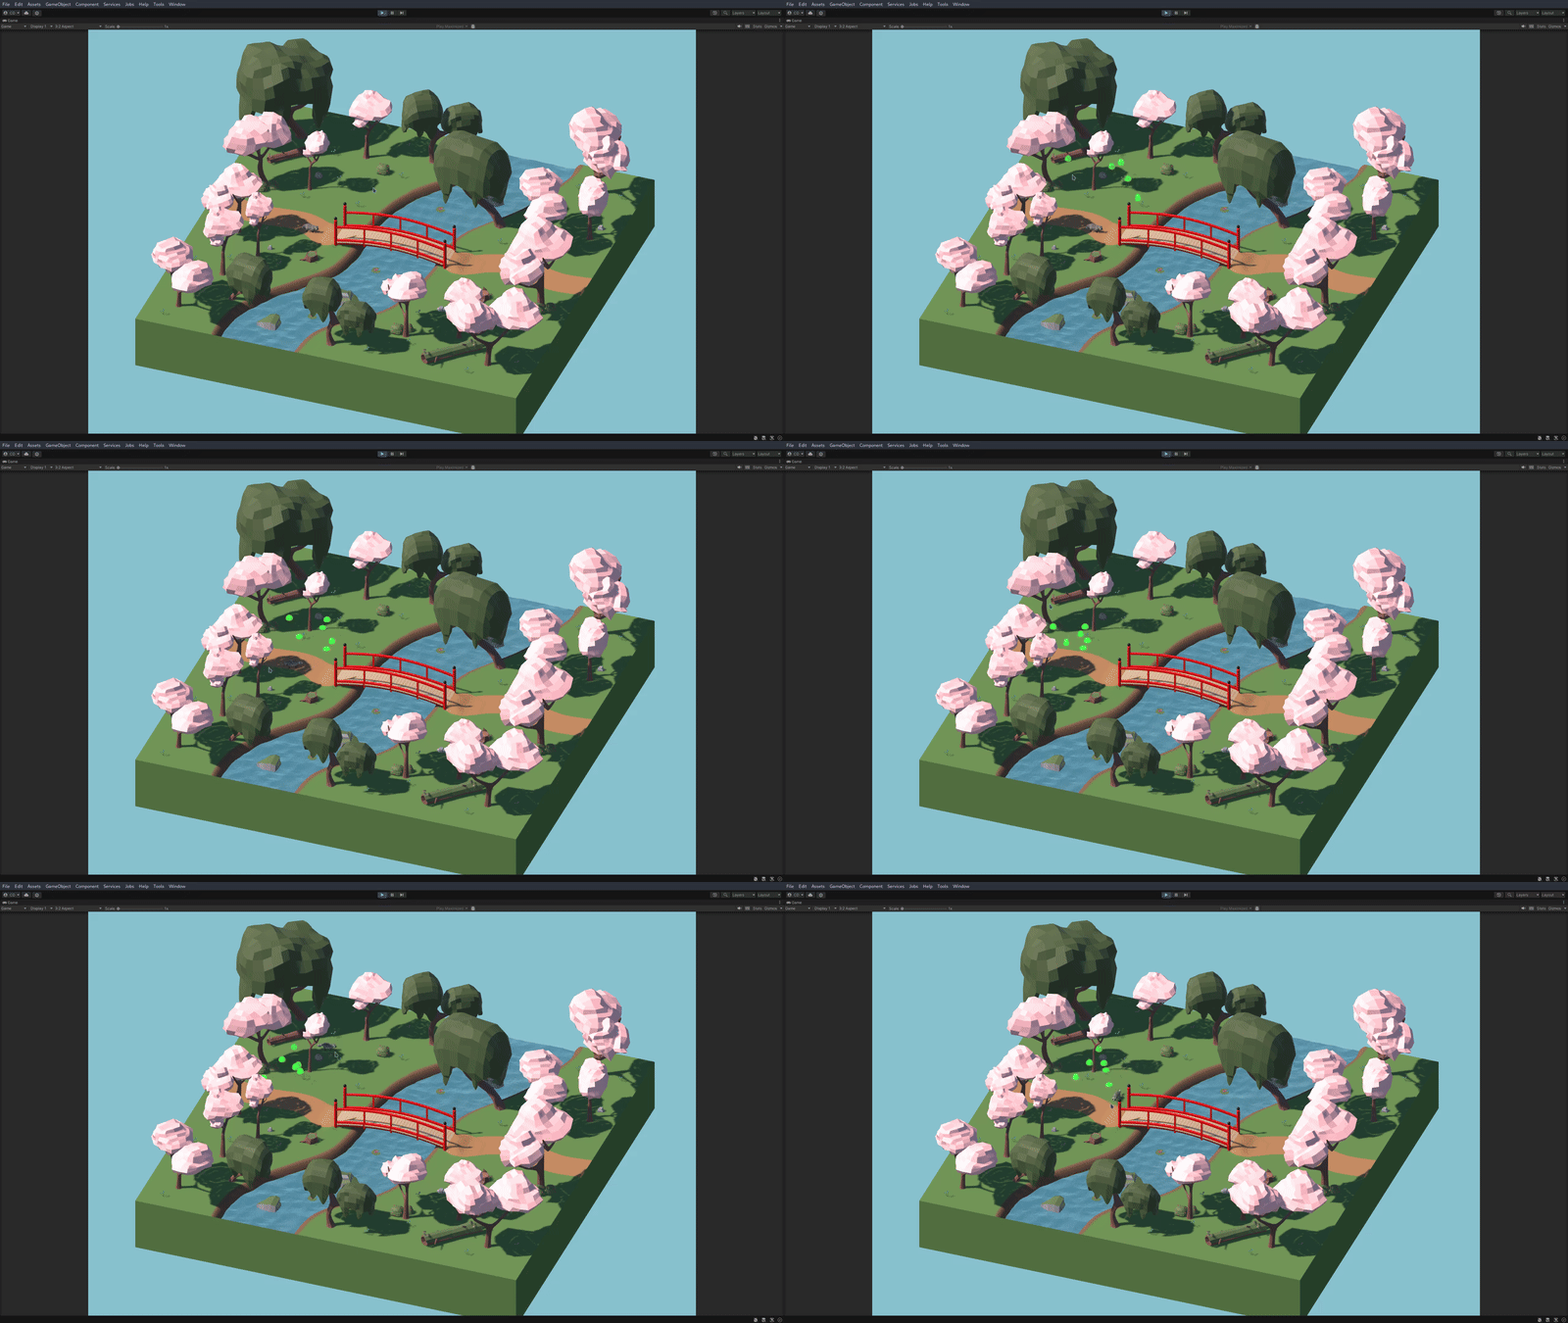
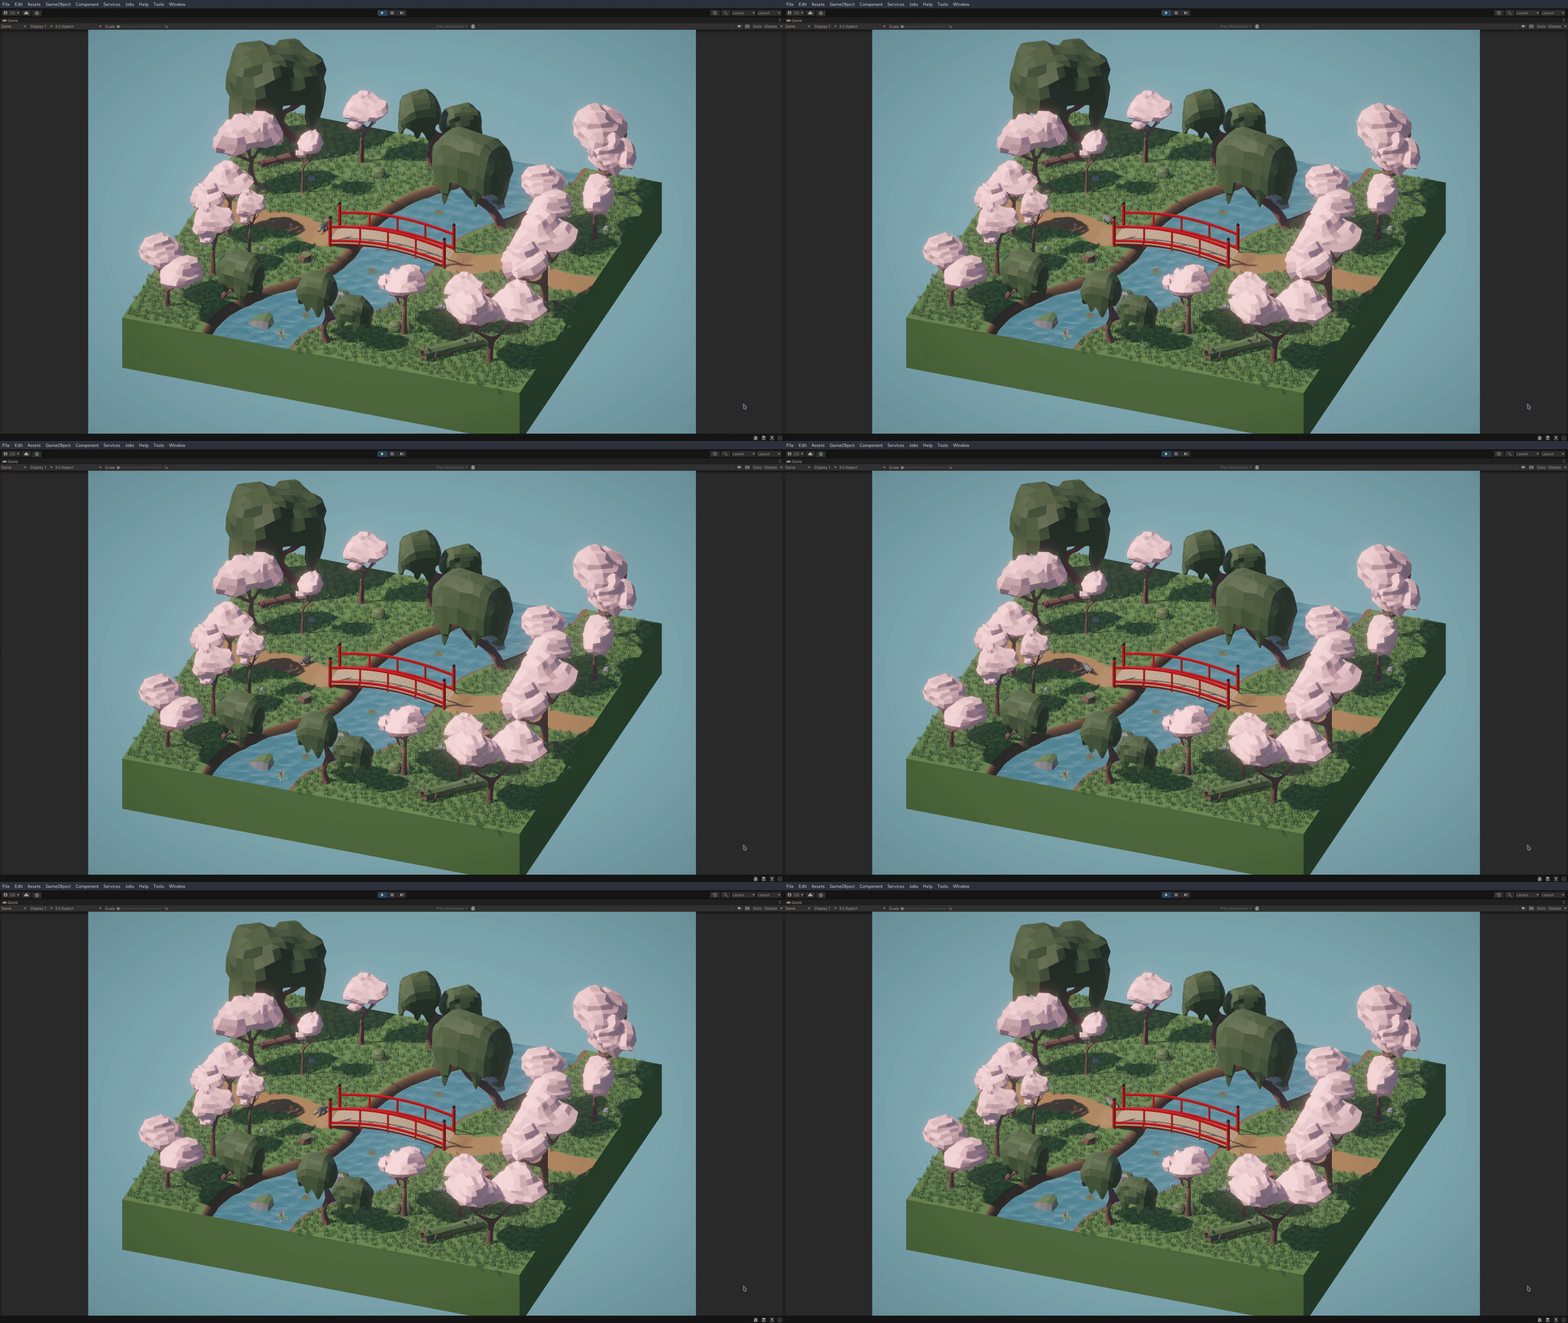
For this weeks tutorial I added a navmesh to the terrain so the player and enemies have some obstacle avoidance. Baking the navmesh worked reasonably well, although I did have to use some modifiers to exclude the tops of certain objects, as well as the river bed, from the bake. I also noticed the mesh doesn't perfectly wrap to curved surfaces like the bridge, so the player is slightly elevated when walking across it. I couldn't figure out a solution to this unfortunately, but it doesn't effect the game at all, and is not noticeable from the elevated camera angle anyway. I added my barrel from self study 1 as a moving object, for the purposes of the tutorial. The navmesh is set to carve out a section as the barrel rolls long it, so the player/enemies will automatically avoid it.
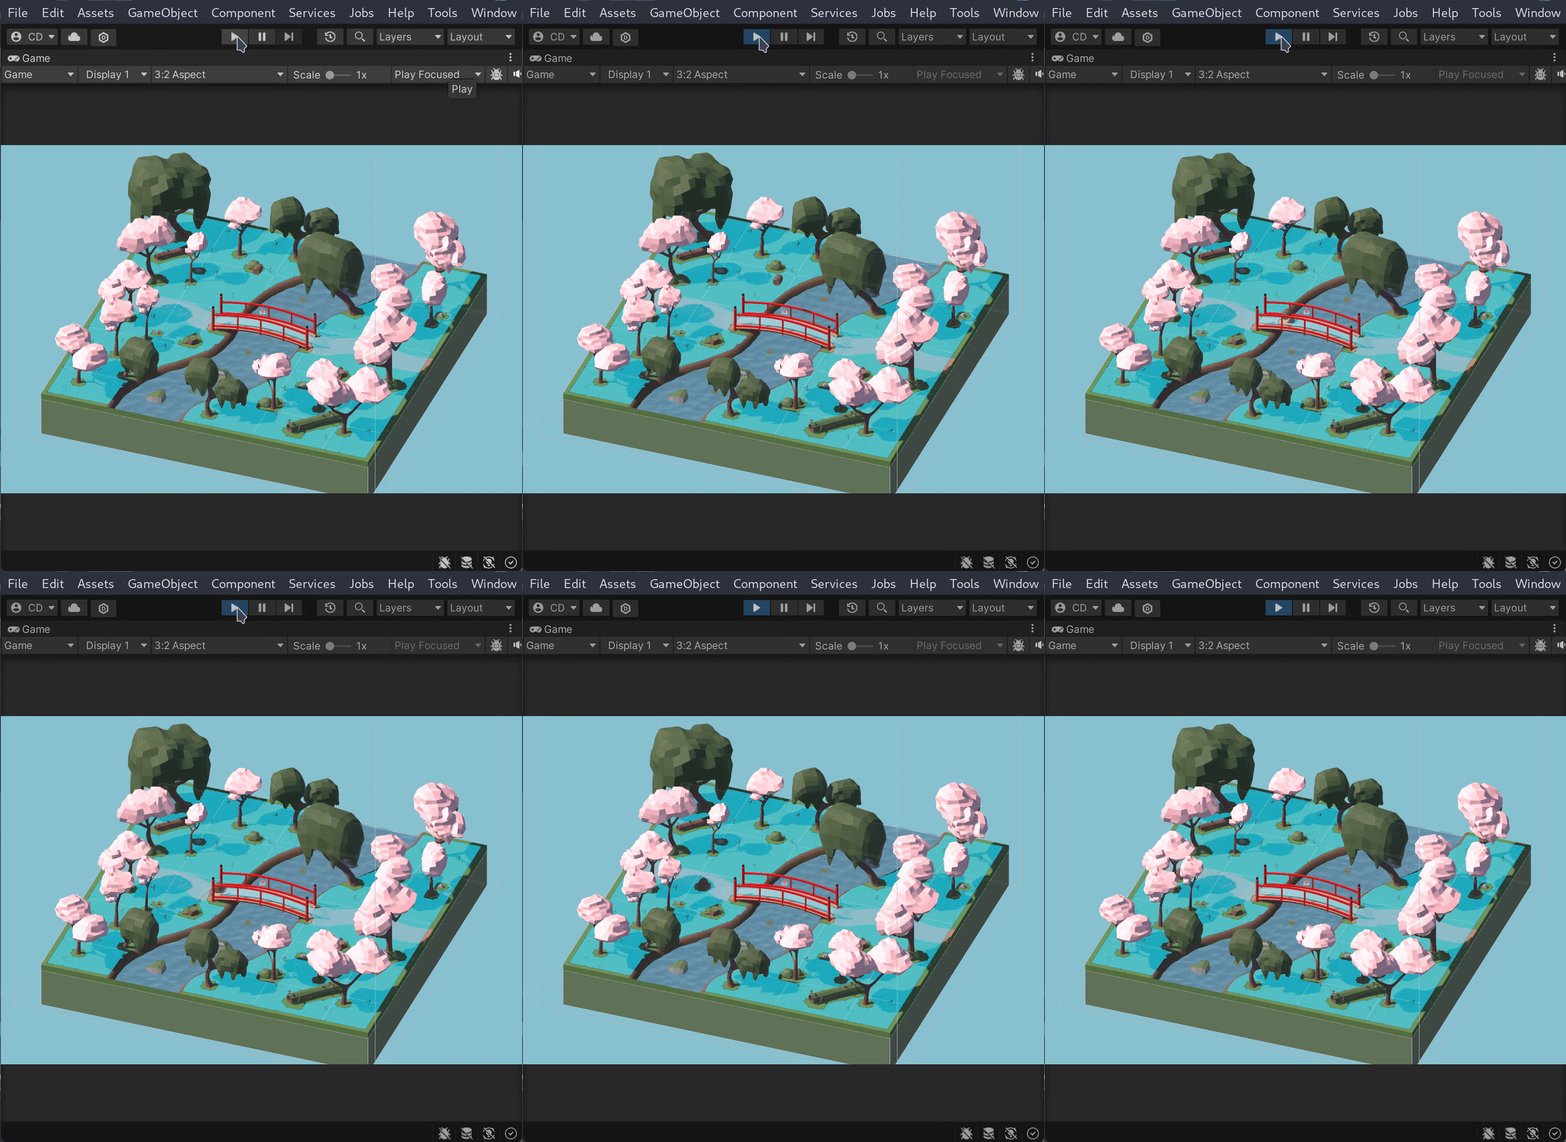
I also modified the controls to use Raycasting to navigate where the player clicks, or follow the mouse if they hold down the left mouse button. I actually like these controls much better than keyboard inputs for an isometric view, so I opted to keep them. It did take a fair bit of tweaking to get the player to move smoothly, and (somewhat) in sync with the running animation.
Next was adding enemies to the game that will chase the player around. I thought re-using the Tanuki model would be kind of confusing though, so I decided to make a slime to be the enemy instead. It didn't take too long to make the model, and to animate him I wanted to try using shape keys instead of armatures (because slimes don't have bones). I read up on how to animate using them, and wow it's actually such a powerful feature, being able to store and smoothly transition between any combination of different vertex positions.
There is one downside however, because the animation is baked directly into the mesh, it applies any positional changes to the object when animated in Unity. This caused the model to immediately snap to world origin every time the animation played. I managed to fix this by enabling "apply root motion" (which kind of does the opposite of what it says), and this kept the model in one place, but caused the navmesh agent to freak out.
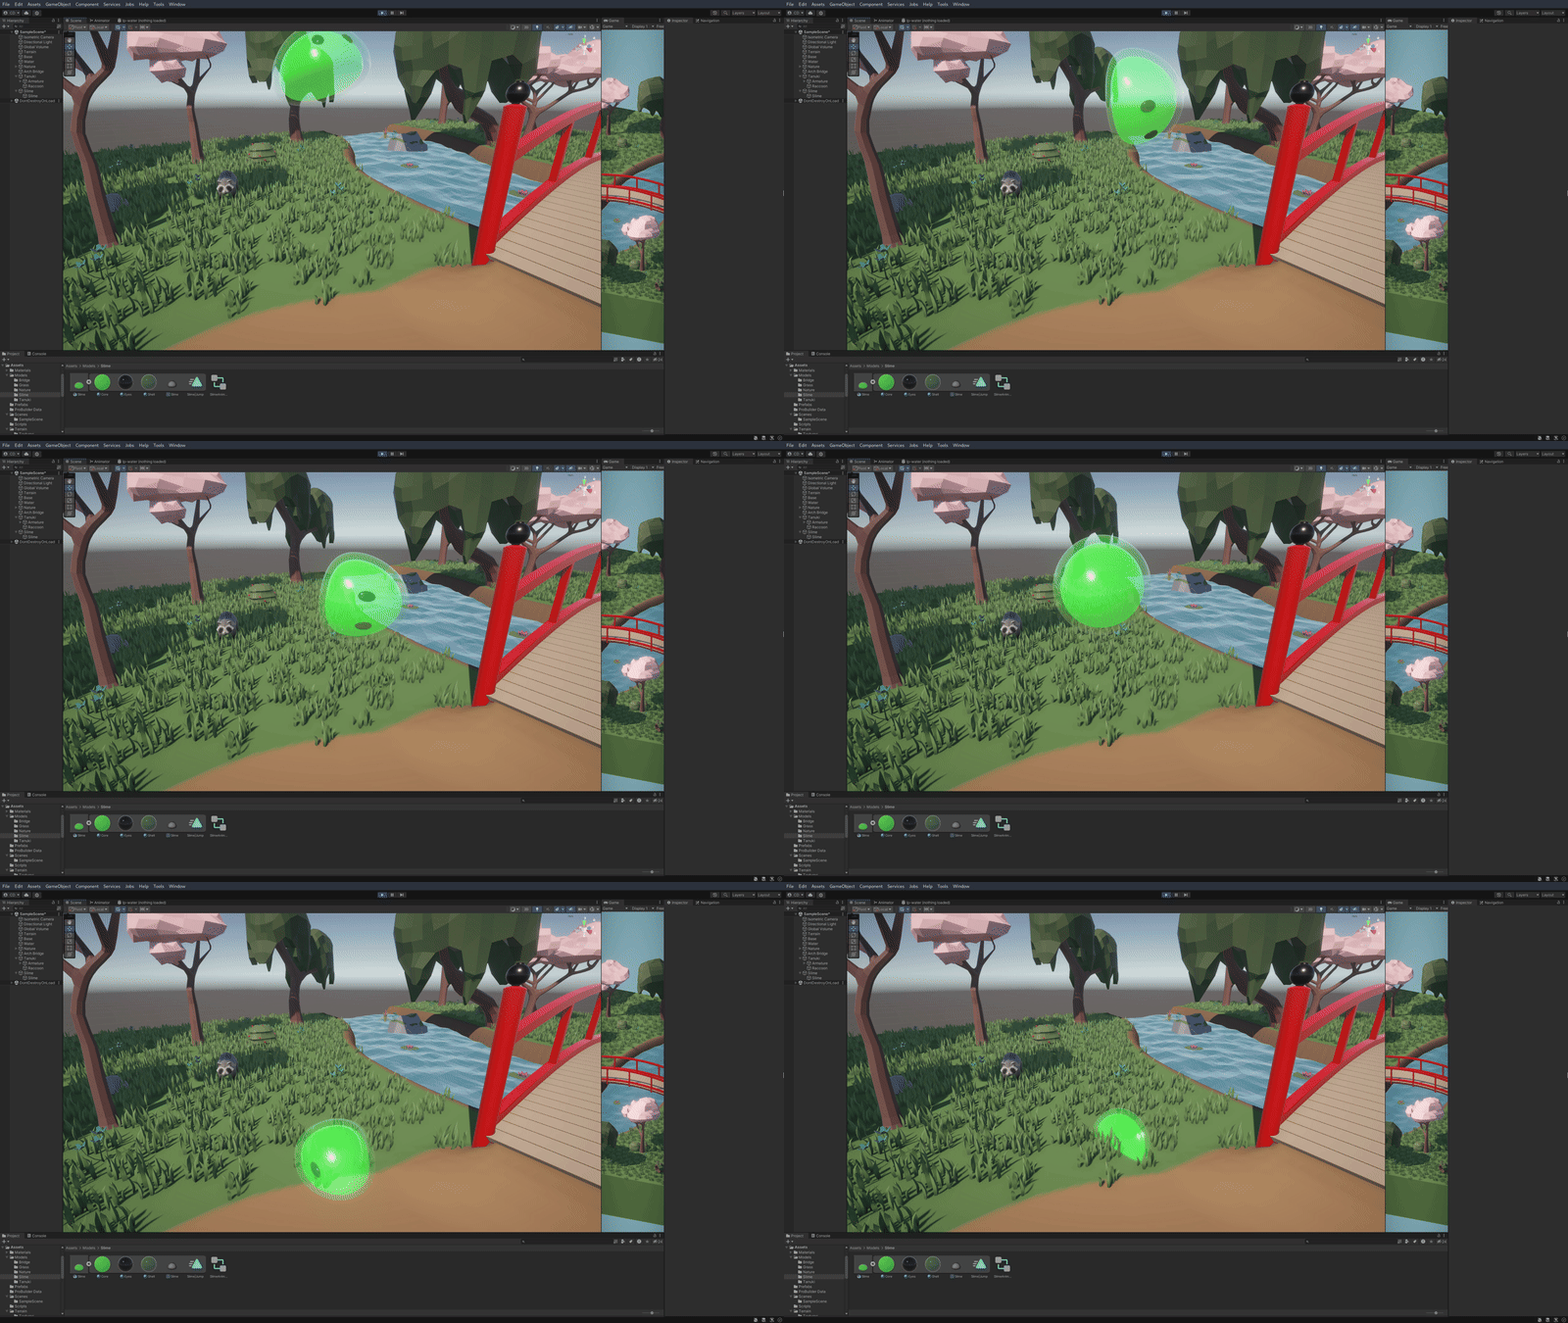
The solution I came up with was to make the slime mesh a child of an empty game object, and have the navmesh move that instead, so the origin point for the animation becomes the parent object, not the world origin. This works fine, but added some complexity to the scripts I had to write to control the enemies movement. The enemy agent simply takes the position of the player (+ any look ahead) and sets that to be the destination target. I also made it so the enemy agent can only move when the slime is in the air, so they jump around and don't slide along the ground. Lastly, I adapted to raycasting script to instantiate slimes using the right mouse button, and had some fun herding them around.
